Laundry and garment care
How to Iron a Shirt Safely
Follow the garment label and iron manual, working from details to large panels
Overview
Iron models, steam functions and fabric heat limits vary. Read the shirt care label and iron manual, and use only the water and settings specified for that model. This guide does not prescribe a fixed temperature or steam level.
Tools needed
- Stable ironing board
- Undamaged iron with its manual
- Clean shirt prepared as its label directs
- Hanger
- Water and filling container allowed by the model manual
- Clean pressing cloth if required
Cleaning steps
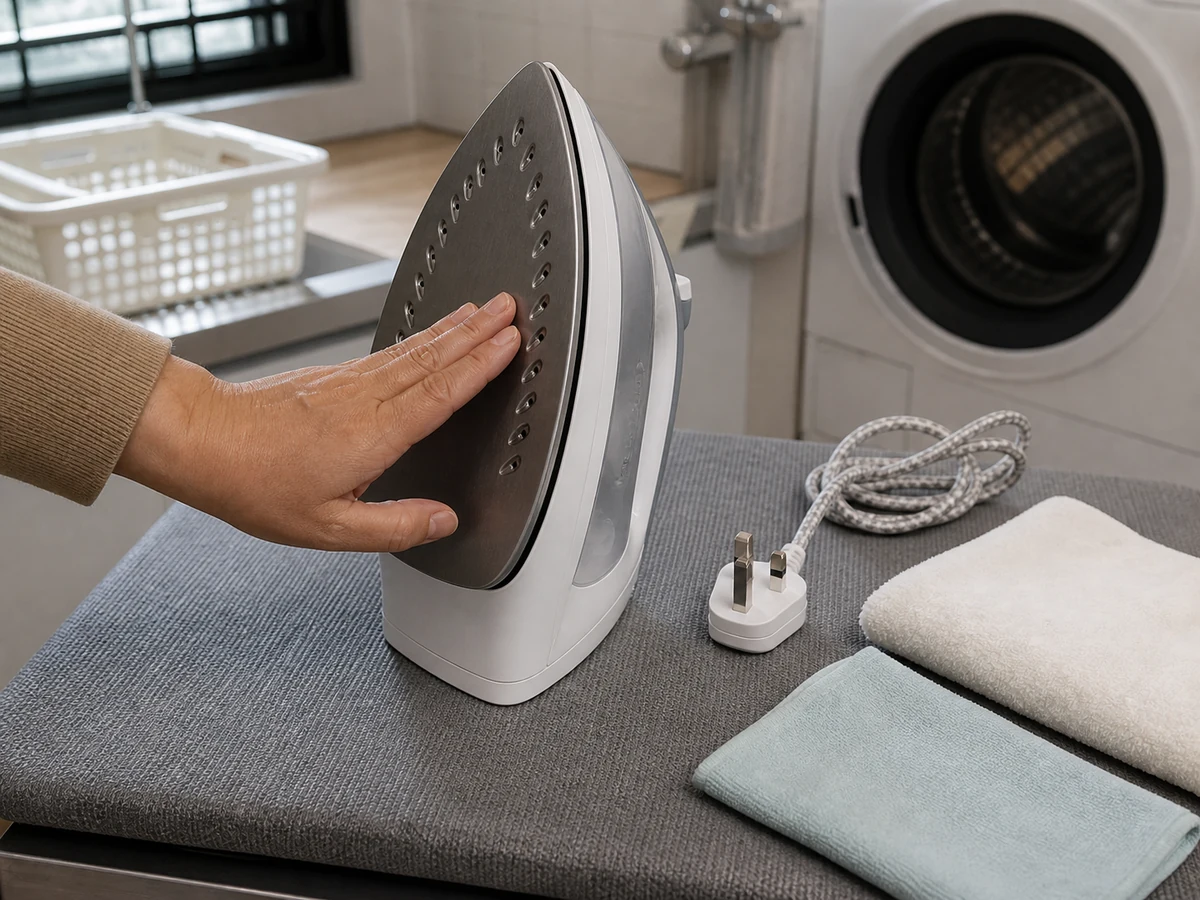
Prepare a safe area
Set the board firmly, clear flammable items, clutter and trip hazards, and keep hands, floor and socket area dry. Keep children and pets away.
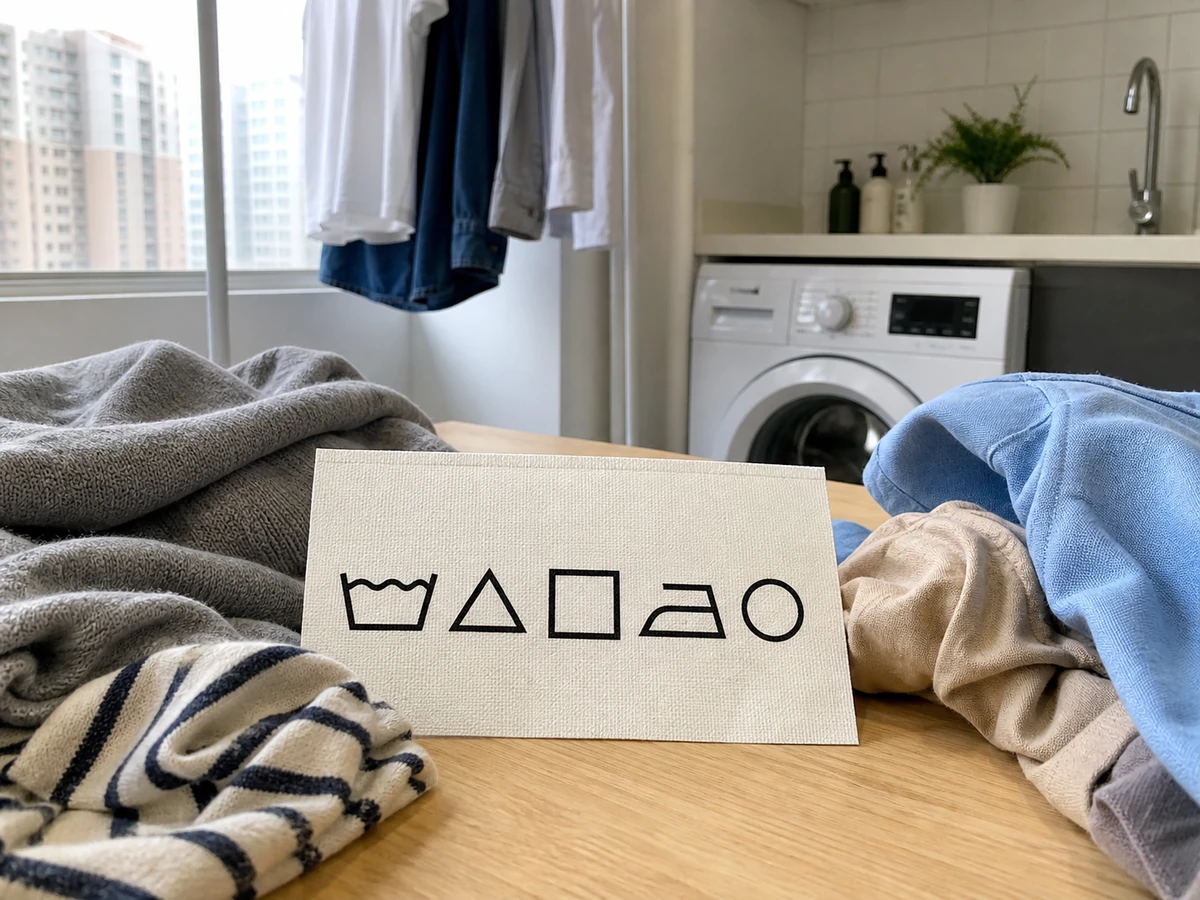
Check the label and iron
Confirm the shirt may be ironed and its care requirements. Check the iron, plug and cord for damage; do not use it if uncertain or abnormal.
Prepare the iron by its manual
If filling is needed, unplug first and follow that model manual. After connecting, choose settings from the care label and manual and wait according to the model indicator.
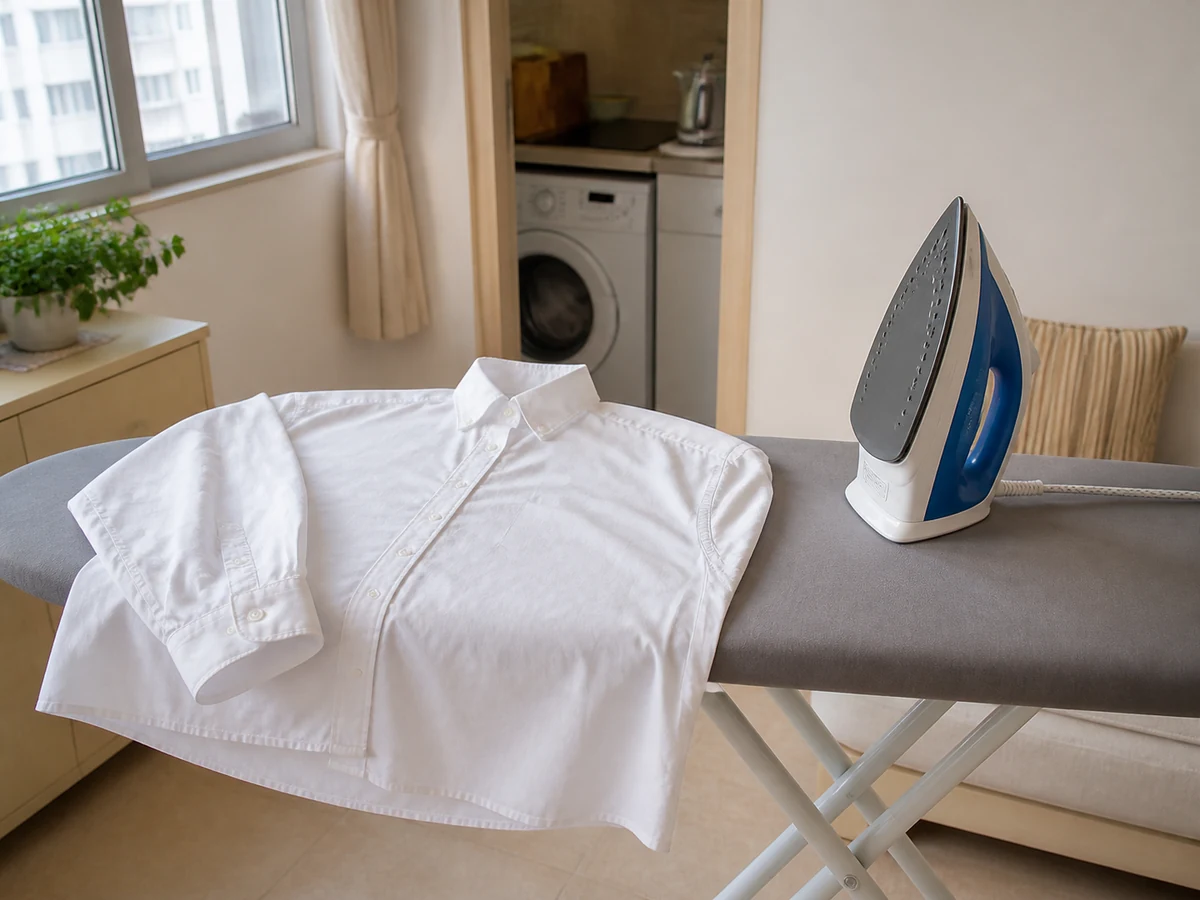
Iron collar and cuffs first
Lay the collar flat, press underside then outside, moving from the points inward. Open cuffs and keep the soleplate away from direct button contact.
Iron sleeves and shoulders
Align a sleeve flat and move from shoulder toward cuff, then handle the shoulder area. Keep fingers away from the iron path and steam outlet.
Iron the front panels
Lay each front panel flat, work around buttons and keep the iron moving. Never leave it on one spot.
Iron the back and inspect
Lay the back flat in sections and work from top down. Move the iron away before visually checking, and repeat only as allowed by the label.
Switch off, unplug and cool
Stand the iron on its stable heat-resistant rest, switch off and pull the plug by its body. Cool fully out of children’s reach, then empty or store as the manual directs.
Common mistakes
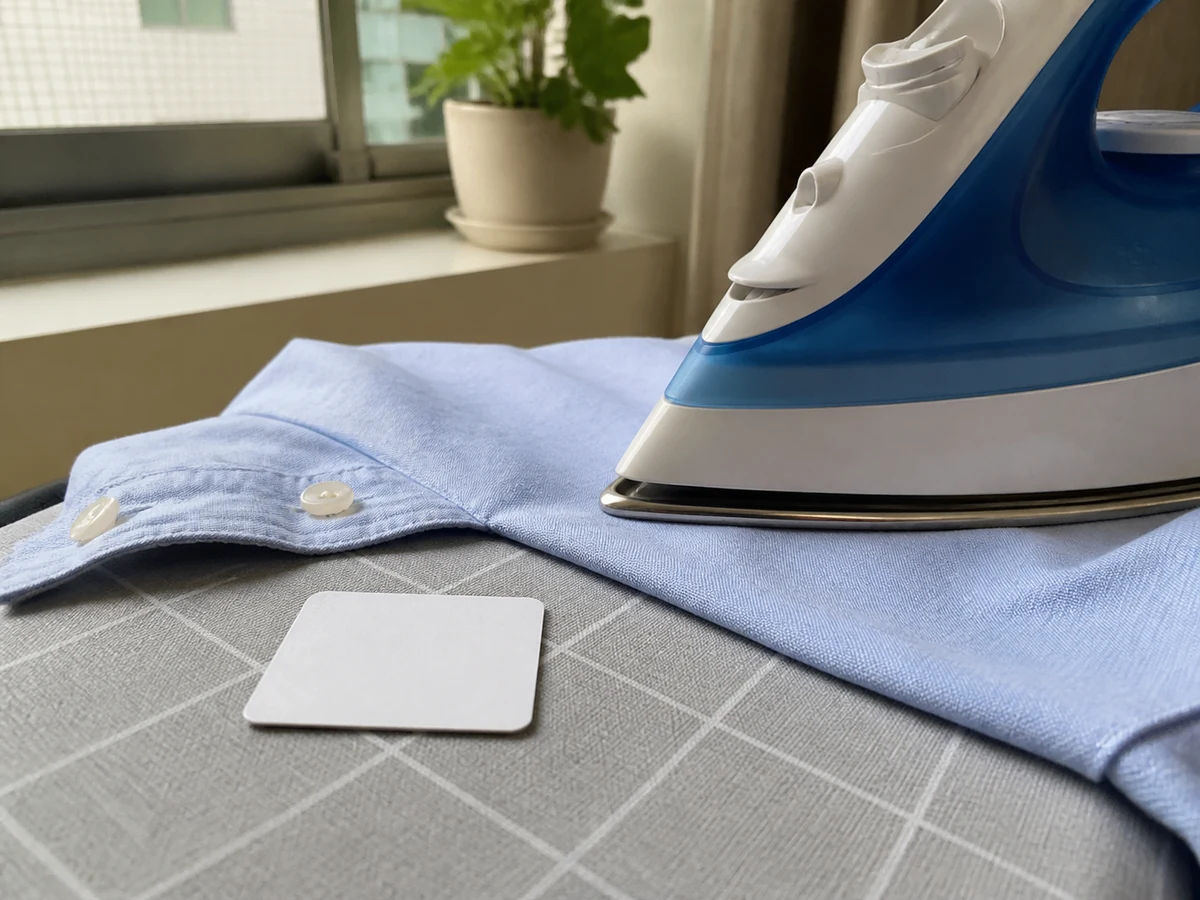
Using high heat without reading the care label.
✓ Correct actionChoose settings from the shirt label and iron manual.
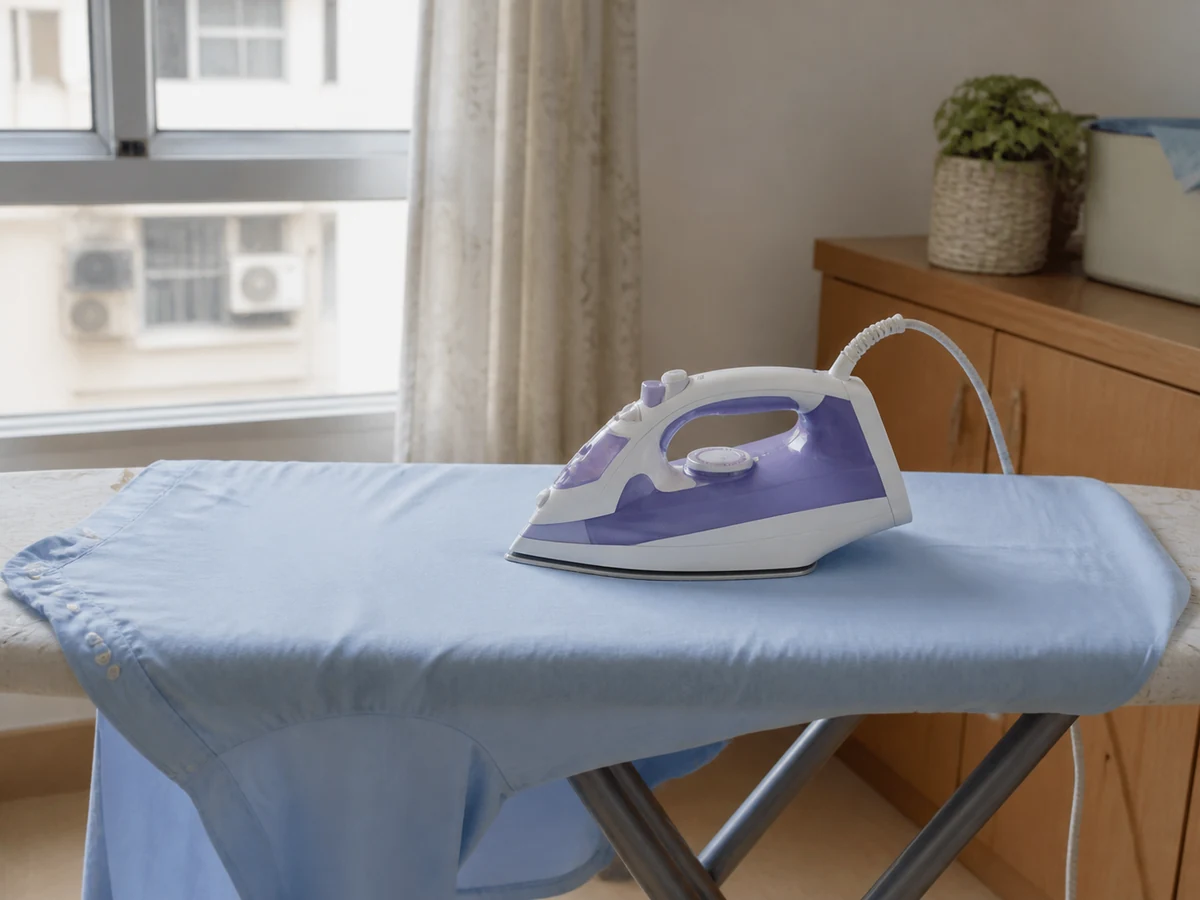
Leaving a hot iron flat on the shirt.
✓ Correct actionPut it on the model’s stable rest whenever pausing and never leave it unattended.
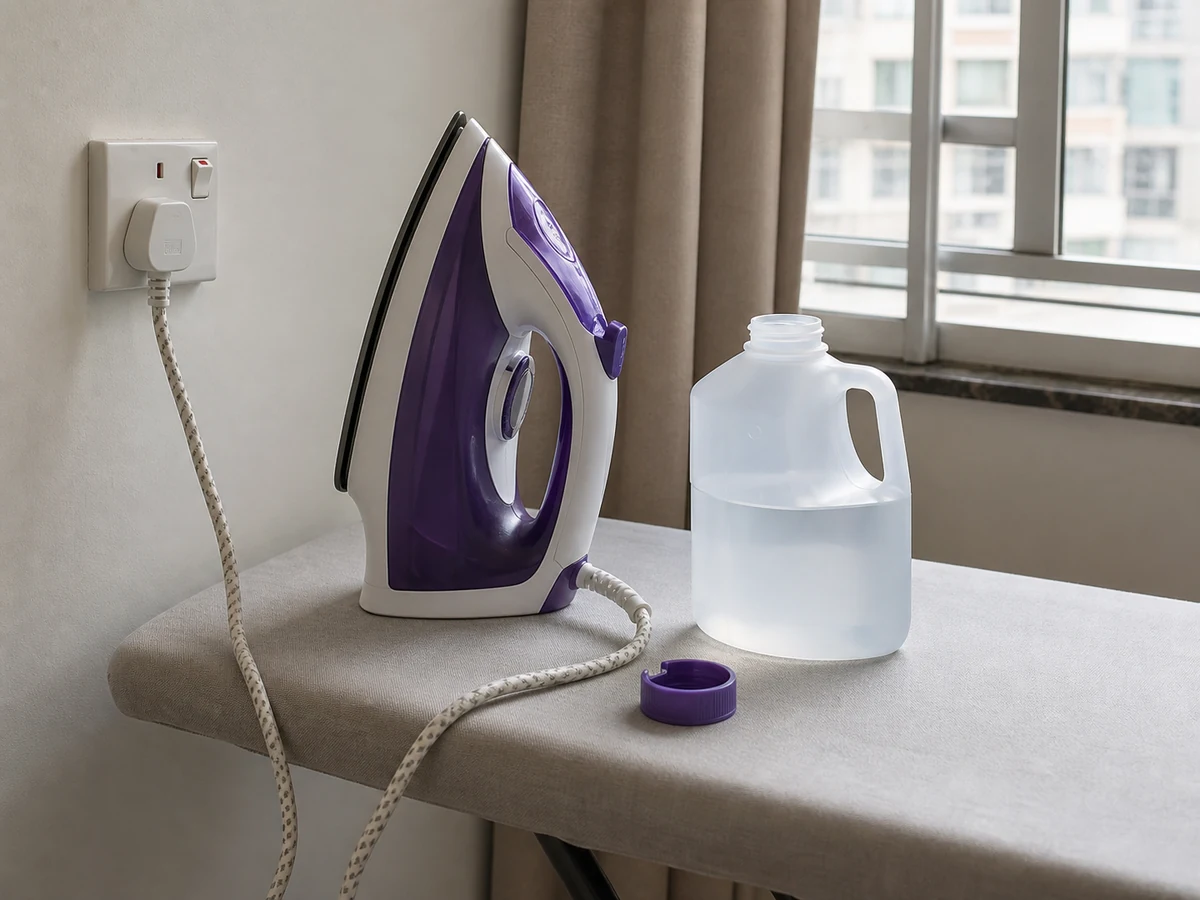
Adding water while the iron remains plugged in.
✓ Correct actionSwitch off, unplug and fill only as the manual directs.
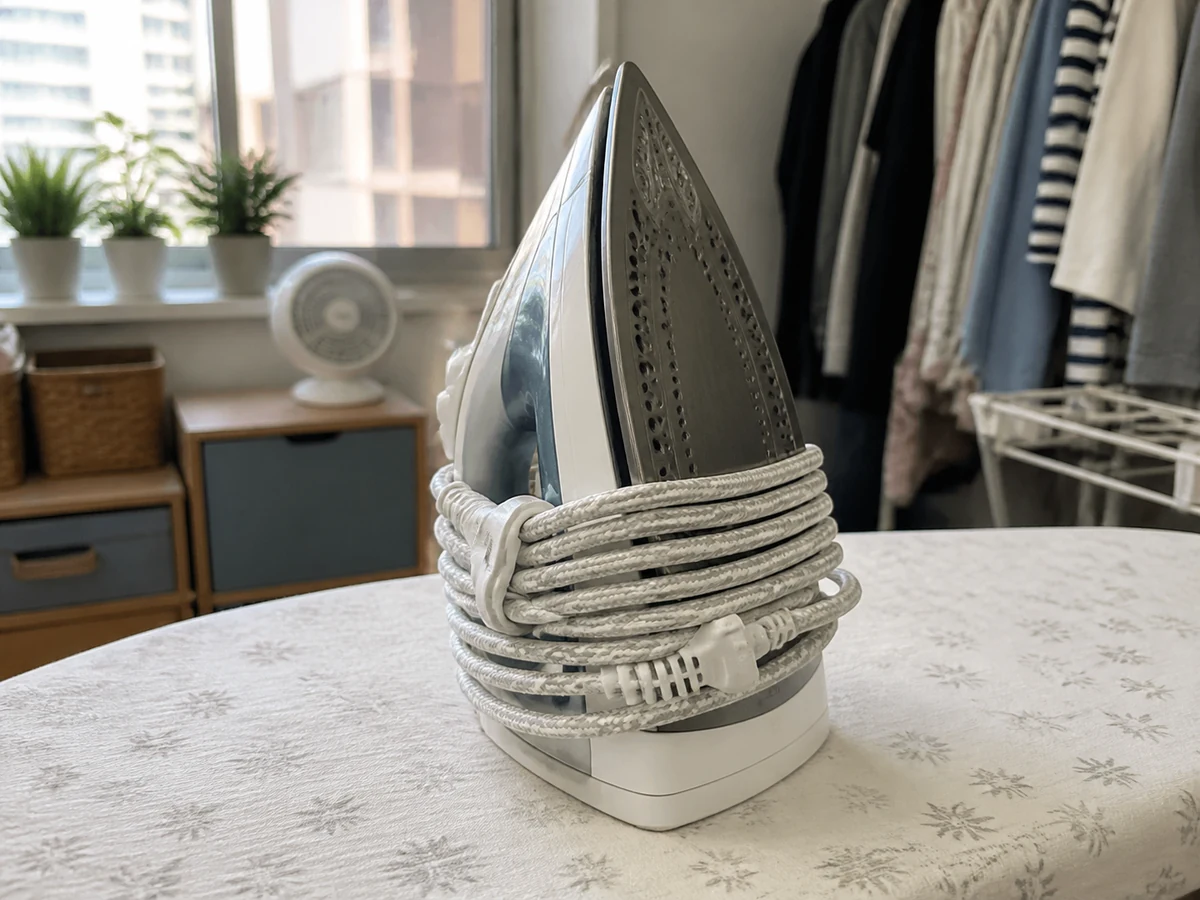
Wrapping the cord and storing before cooling.
✓ Correct actionCool completely on a stable heat-resistant surface, then store by the manual.
Practical tips
Tips for helpers
- Finish collar, cuffs and sleeves before the large front and back panels to reduce new creases.
- Hang the finished shirt immediately and fasten the top button to help hold its shape.
Tips for employers
- Identify non-iron items, special-care fabrics and decorated shirts.
- Provide the manufacturer manual and a stable board; never require an unknown setting.
Completion checklist
Checked 0 / 8