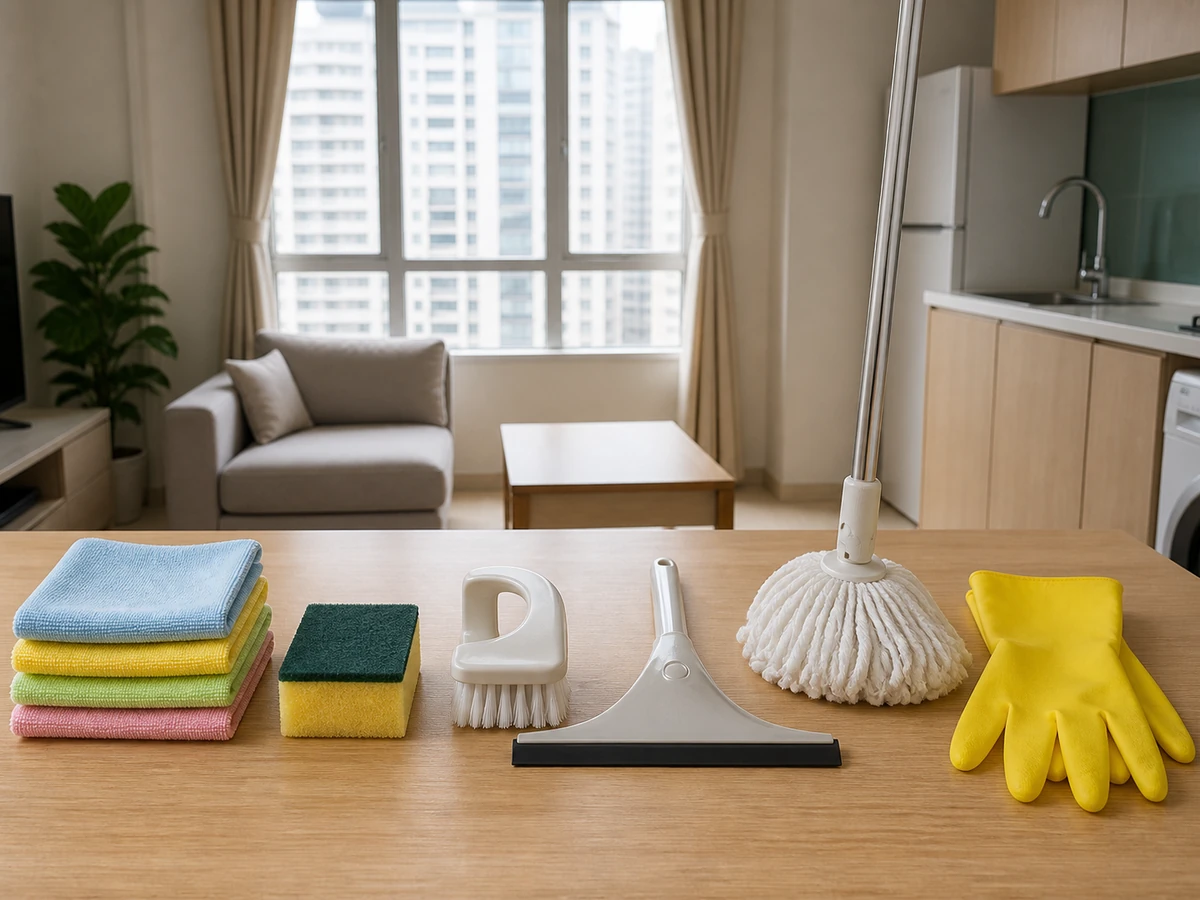
Cleaning products and safety
Common Cleaning Tools and What They Are For
Five steps to identify, match, separate and maintain tools
Overview
Tools with similar names can differ in material, abrasiveness and surface suitability. Read the packaging and surface instructions, then test discreetly. Never assume a scouring pad is safe from its colour alone.
Tools needed
- Microfibre or other soft cloths
- Sponges and labelled scouring pads
- Soft brush and small detail brush
- Squeegee
- Mop and bucket
- Suitable gloves
Cleaning steps
Read the label and material
Confirm the intended use, abrasiveness and limits. Do not put an unidentified rough tool directly on a scratch-sensitive surface.
Match tool to surface
Use soft cloth for light wiping, soft brushes for gaps, a squeegee on compatible smooth surfaces, and scouring pads only as their exact product permits.
Test discreetly
Test a small area with the lightest pressure and inspect after drying for scratches, colour change or lost gloss.
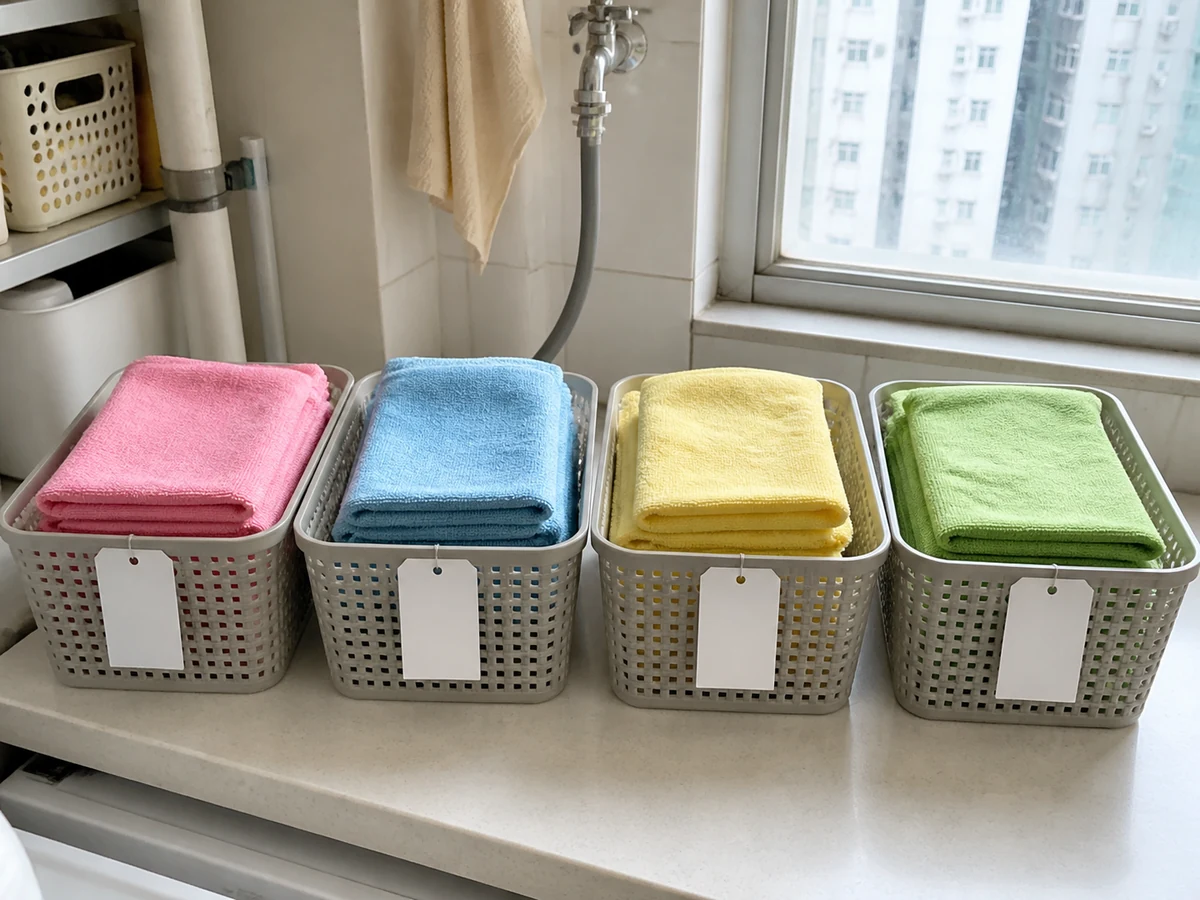
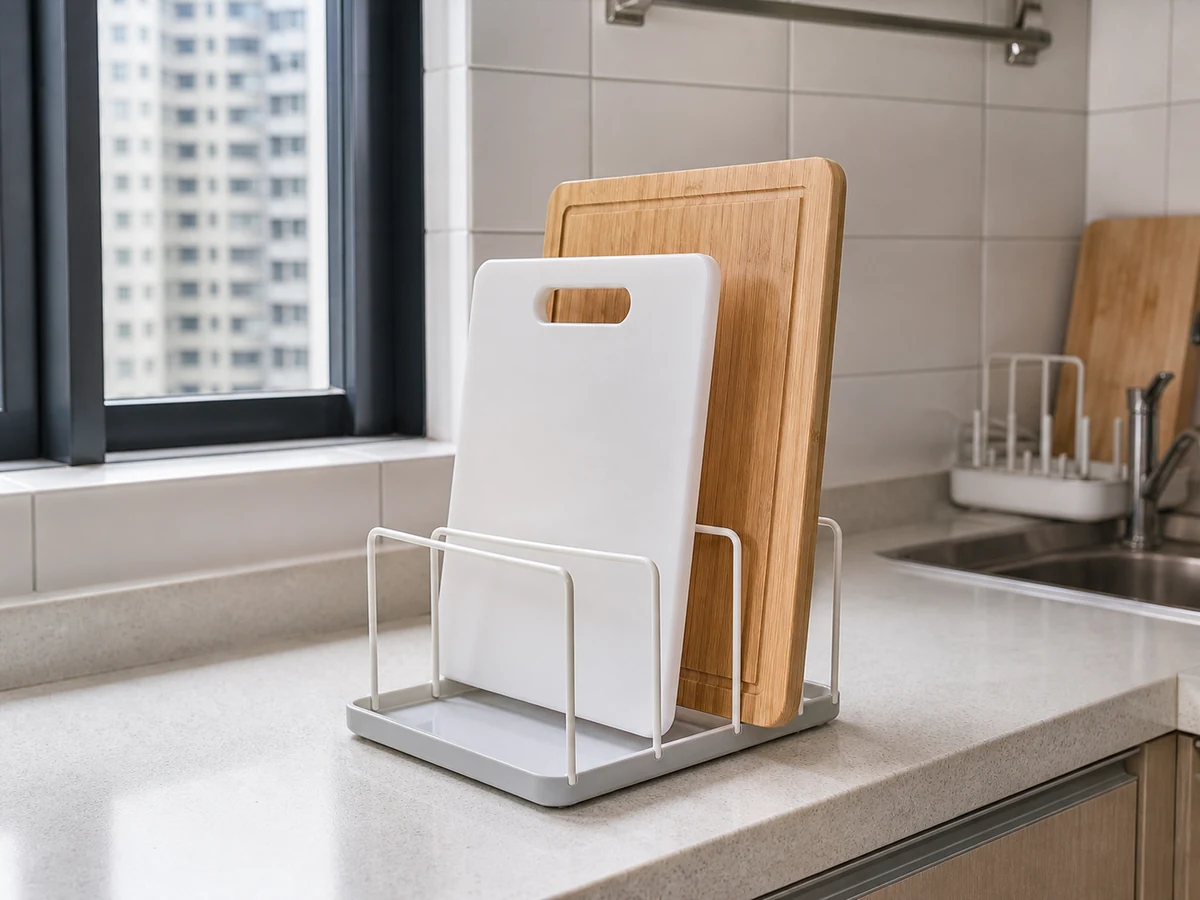
Separate by work area
Keep kitchen, bathroom, floor and food-contact tools separate using clear labels or the household colour system.
Wash, dry and replace
Remove soil, clean as the tool directs and dry fully. Replace mouldy, smelly, distorted, cracked or uncleanable tools.
Common mistakes
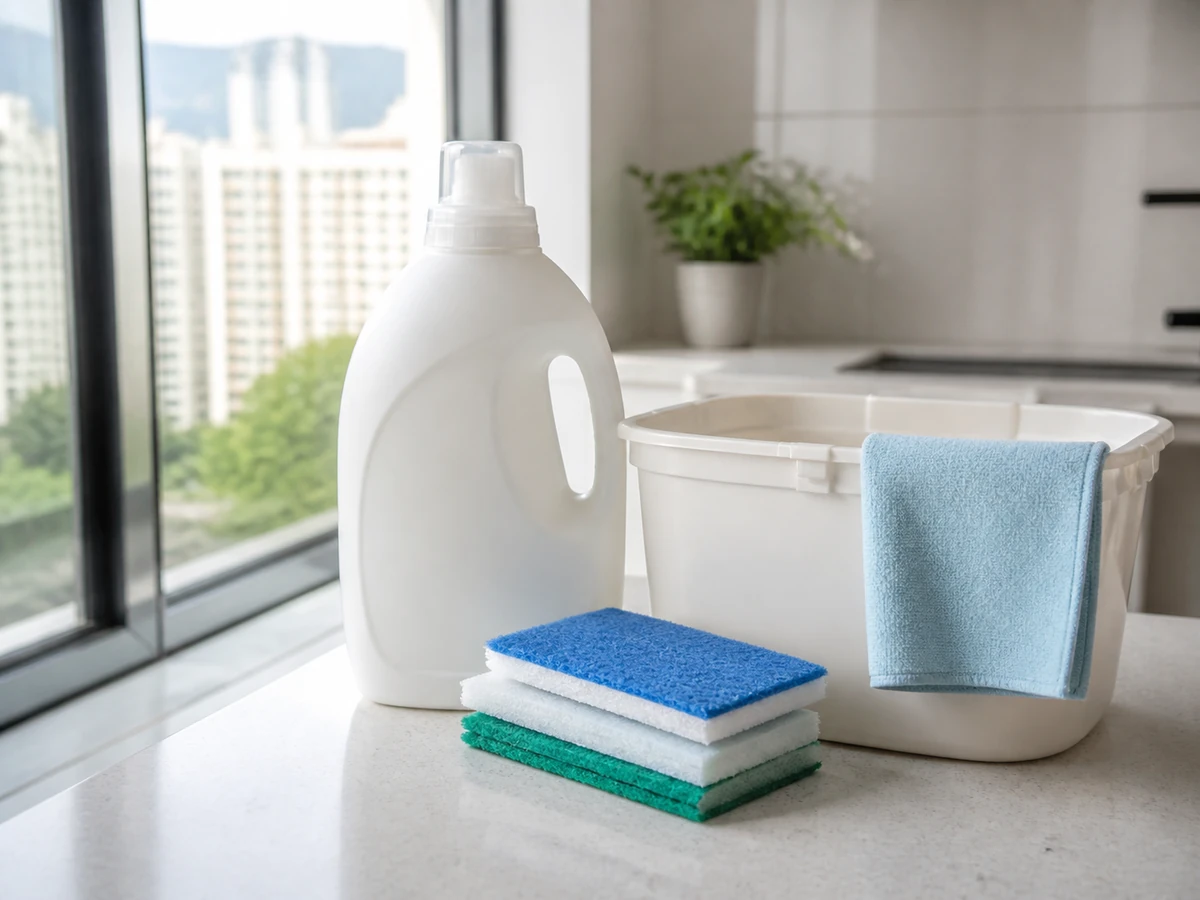
Assuming pad colour defines its use.
✓ Correct actionRead that product label; colours are not universal across brands.
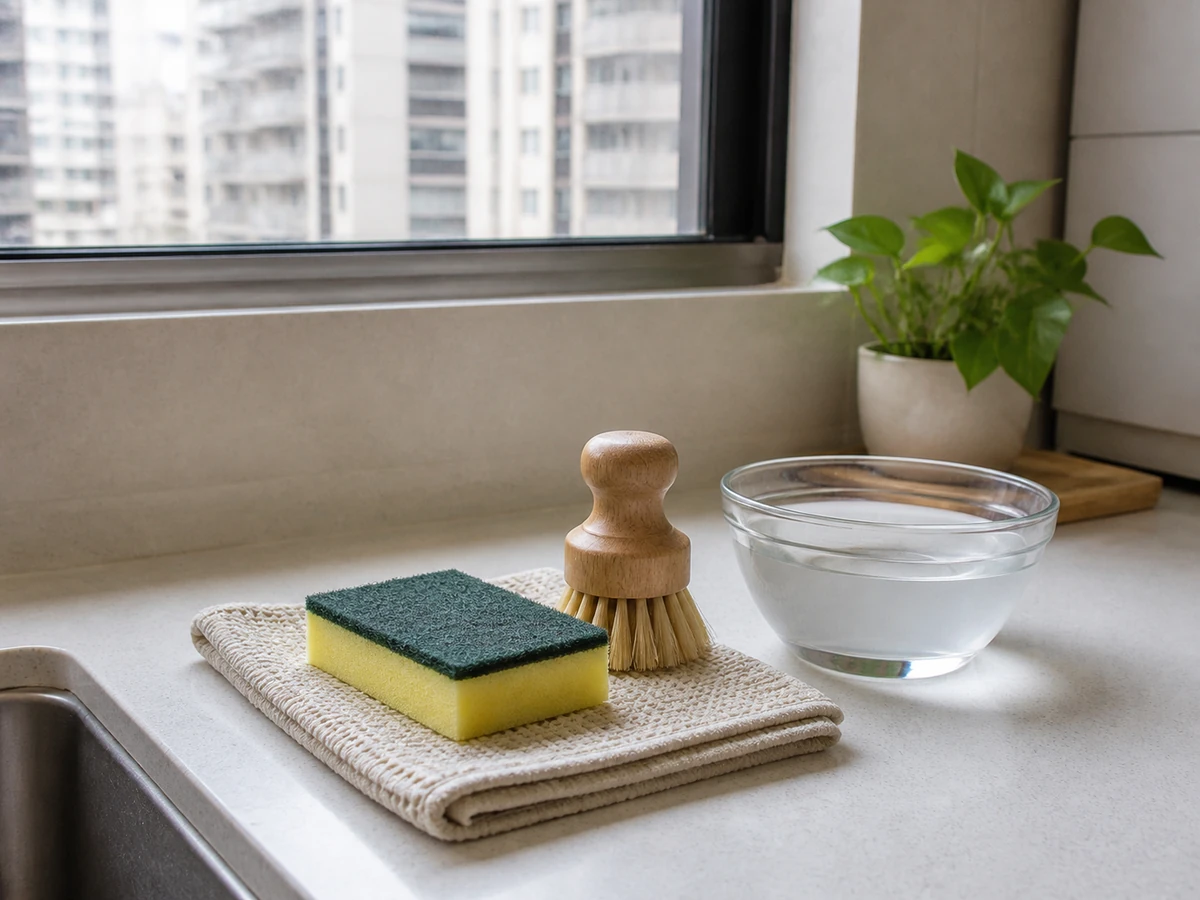
Starting with the harshest tool.
✓ Correct actionStart with the gentlest suitable tool, test, then increase only if permitted.
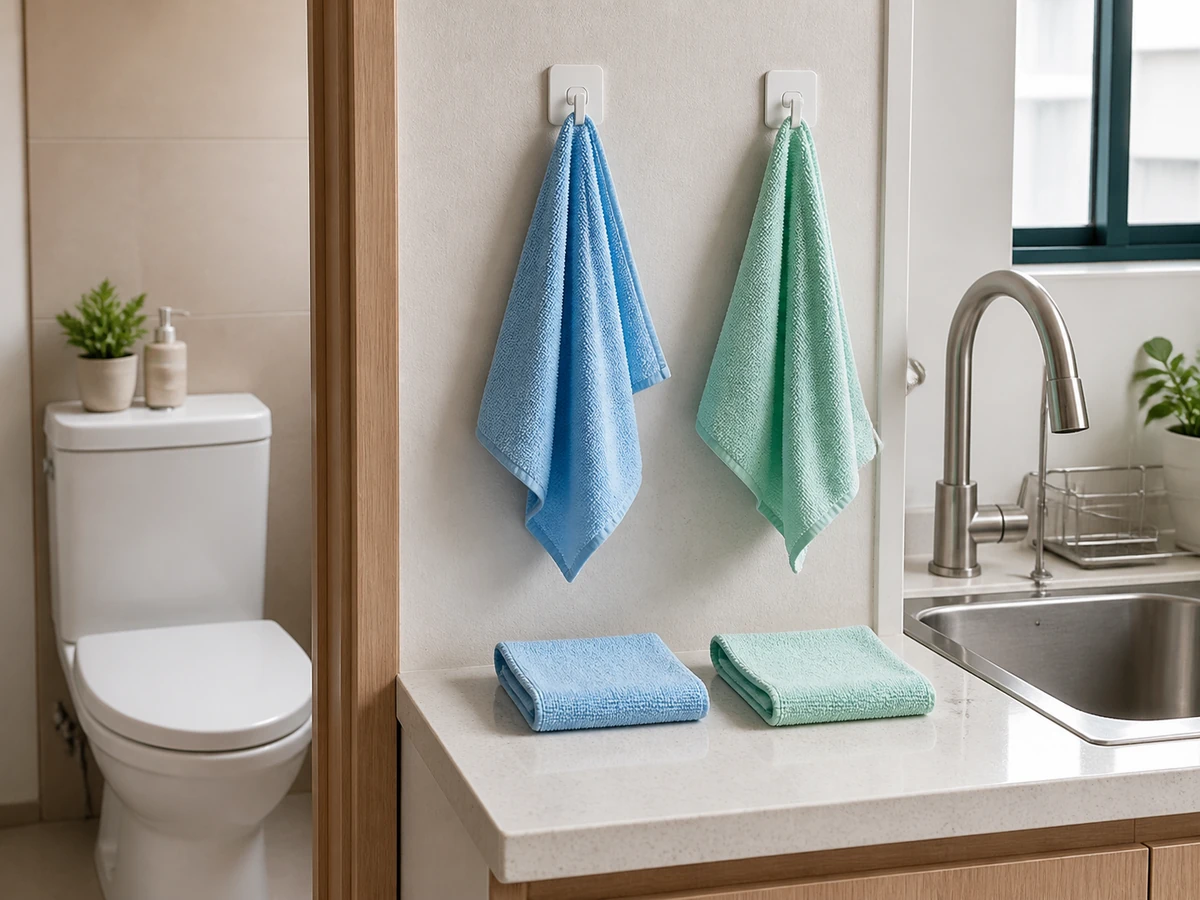
Sharing one cloth between toilet and kitchen.
✓ Correct actionSeparate and mark tools by area.
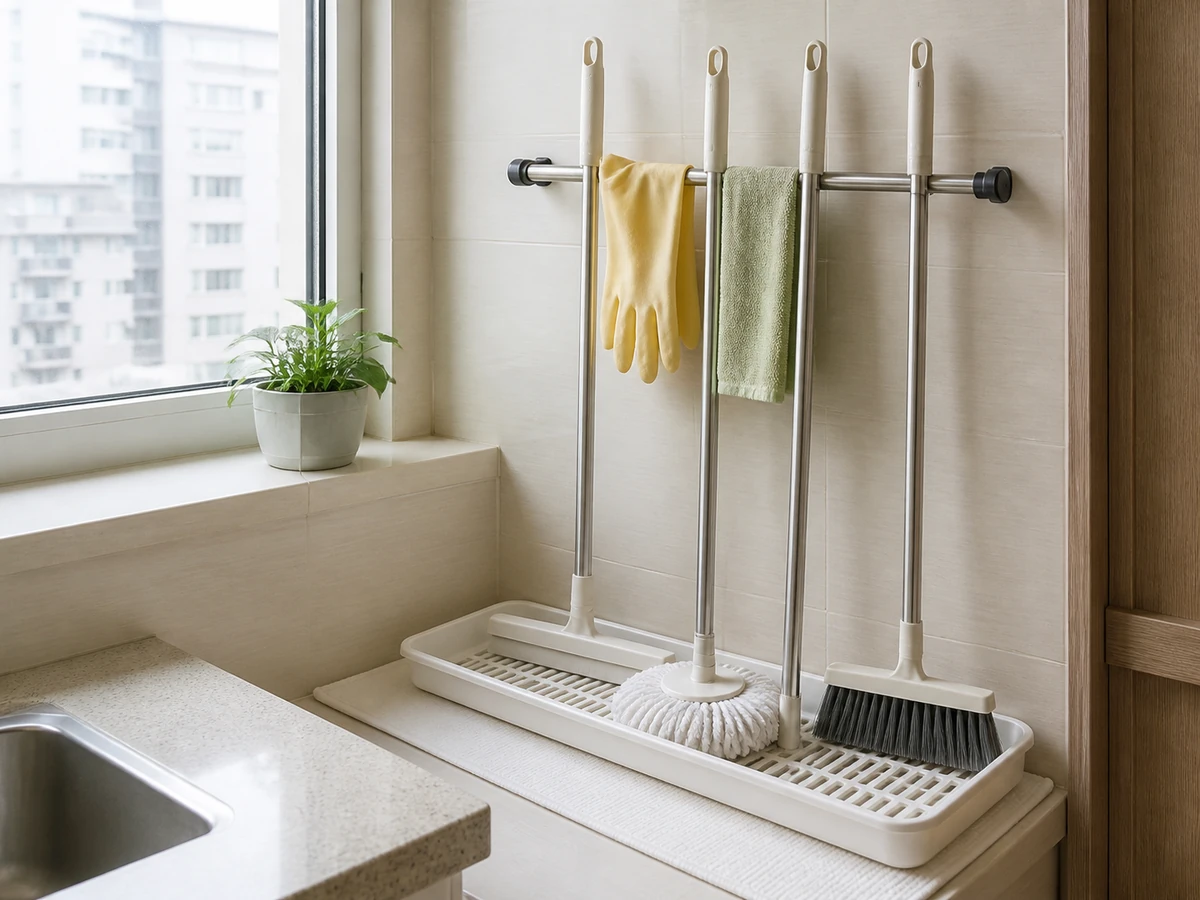
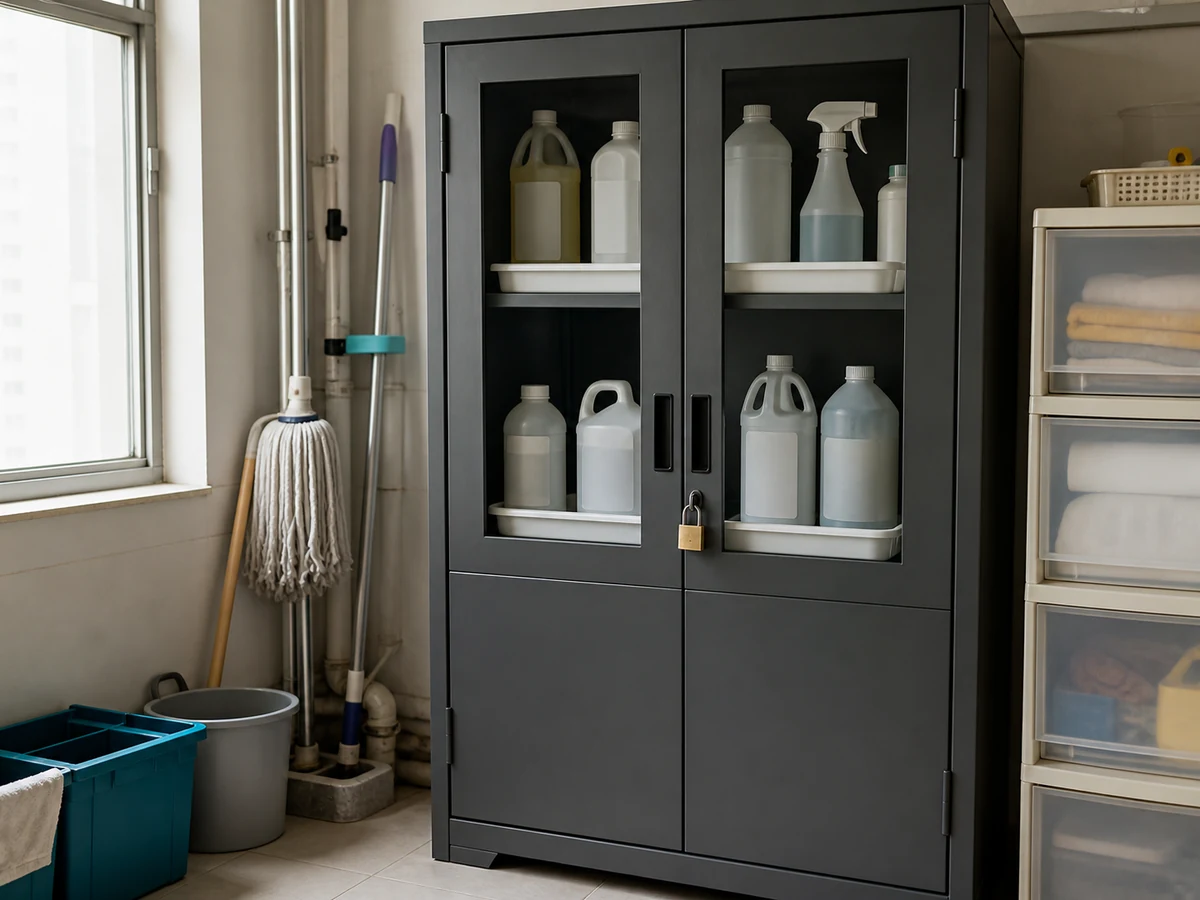
Stacking wet tools in a closed cabinet.
✓ Correct actionSpread them to dry and store only when fully dry.
Practical tips
Tips for helpers
- Use a household colour chart for assigned areas only, not abrasiveness.
- Record test results on the tool box label, never by marking the surface.
- Dry small brushes and detachable mop parts separately.
Tips for employers
- Provide identifiable tools with labels where possible and identify valuable or special surfaces.
- Agree the colour zones and replacement standard together.
Completion checklist
Checked 0 / 6