Home cleaning
The Correct Order for Vacuuming and Mopping
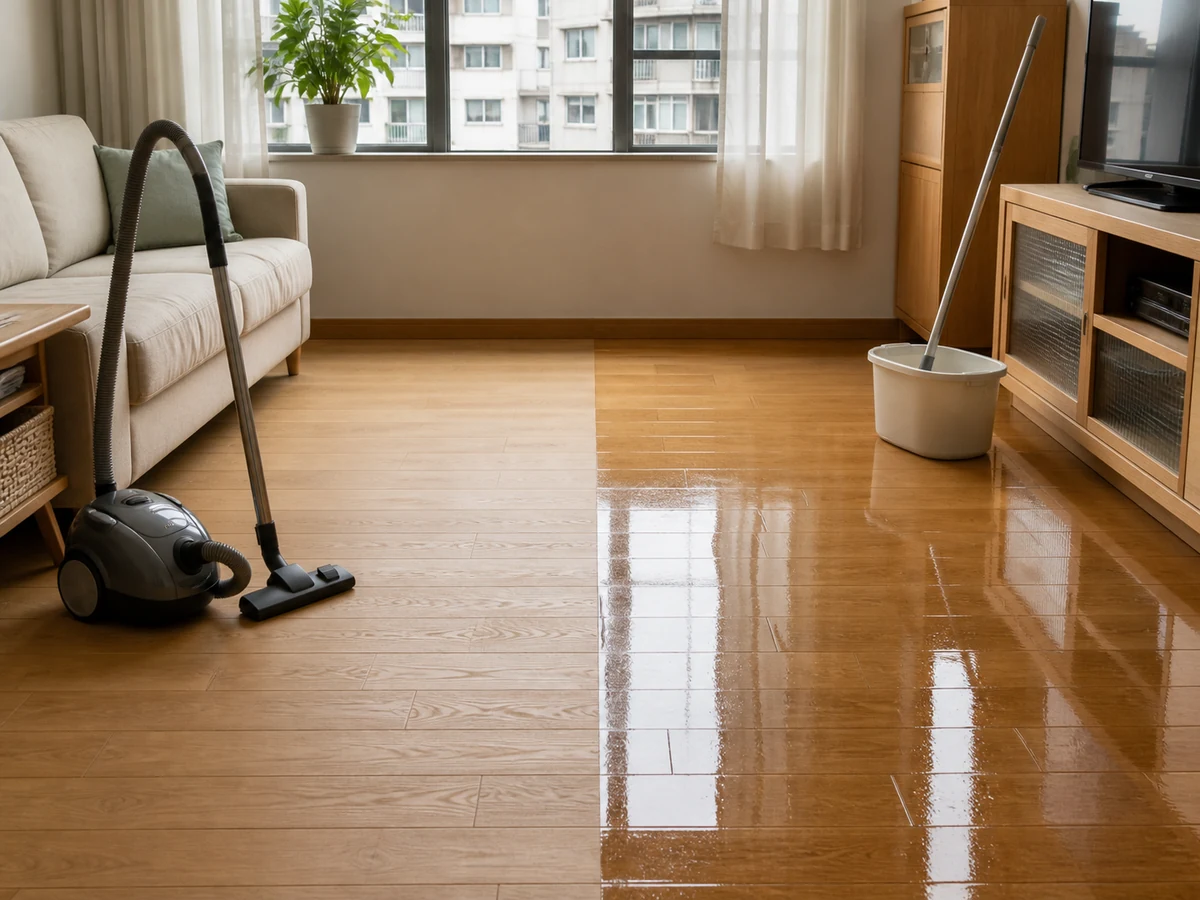
Declutter and dust first, vacuum second, then mop for the floor type
Overview
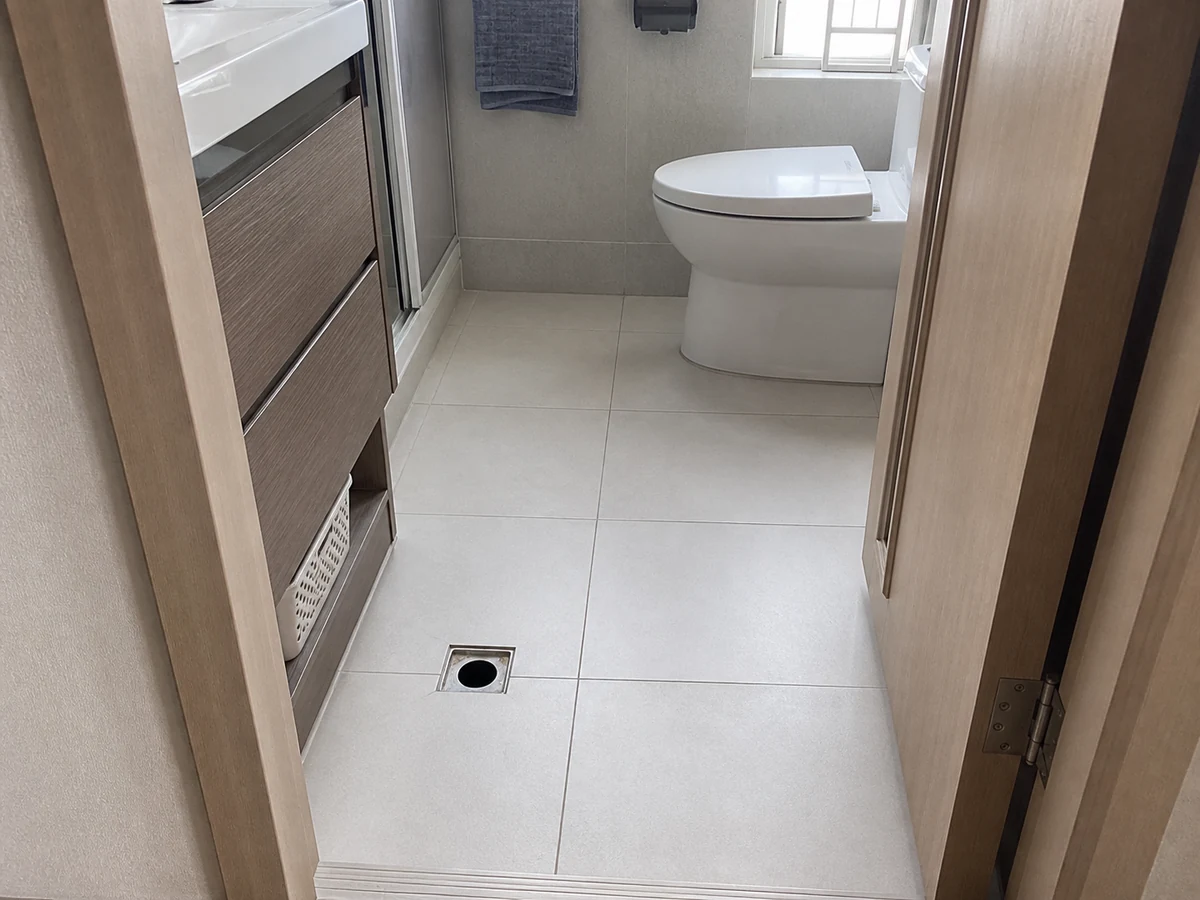
A practical order is to clear objects and high dust, vacuum from the far area toward the exit, then mop as the floor allows. Water and product requirements differ for wood, stone and tiles, so follow the employer, floor maker and cleaner label.
Tools needed
- Sound vacuum with suitable head
- Mop suitable for the floor
- Two buckets or separate clean and rinse sections
- Cleaner approved for the floor and household
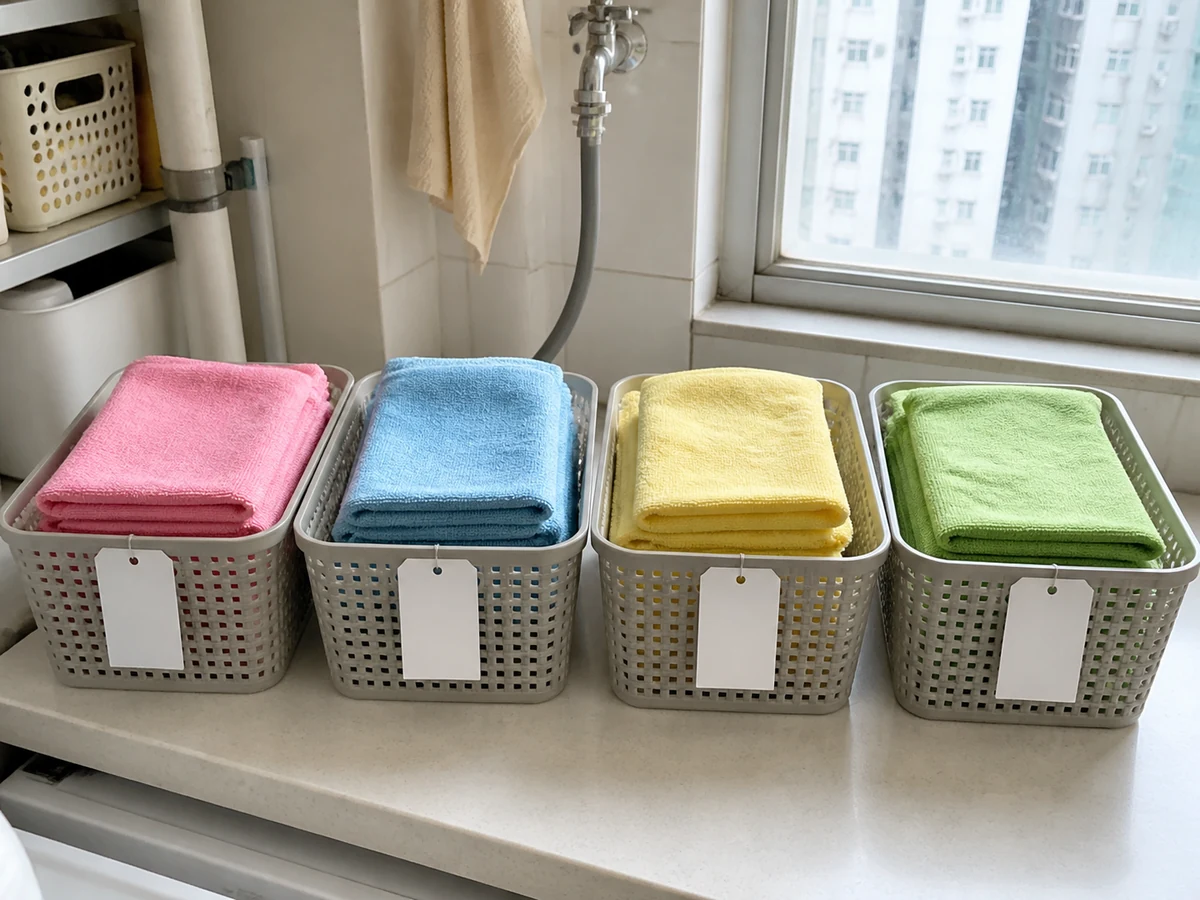
- Dry cloth
- Wet-floor marker or safe barrier
Cleaning steps
Clear the area and choose tools
Remove small items and obstacles, identify the floor and suitable cleaner and vacuum head, and check for cord or floor hazards.
Dust from high to low
Clean suitable furniture surfaces and skirting first so fallen dry dust can be vacuumed.
Vacuum toward the exit
Use slow overlapping paths, edges first and open areas next. Keep the cord from becoming a trip hazard and do not vacuum water or unsuitable sharp items.
Prepare to mop and mark the area
Mix only as the floor and product label directs, do not strengthen it by guesswork, wring to the correct dampness and place a wet-floor marker while keeping a route open.
Mop toward the exit
Work in small overlapping sections. Rinse the mop or change dirty water when visibly soiled so dirt is not spread back.
Dry and finish
Keep people away until the floor is dry, wash and air-dry mop tools, and service the vacuum only according to its manual.
Common mistakes
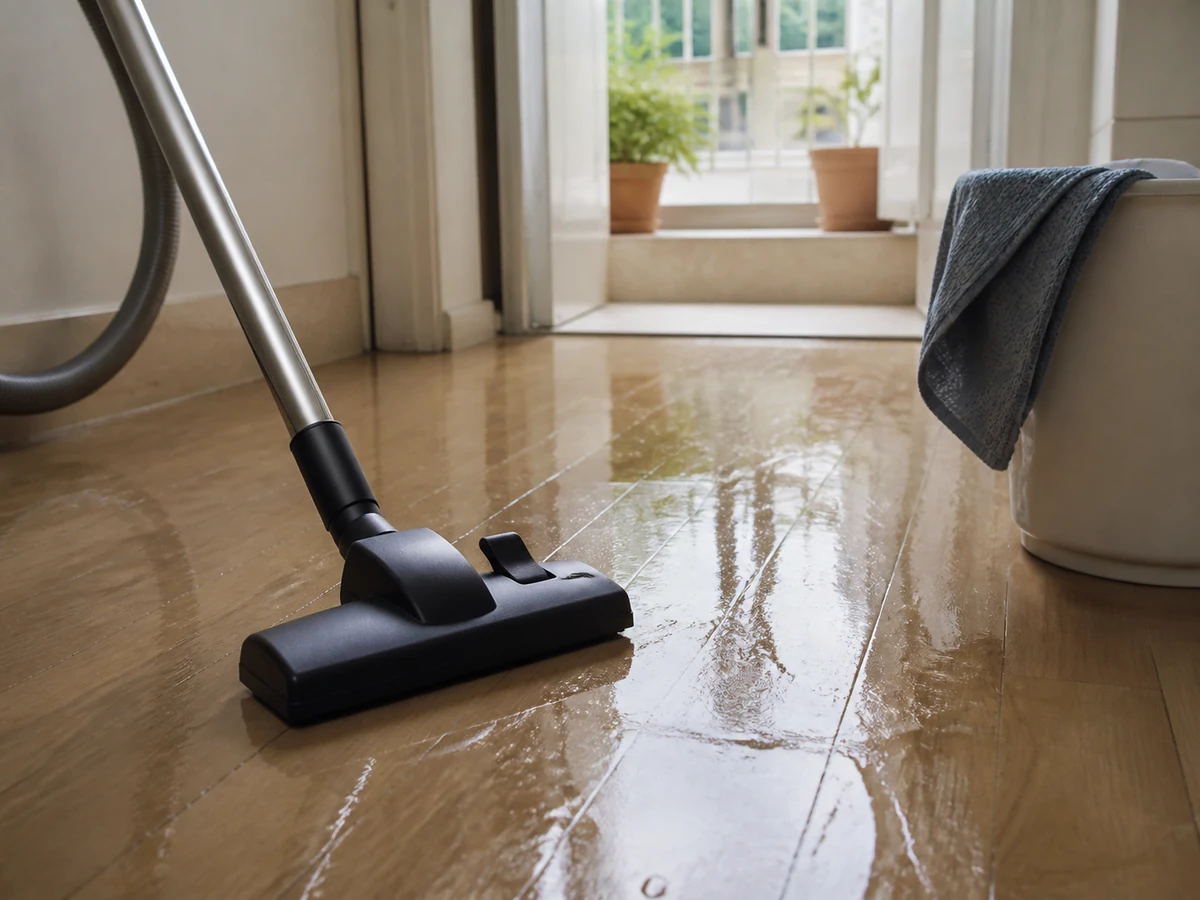
Mopping first and then vacuuming the wet floor.
✓ Correct actionRemove dry dust first and prepare to mop only while the floor is dry.
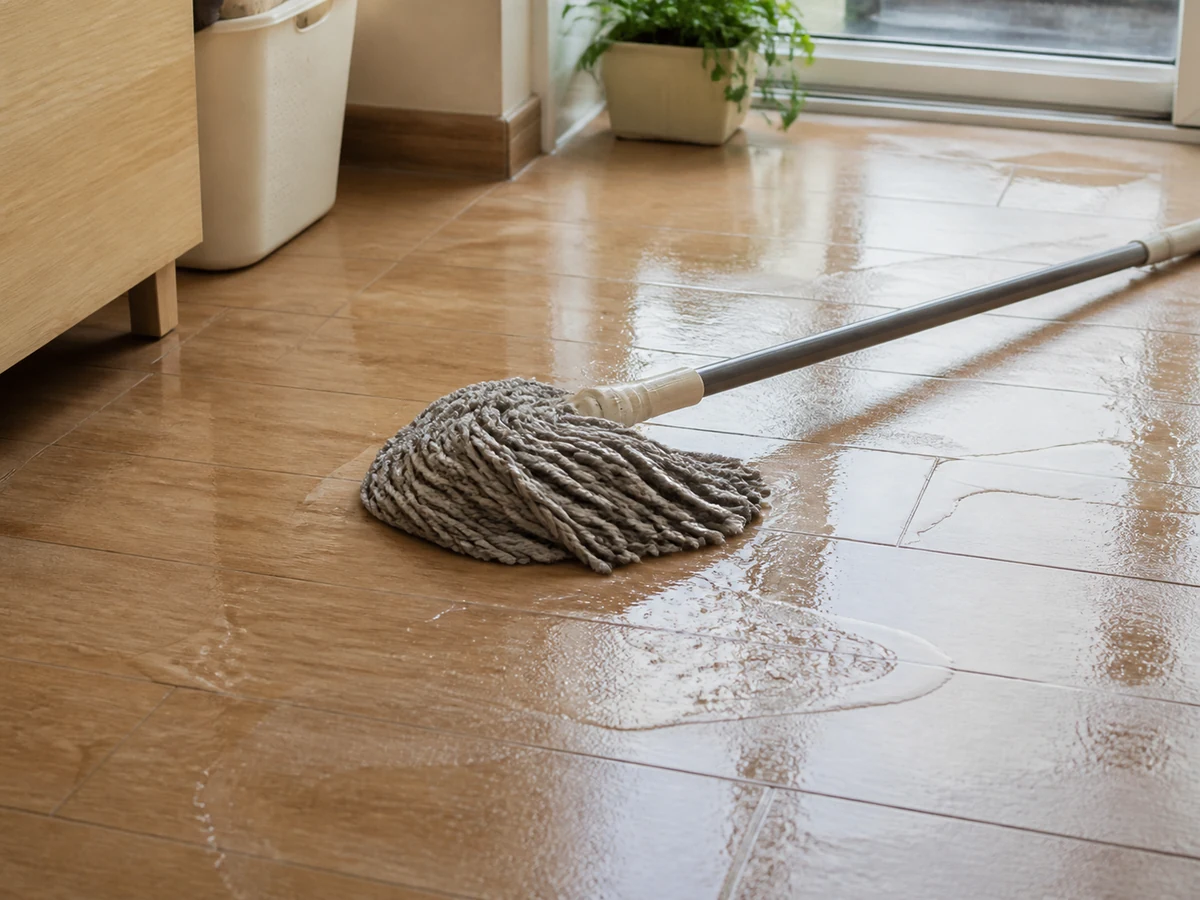
Using a soaking-wet mop on every floor.
✓ Correct actionControl water by the floor requirements, especially for wood.
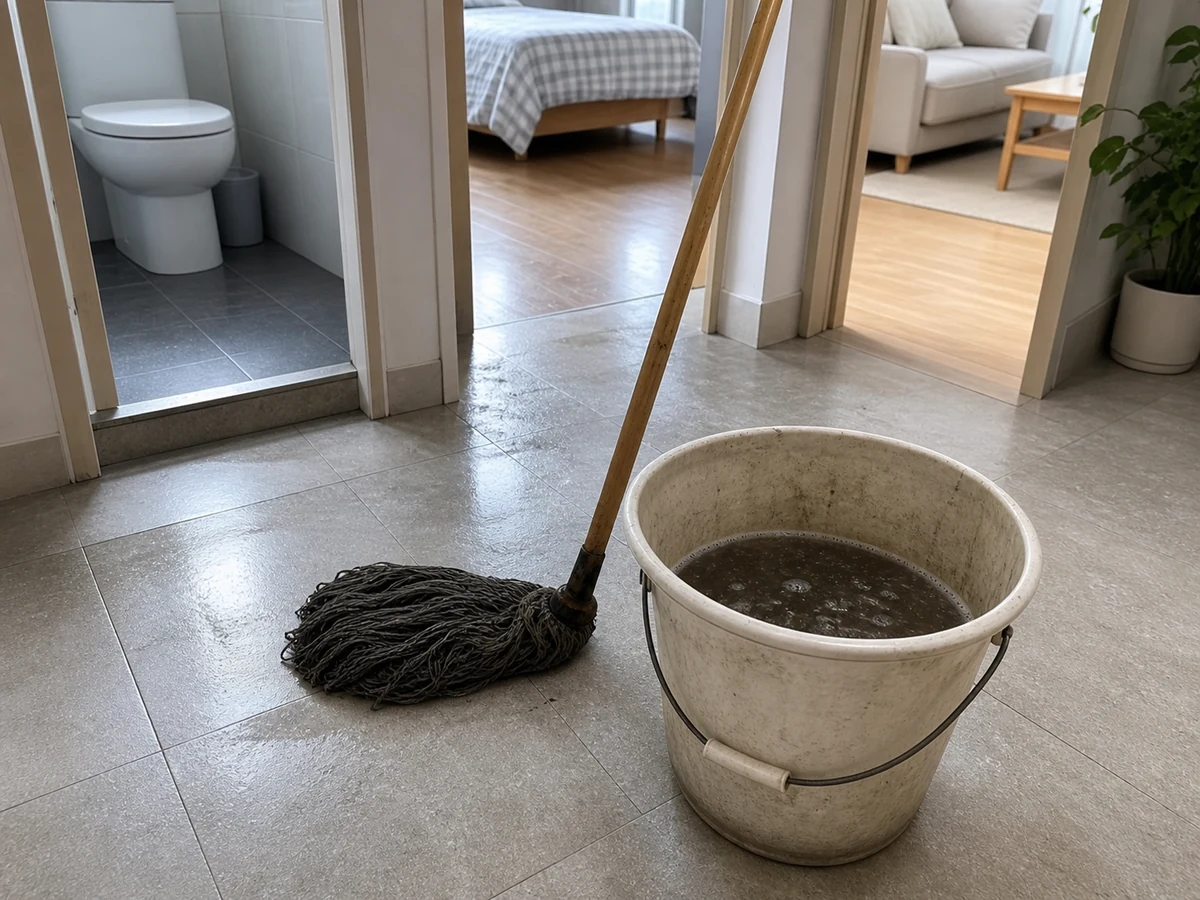
Using one bucket of dirty water throughout the home.
✓ Correct actionRinse by zone and change visibly dirty water.
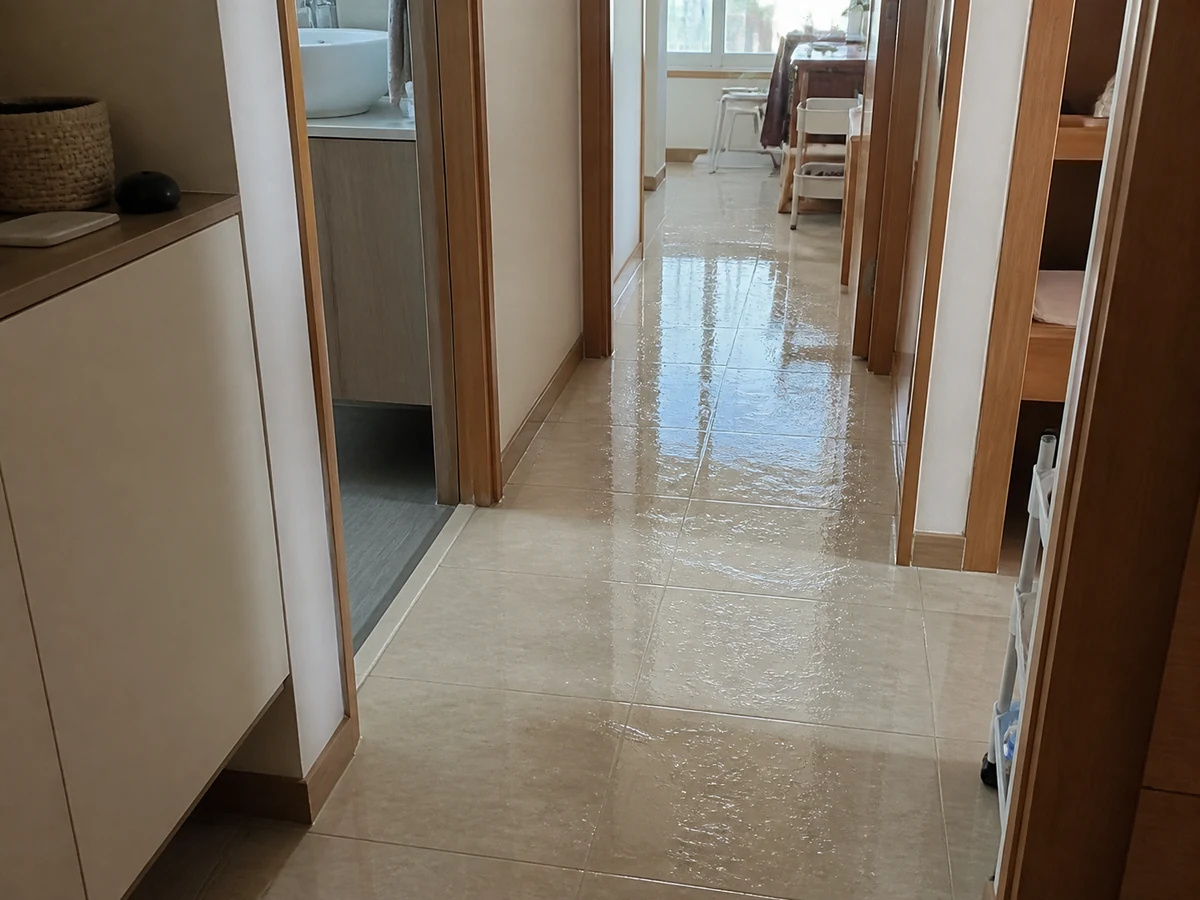
Leaving a wet floor without warning.
✓ Correct actionMark or block the area, keep a route and wait until dry.
Practical tips
Tips for helpers
- Divide rooms into small zones and move tools after finishing each one.
- Finish near the doorway so you can leave without stepping back onto wet flooring.
Tips for employers
- Identify the floor finish, prohibited products and protected areas.
- Choose a time that allows wet flooring to dry without blocking the household.
Completion checklist
Checked 0 / 6