Families with children
How to Clean a Child Car Seat by the Maker's Instructions
A practical sequence from “Confirm the model” to “Dry and hand over”
Overview
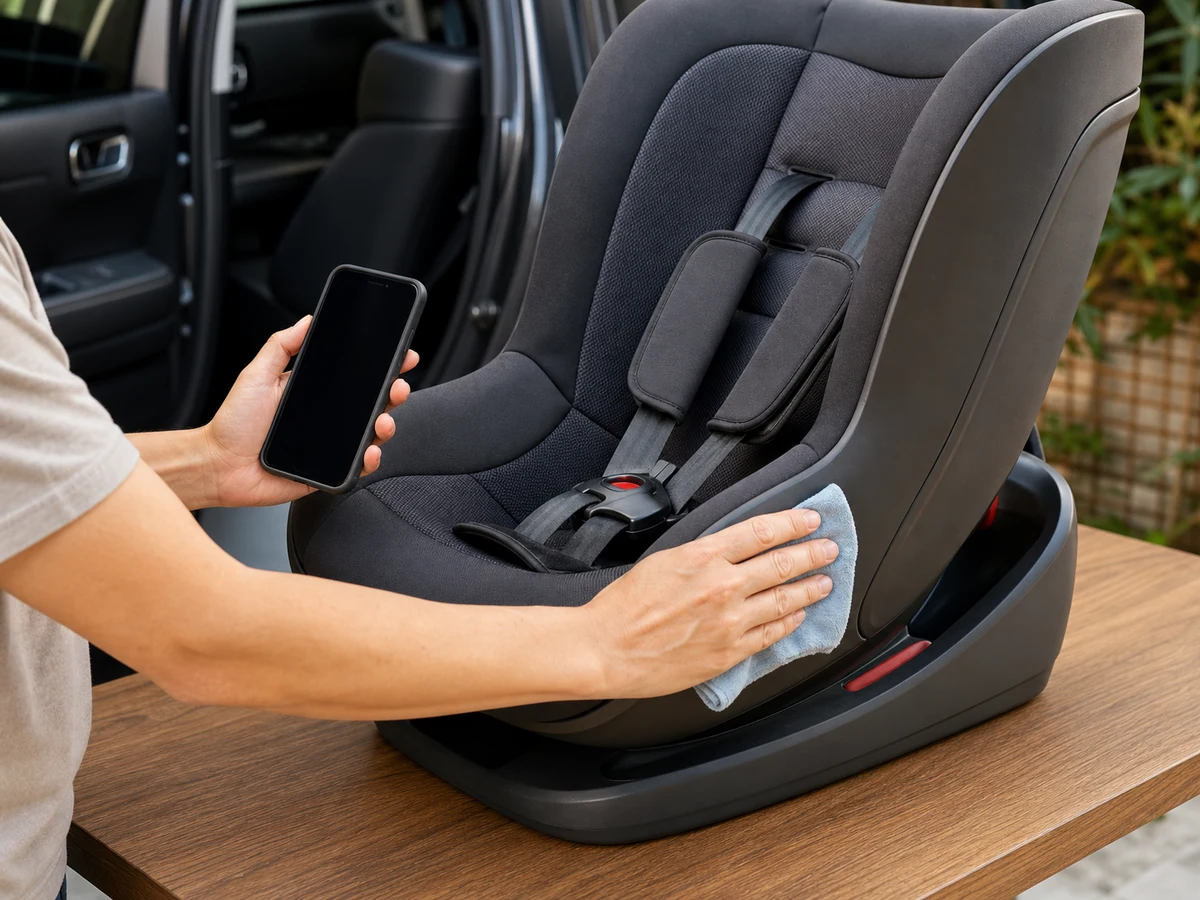
Identify the exact model and manual, then photograph harness routing and installation. Clean the cover, harness, buckle and shell only as directed; never bleach, iron or soak the harness unless expressly allowed. Once fully dry, a responsible adult checks and reinstalls it.
Tools needed
- Exact model manual
- Phone camera
- Soft cleaning cloth
- Approved mild cleaner
Cleaning steps
Confirm the model
Check the label and manual for removal, washing and drying rules.
Record the setup
Photograph harness routing, buckle position and vehicle orientation.
Clean as directed
Remove only allowed parts and clean each by its stated method.
Dry and hand over
Refit only when fully dry, then have a responsible adult check and reinstall.
Common mistakes
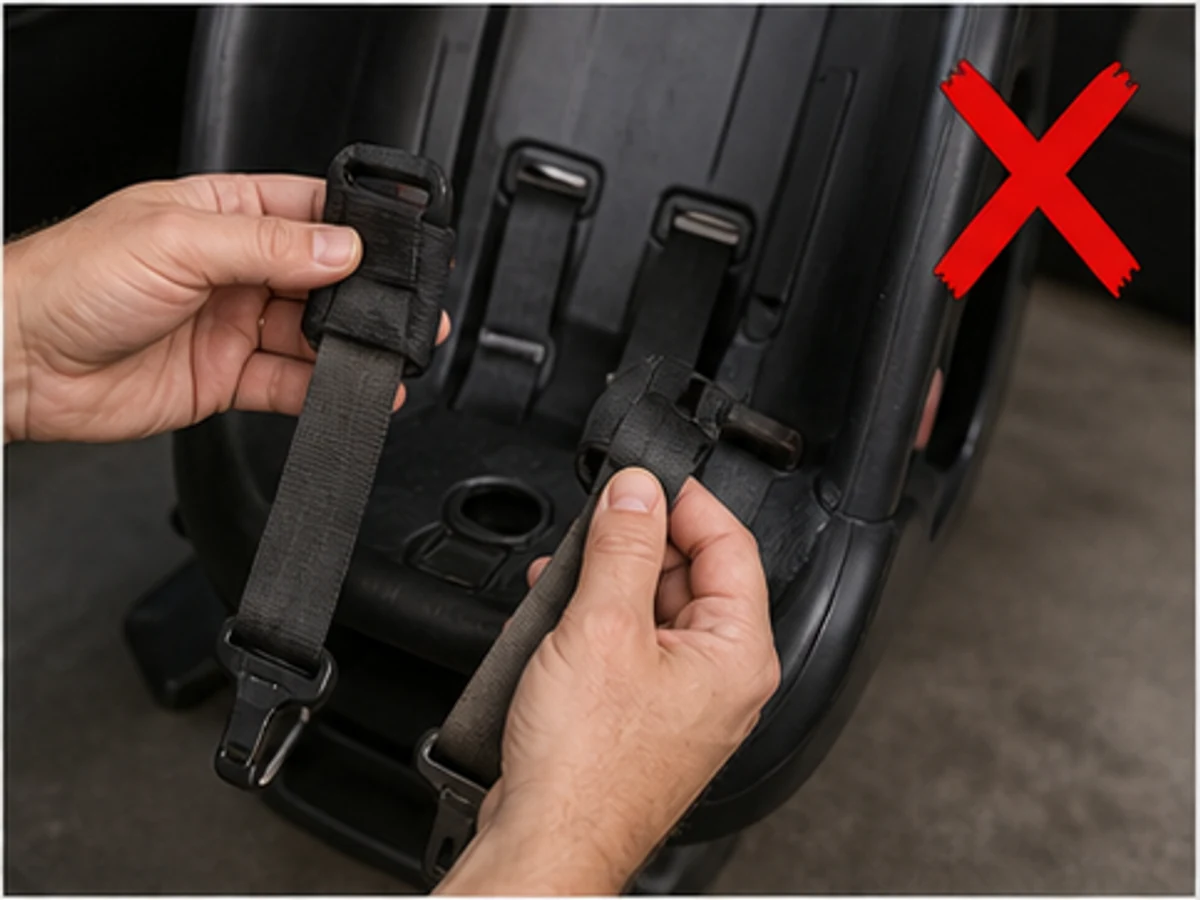
Removing the harness without the manual
✓ Correct actionFind the exact instructions and remove only permitted parts.
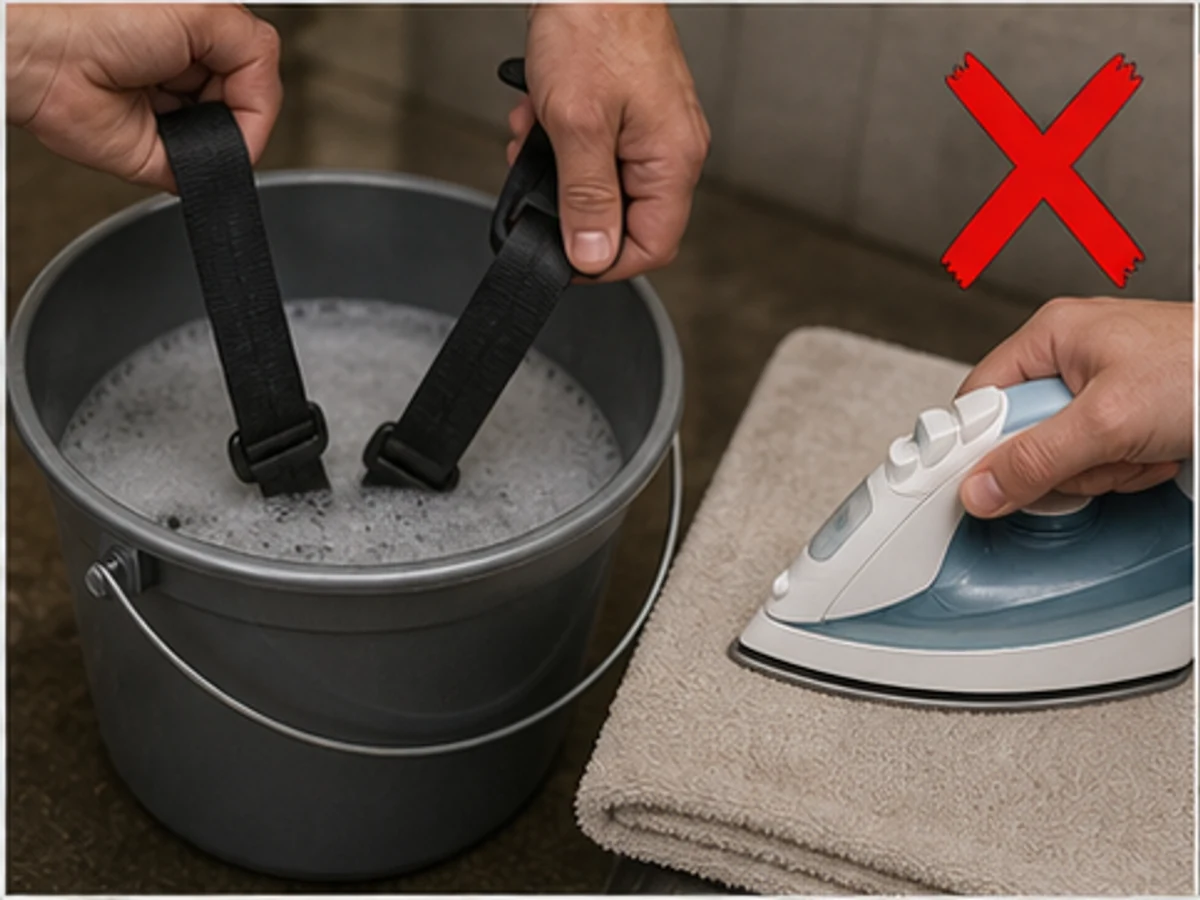
Bleaching, ironing or soaking the harness
✓ Correct actionTreat the harness only as the maker specifies.
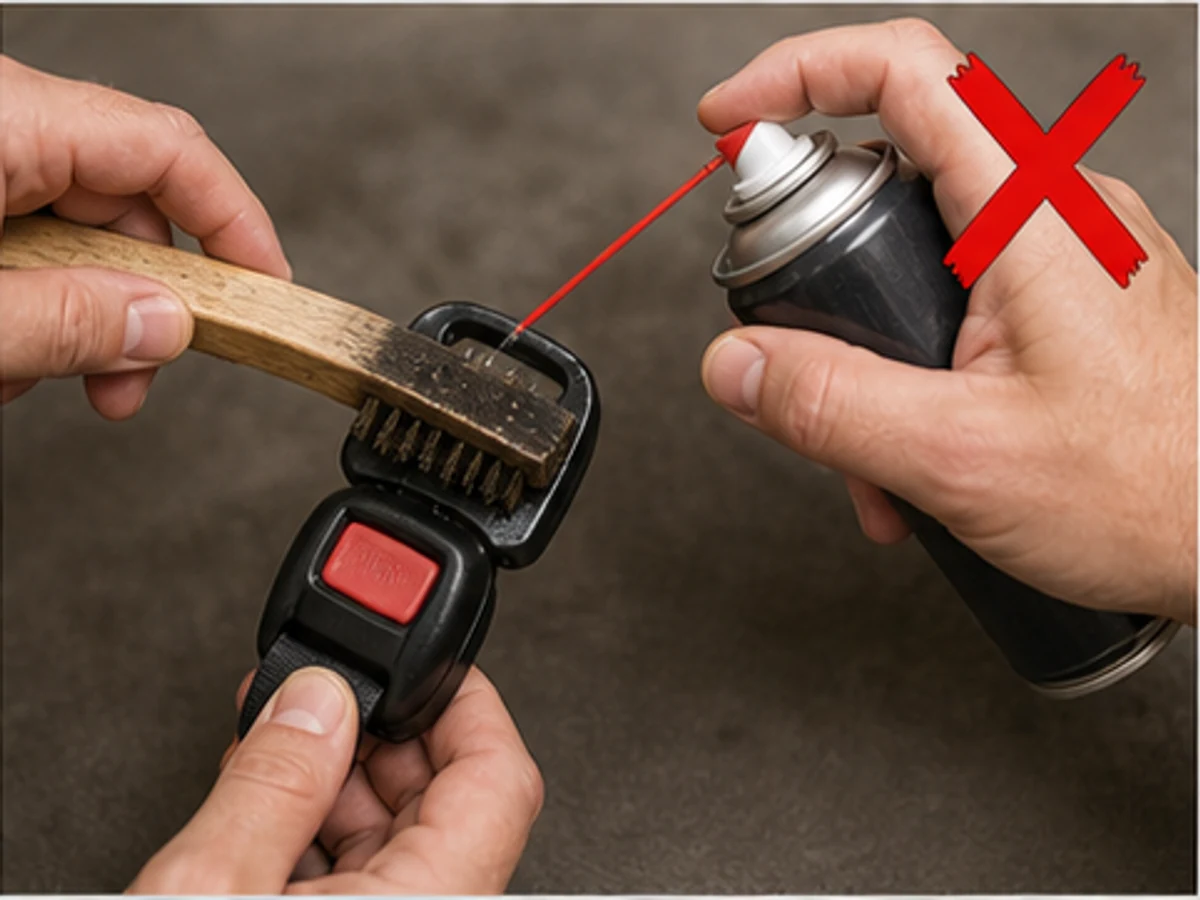
Using a hard brush or lubricant on the buckle
✓ Correct actionUse only the methods and products the manual permits.
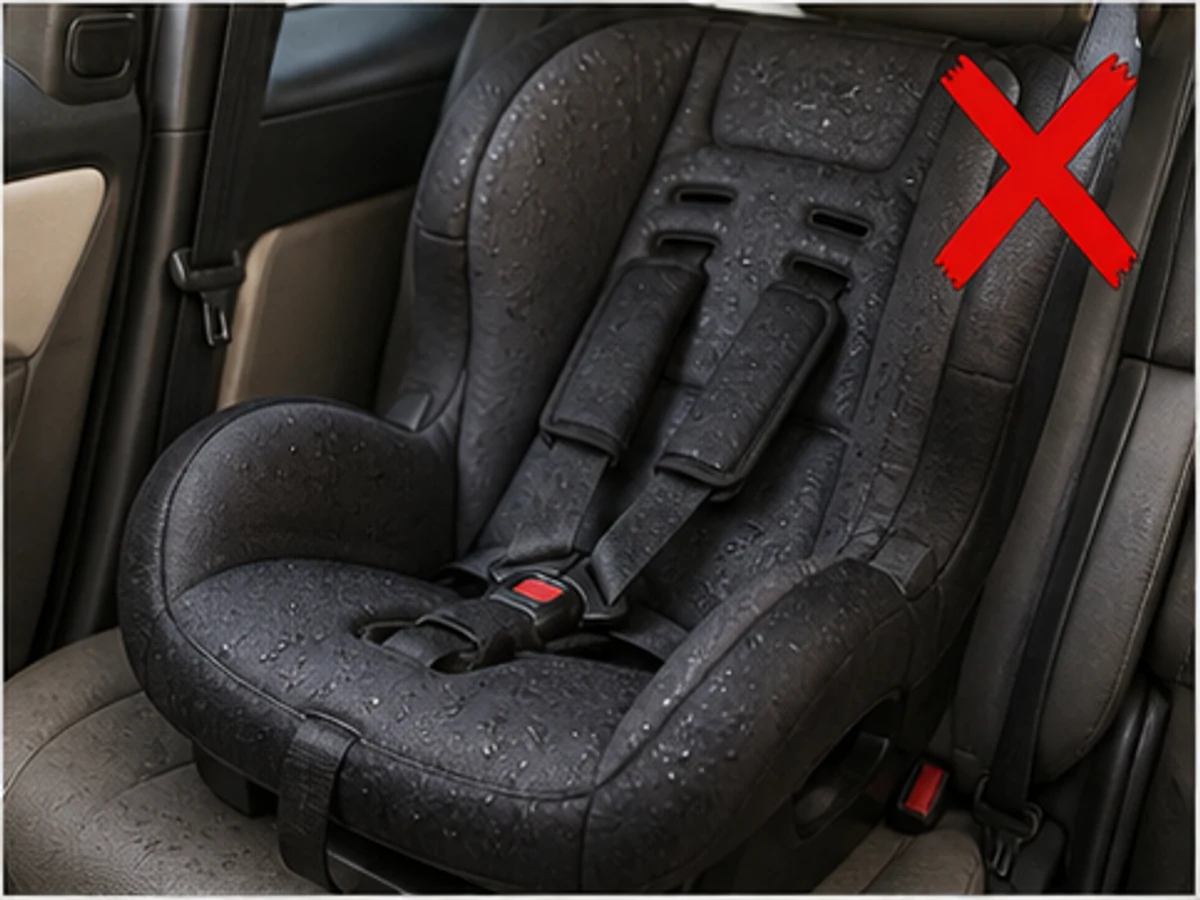
Reinstalling while damp
✓ Correct actionDry fully and have a responsible adult verify installation.
Practical tips
Tips for helpers
- Lay removed parts in order and photograph them; never mix parts from different seats.
- If the manual is missing or unclear, stop and ask the employer to check with the maker.
Tips for employers
- Provide the exact manual and identify who handles removal and final installation.
- Check crash history, expiry, recall or damage with the maker or a suitable professional.
Completion checklist
Checked 0 / 4