Bathroom cleaning
Clean, Dry and Store a Toilet Plunger
Contain the tool after use, then clean, air-dry and store it upright; this is not a drain-unblocking or chemical-mixing guide.
Overview
A toilet plunger is a contaminated tool. Handle only the tool after use and keep it separate from general household supplies.
Tools needed
- Nitrile gloves
- Covered drip tray
- Toilet-only cleaner
- Toilet-only drying cloth
Cleaning steps
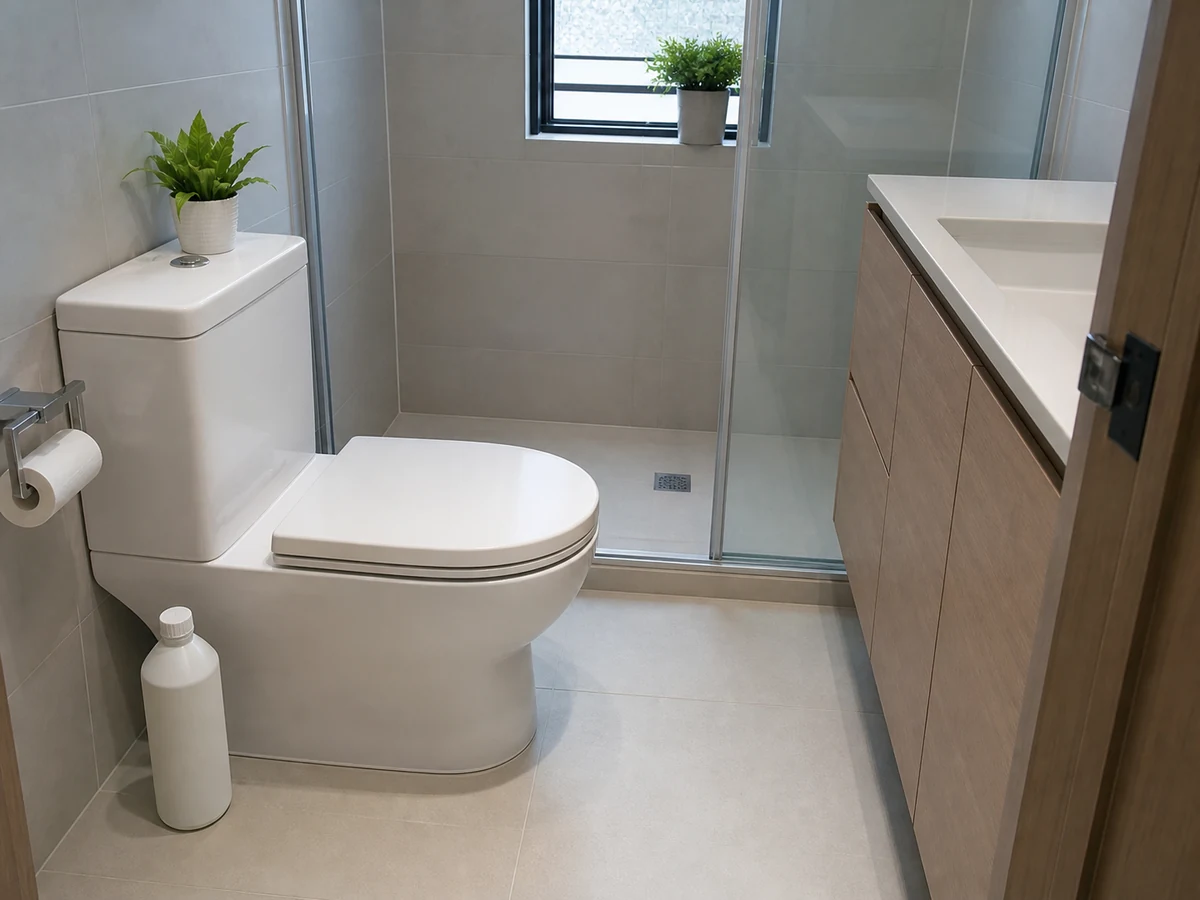
Wear suitable gloves and let the plunger drip briefly inside the toilet to avoid carrying drips through the bathroom
Wear suitable gloves and let the plunger drip briefly inside the toilet to avoid carrying drips through the bathroom.
Clean the cup, handle and drip tray with a toilet-only product as labelled
Clean the cup, handle and drip tray with a toilet-only product as labelled; never mix products.
Remove residue as directed and air-dry with the cup facing down in a ventilated place
Remove residue as directed and air-dry with the cup facing down in a ventilated place.
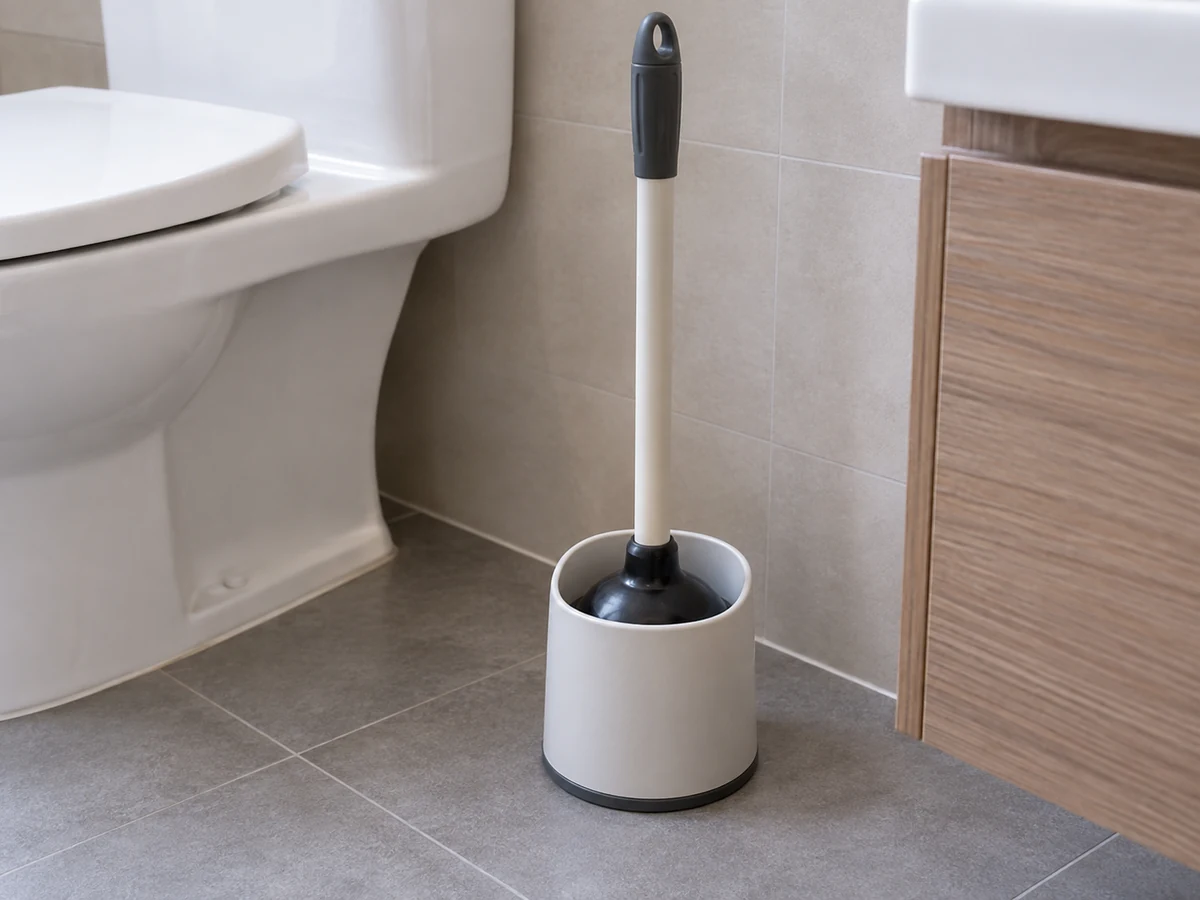
Clean or discard gloves by their label, wash hands, then store the dry plunger upright in its dedicated holder
Clean or discard gloves by their label, wash hands, then store the dry plunger upright in its dedicated holder.
Common mistakes
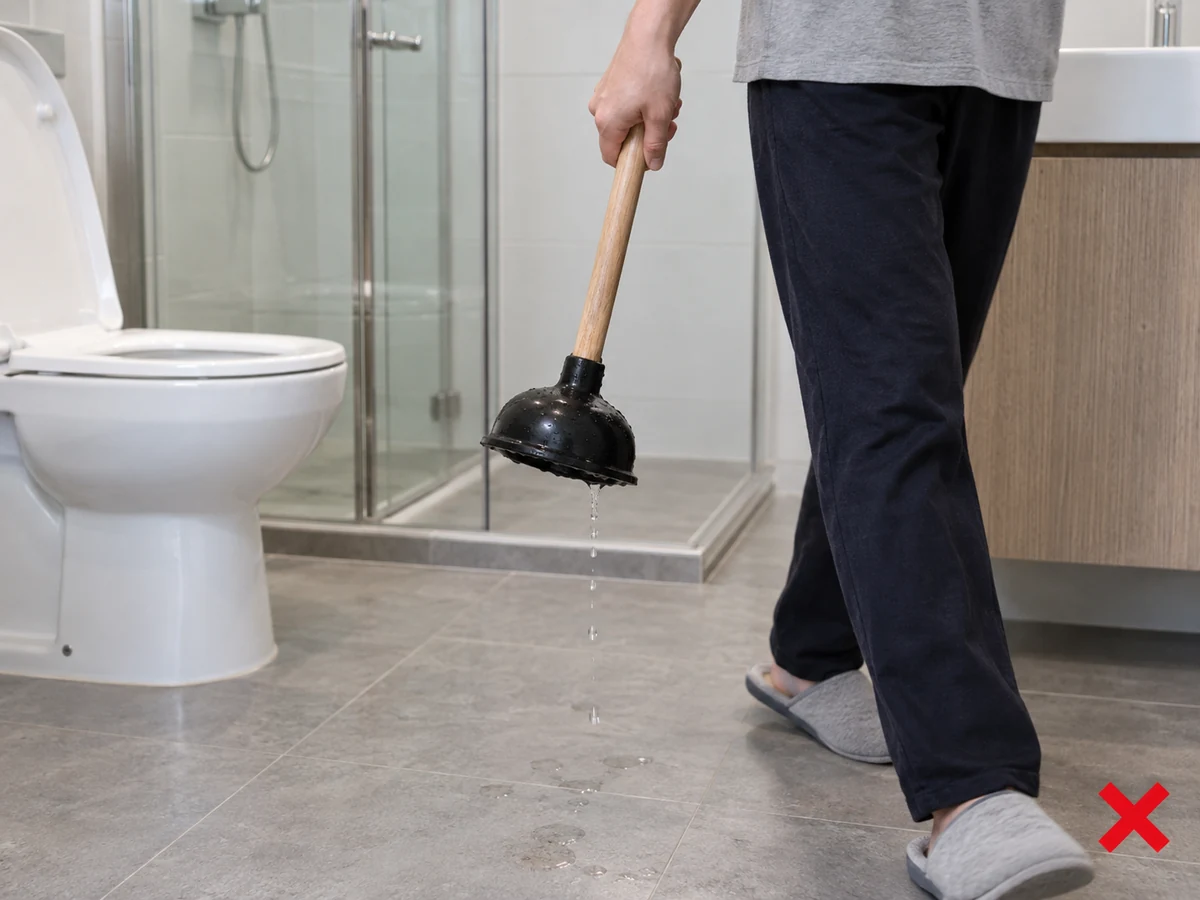
Carrying a dripping plunger through the bathroom
✓ Correct actionLet it drain in the toilet first, then move it with a drip tray.
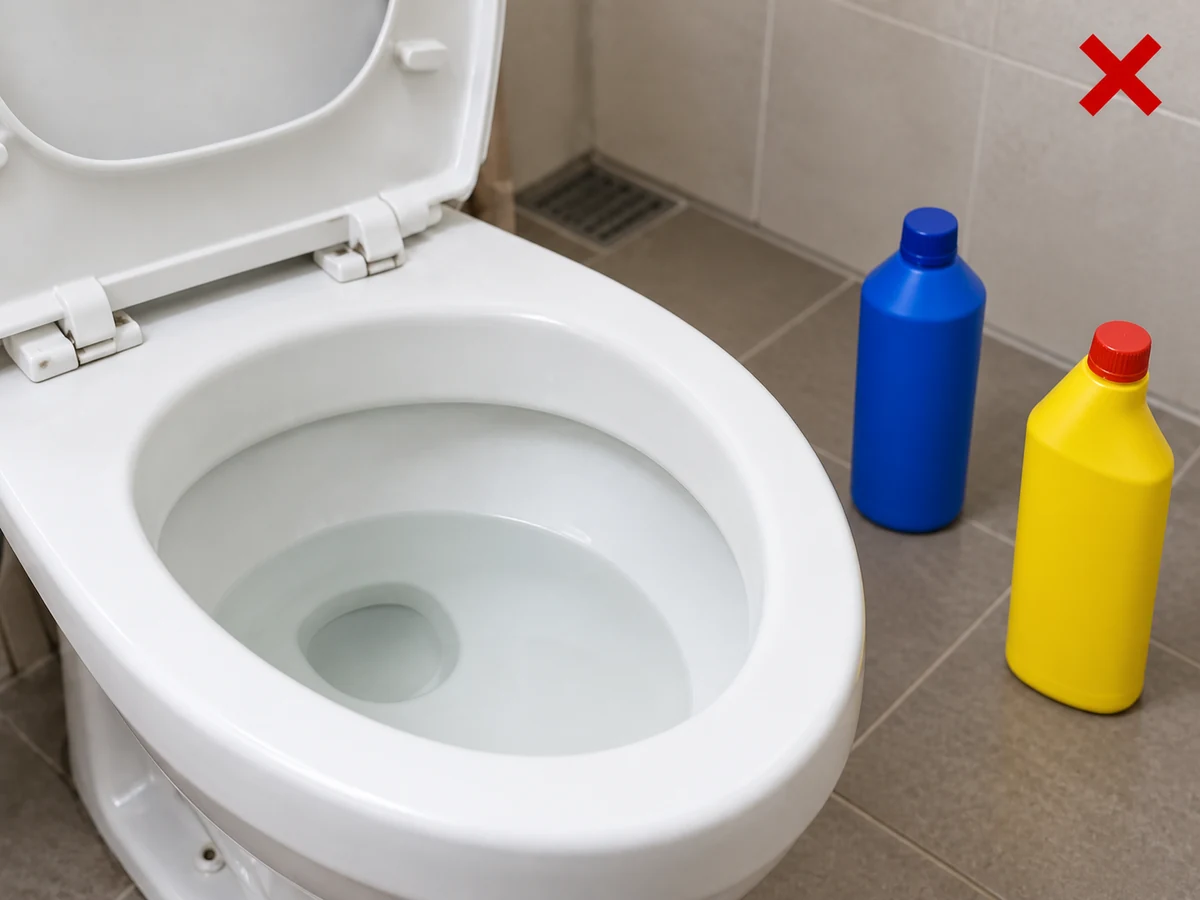
Mixing drain opener and cleaner
✓ Correct actionDo not mix products or attempt drain clearing in this guide.
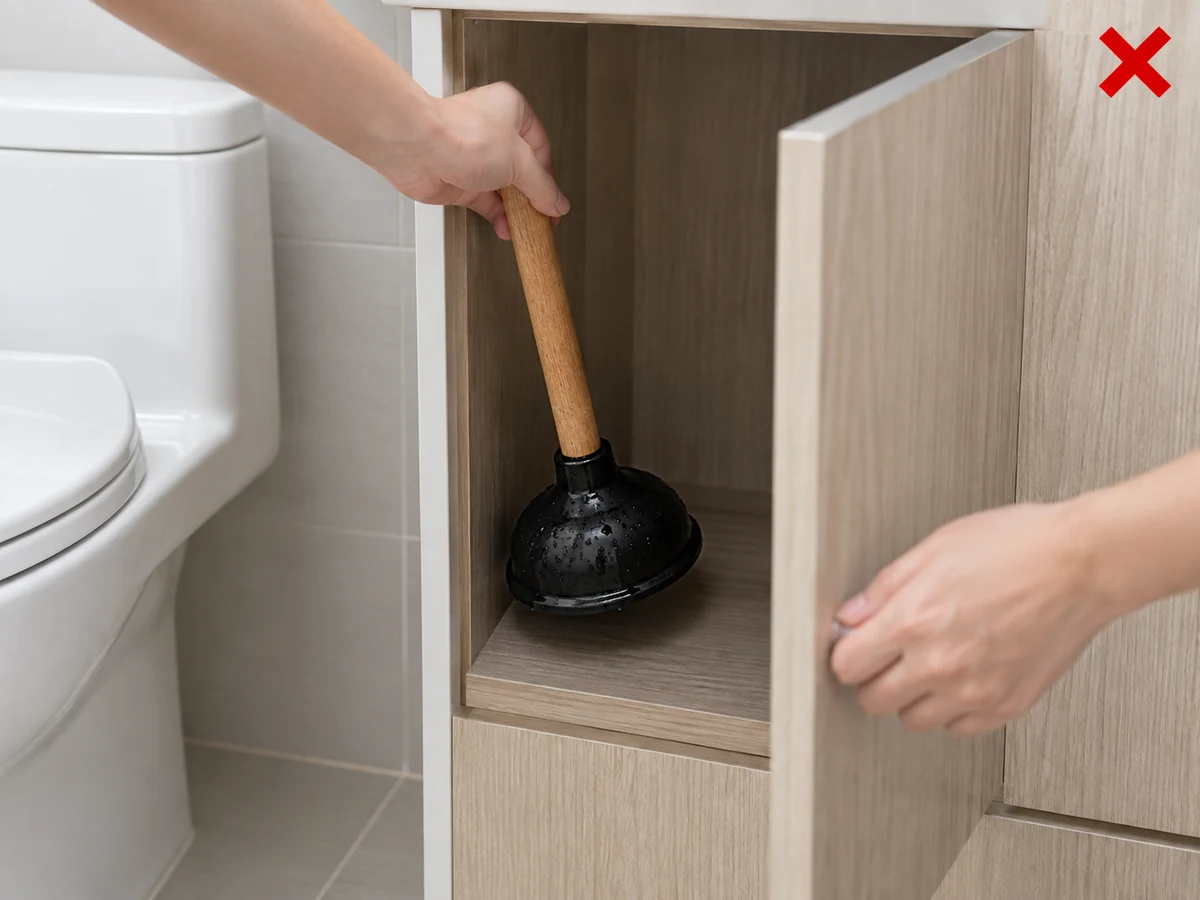
Putting a wet plunger into a closed cabinet
✓ Correct actionAir-dry it fully before using a ventilated dedicated holder.
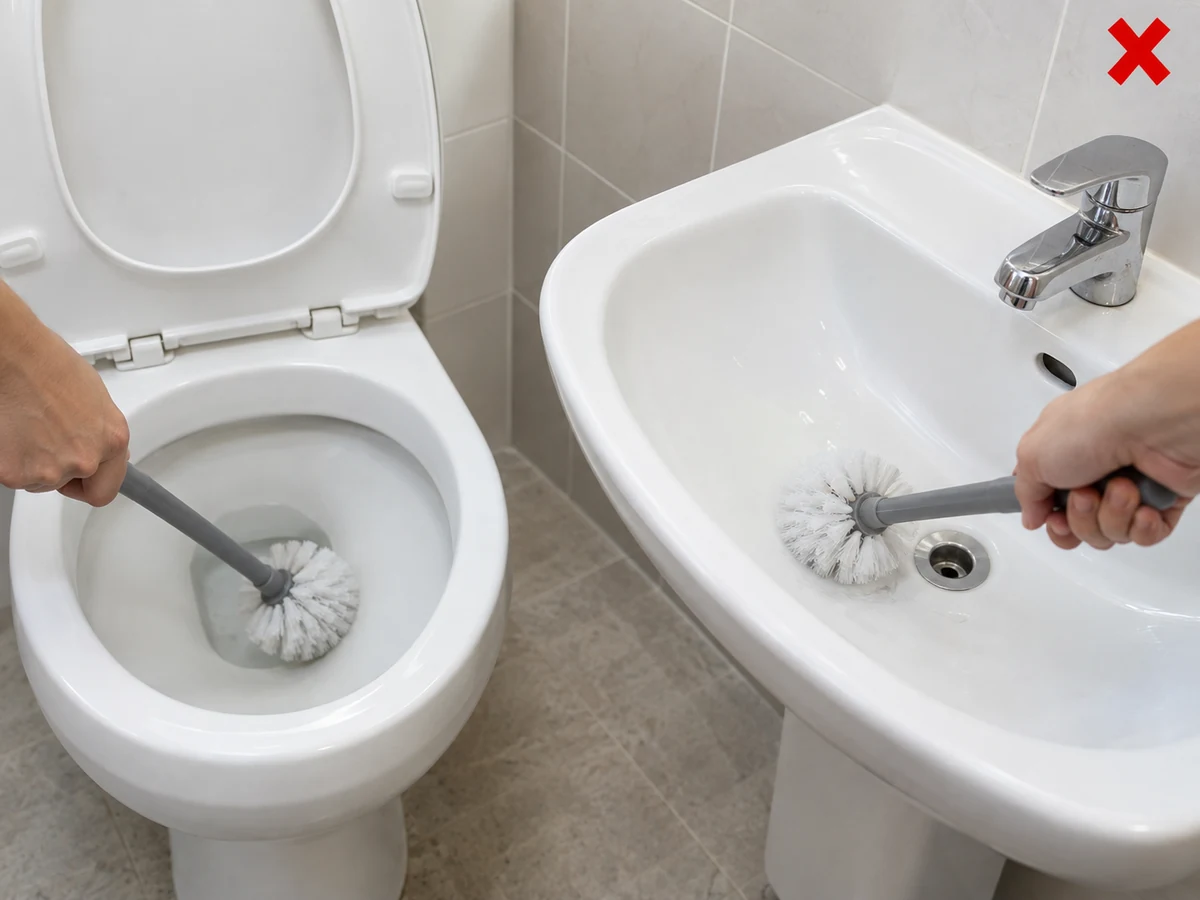
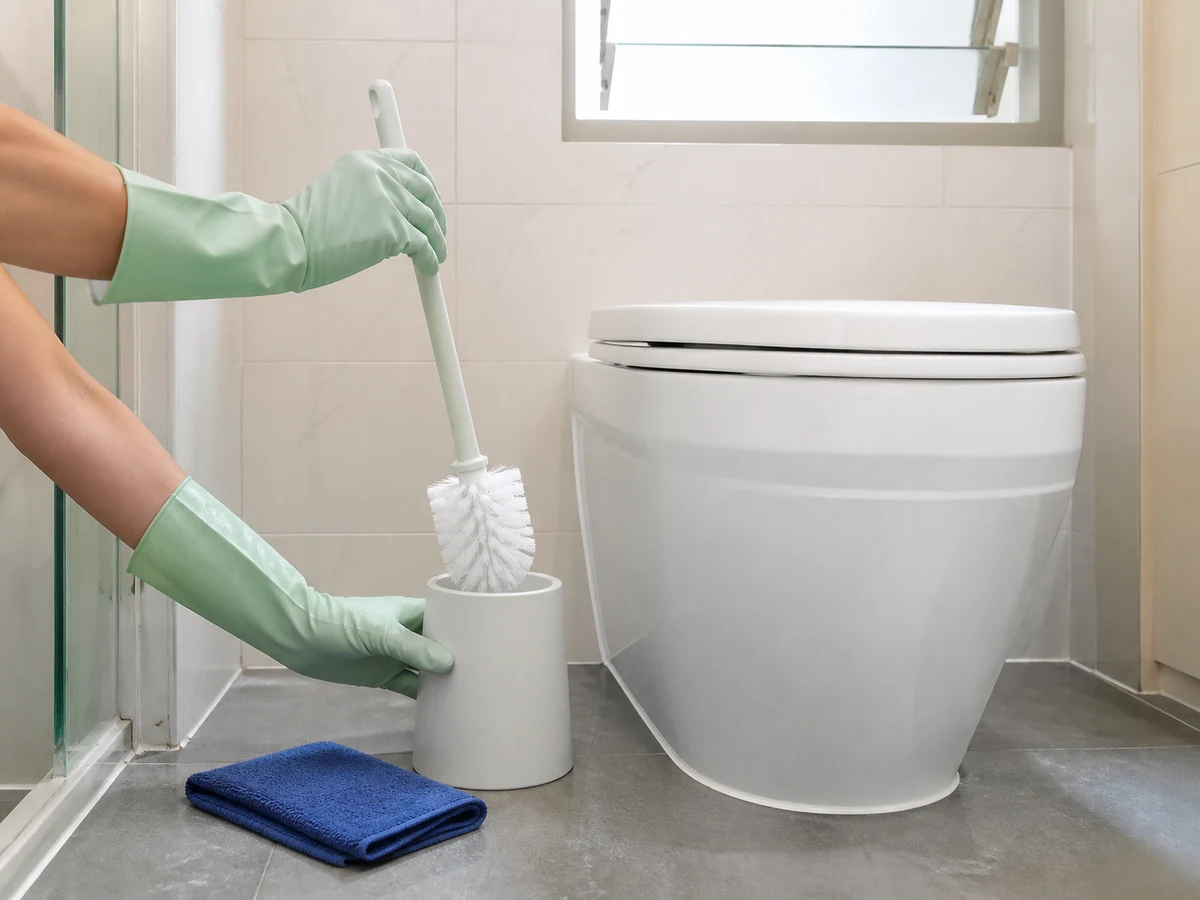
Using the same brush for the toilet and basin
✓ Correct actionKeep toilet tools for the toilet zone only.
Practical tips
Tips for helpers
- Keep the drip tray ready before moving the tool.
- Separate toilet tools from general cleaning cloths.
Tips for employers
- Provide a dedicated covered but ventilated storage place.
- Arrange replacement for a split or distorted plunger.
Completion checklist
Checked 0 / 4