Cleaning products and safety
How to Clean and Dry Mops, Brooms and Cleaning Brushes
Separate by use, remove dry debris, wash compatible parts and air-dry
Overview
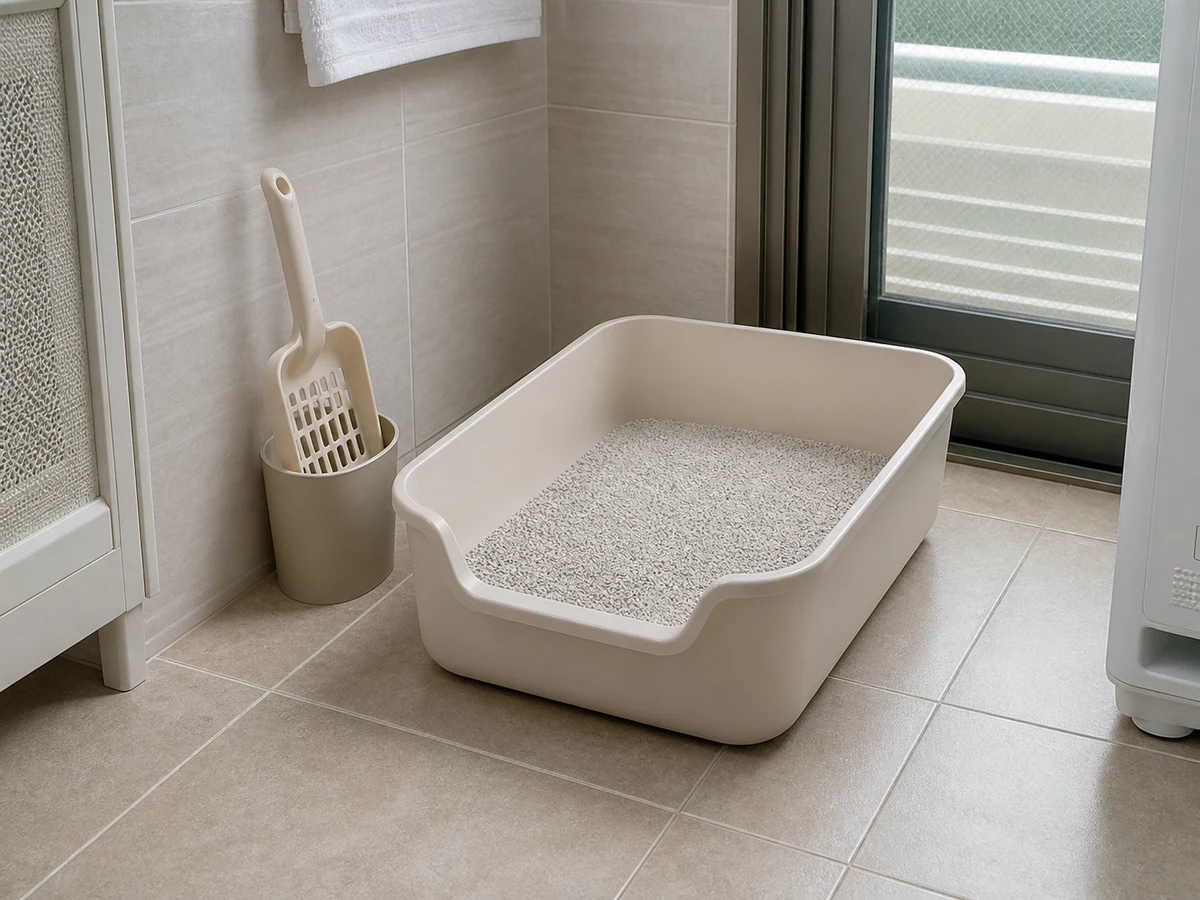
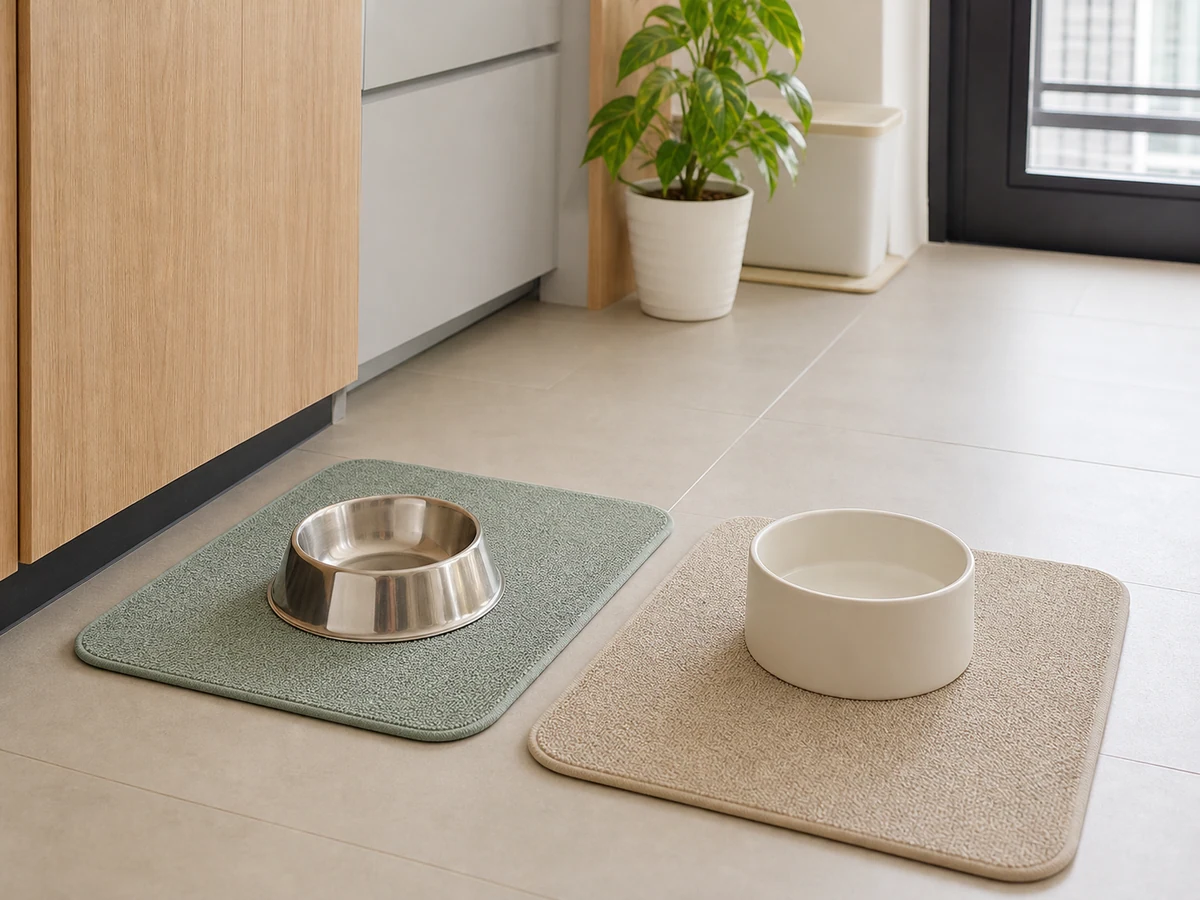
Cleaning tools can transfer soil between zones. Separate kitchen or food-contact, bathroom or litter, and general-floor tools. Wash only water-safe parts and store each zone separately after complete drying.
Tools needed
- Separate trays or hanging positions for each use
- Gloves where the product label requires them
- Waste bag or dustpan
- One compatible label-directed product
- Clean water and dedicated wash basin
- Ventilated drying rack
Cleaning steps
Separate tools by use zone
Place food-contact, bathroom or litter, and general-floor tools in different trays. Isolate any tool with an unknown use.
Remove dry debris and hair
Collect hair, threads and dry soil into a dustpan or bag where debris is containable. Do not beat tools and raise dust.
Confirm the washable parts
Check directions for mop heads, brooms, brushes and handles. Handle powered tools separately under their exact instructions.
Wash with one compatible product
In a dedicated basin, use clean water and one label-permitted product on washable parts. Do not mix products or soak incompatible handles.
Rinse and drain safely
Remove soil and residue, then press gently or drain as the tool directs. Do not wring hard, swing water or leave a wet floor.
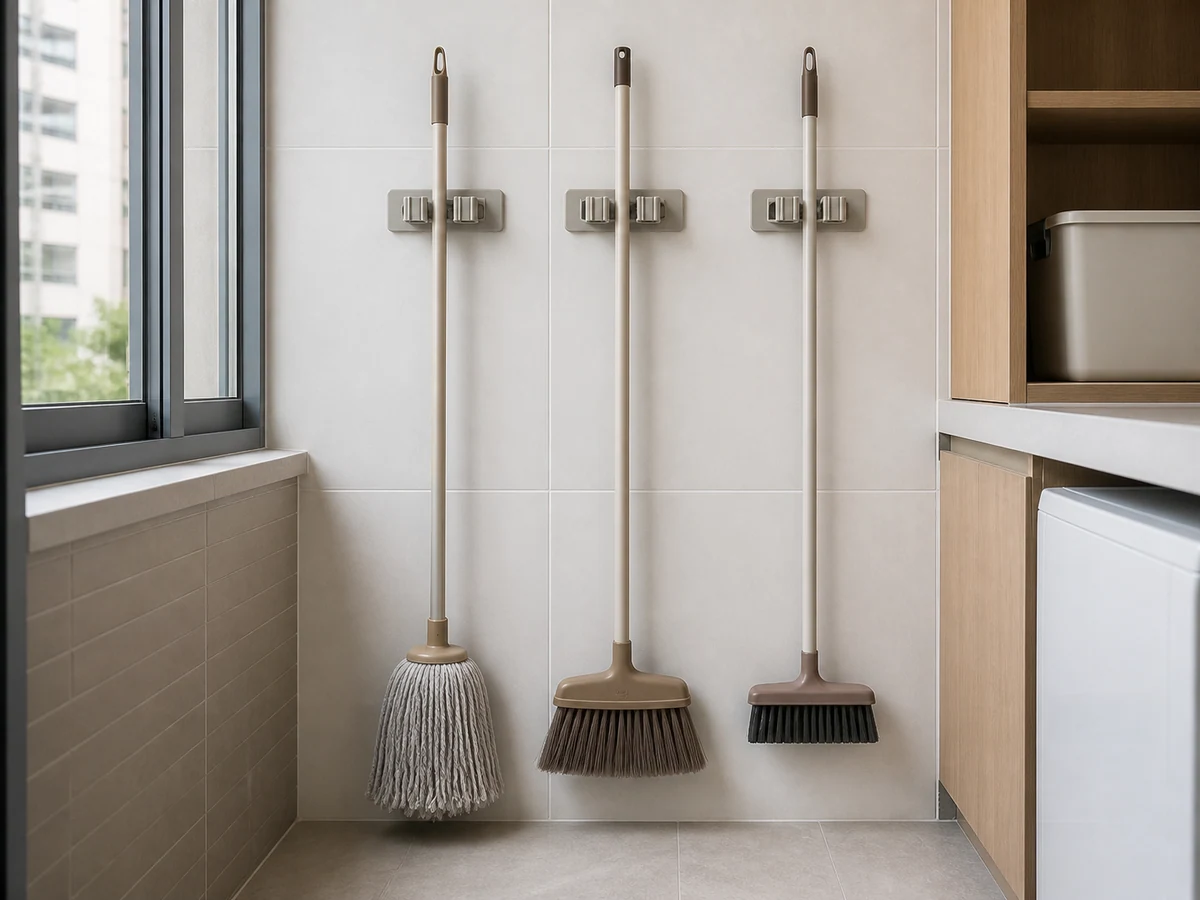
Dry fully and store separately
Hang or rack tools as directed in ventilation. Store by zone only after bristles and mop heads are fully dry, then wash hands.
Common mistakes
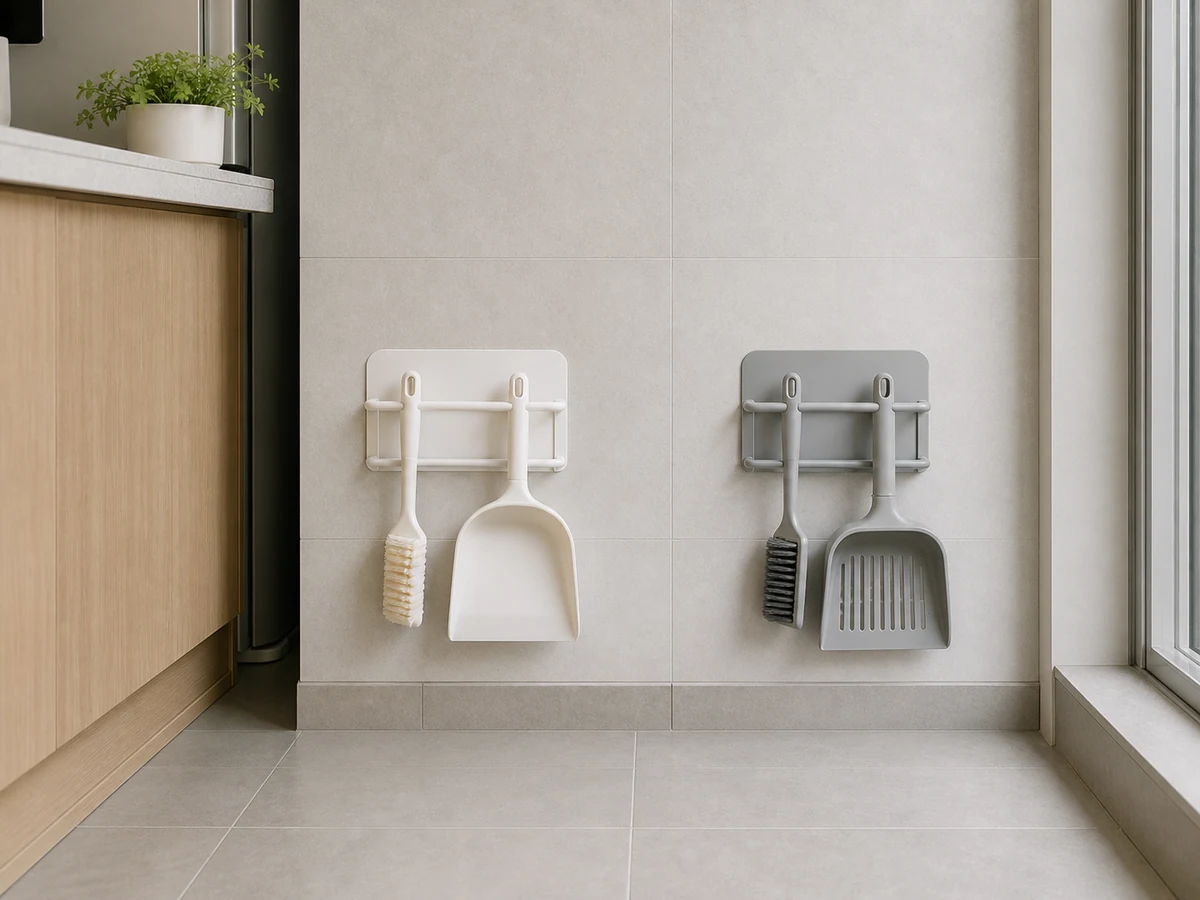
Using one brush for feeding and litter zones
✓ Correct actionUse separate tools, basins and storage for each purpose.
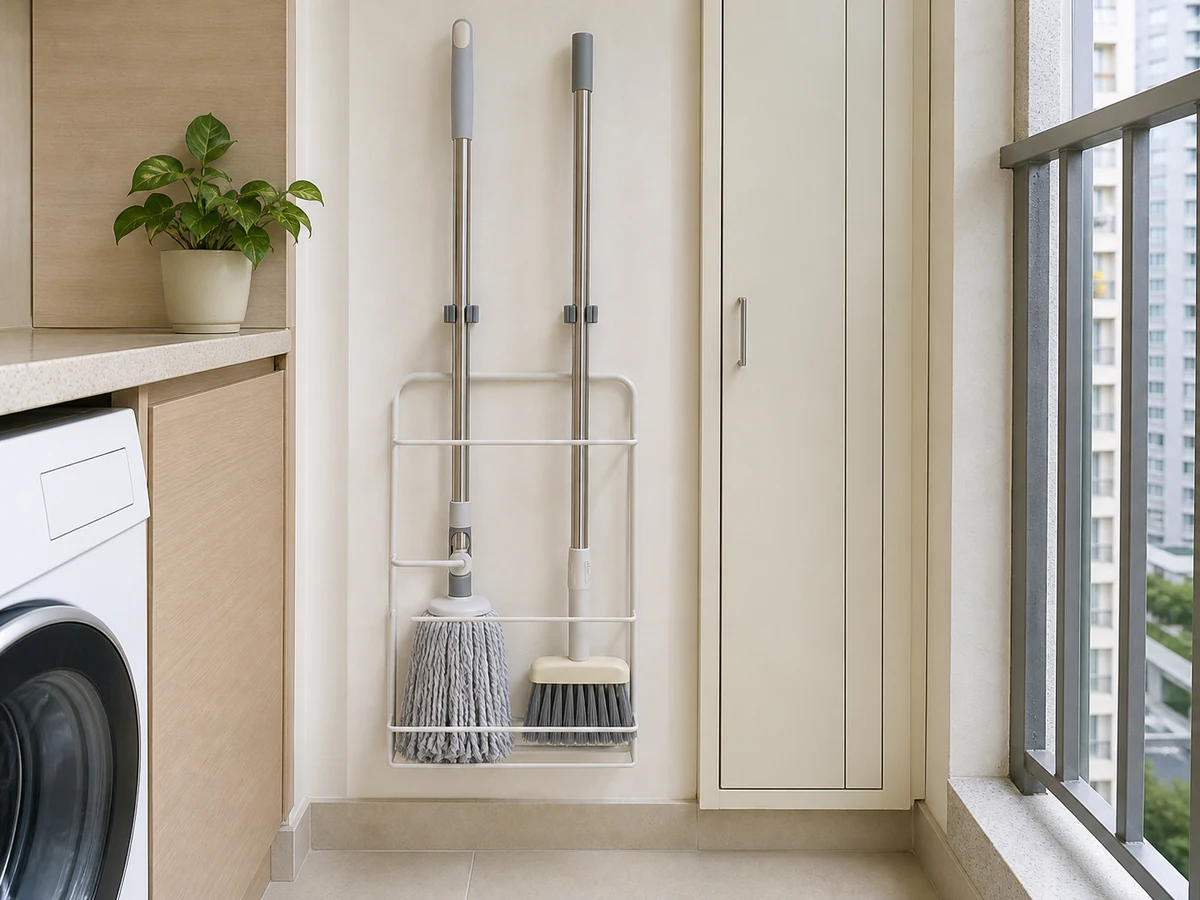
Putting damp tools in a closed cupboard
✓ Correct actionAir-dry fully in ventilation before storage.
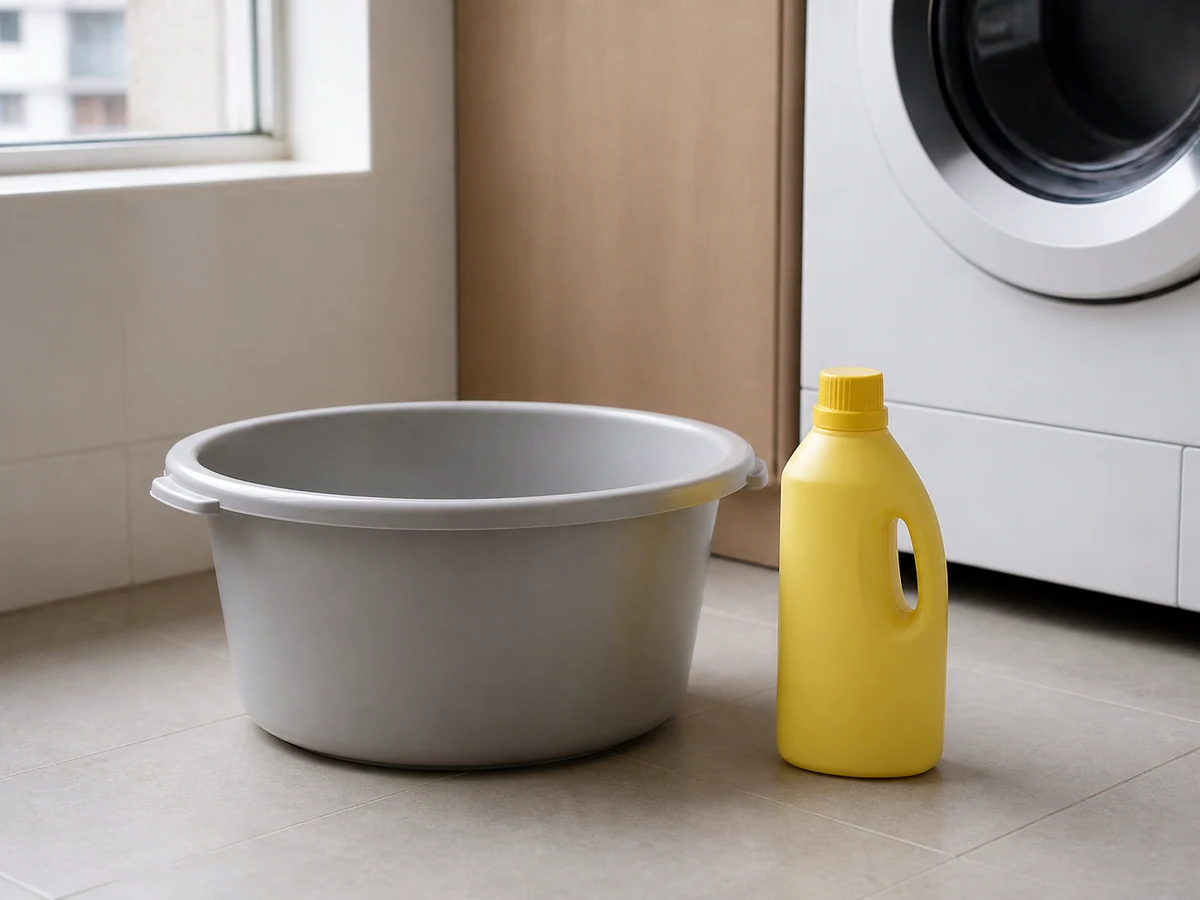
Pouring different products into one bucket
✓ Correct actionUse one compatible product at a time as labelled.
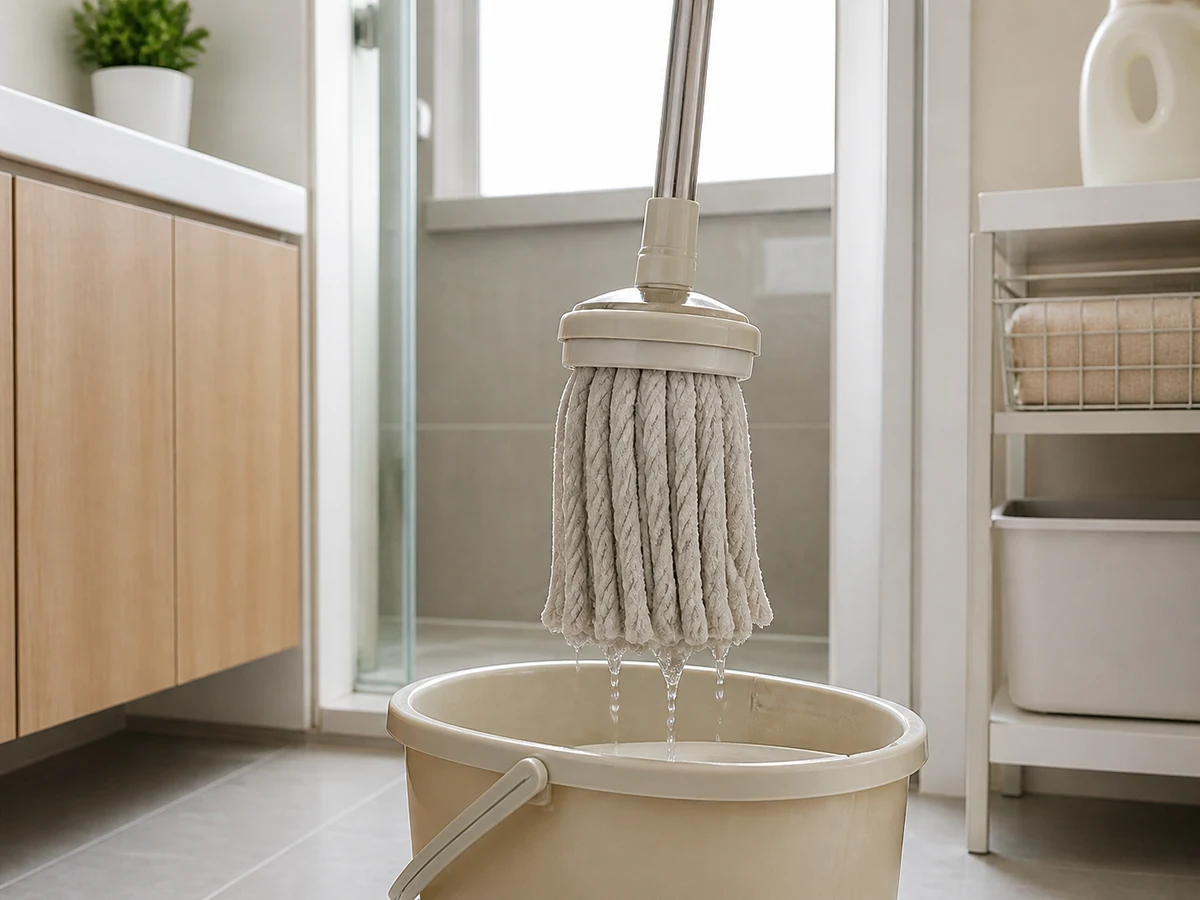
Wringing hard or swinging water indoors
✓ Correct actionDrain gently as directed and secure tools to dry without splashes.
Practical tips
Tips for helpers
- Different coloured trays can create language-neutral use zones.
- Keep the area below the drying rack dry and out of the walking path.
Tips for employers
- Provide enough hanging positions and clear use-zone separation.
- Repair or replace loose handles, cracked heads or tools that cannot dry.
Completion checklist
Checked 0 / 9