Appliance care
Clean a Garment Steamer Tank and Head by Model
Check the model and manual to identify permitted tank, drain or accessory care; do not improvise descaling or add chemicals.
Overview
Check the model and manual to identify permitted tank, drain or accessory care; do not improvise descaling or add chemicals. Switch off, unplug and allow full cooling; park the steam head safely and avoid hot surfaces.
Tools needed
- Model manual
- Nitrile gloves
- Soft cloth
- Drain container
Cleaning steps
Check the model and manual to identify permitted tank, drain or accessory care
Check the model and manual to identify permitted tank, drain or accessory care; do not improvise descaling or add chemicals.
Switch off, unplug and allow full cooling
Switch off, unplug and allow full cooling; park the steam head safely and avoid hot surfaces.
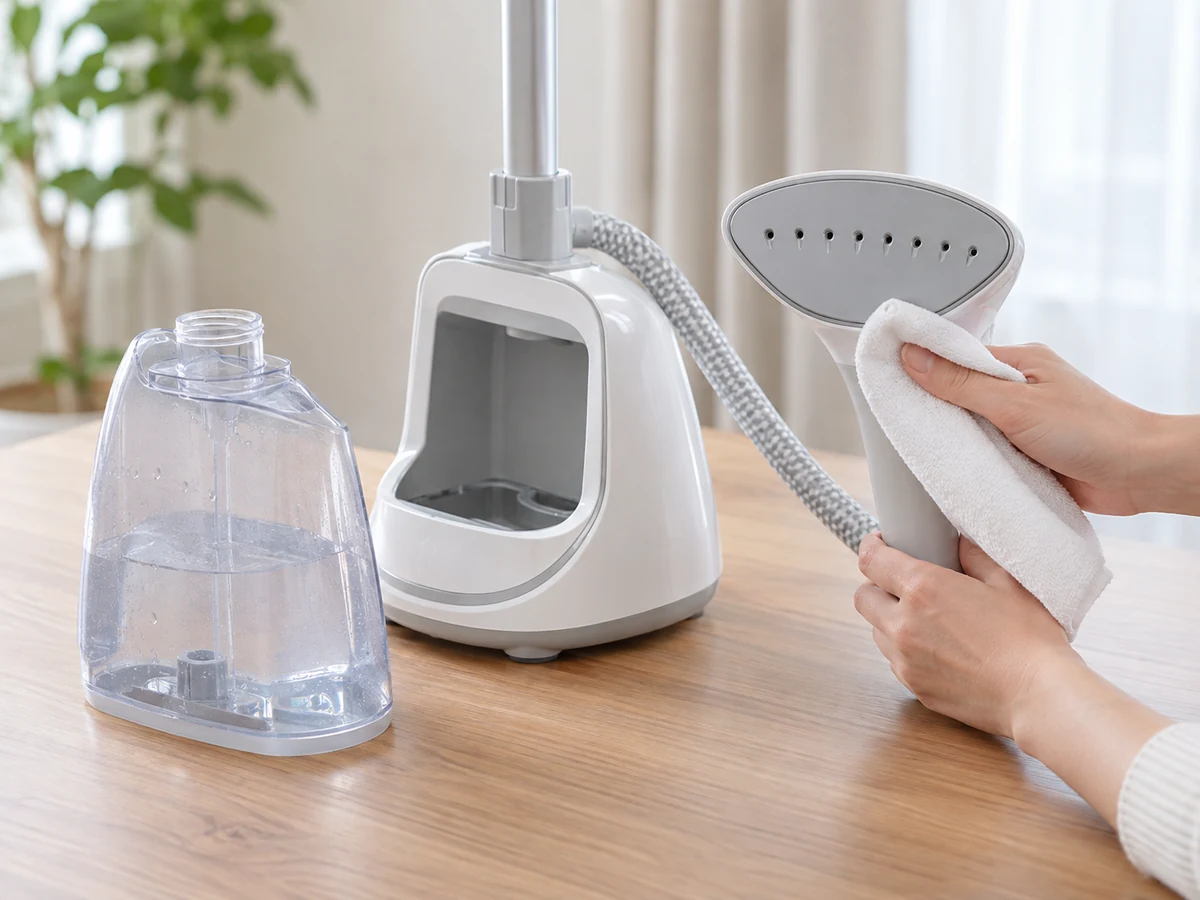
Remove only maker-approved removable parts and drain leftover water into a container
Remove only maker-approved removable parts and drain leftover water into a container; do not immerse the motor, base or unapproved parts.
Wipe the outside of the steam head with a barely damp soft cloth
Wipe the outside of the steam head with a barely damp soft cloth; let parts and connections dry fully before reassembly by the manual.
Common mistakes
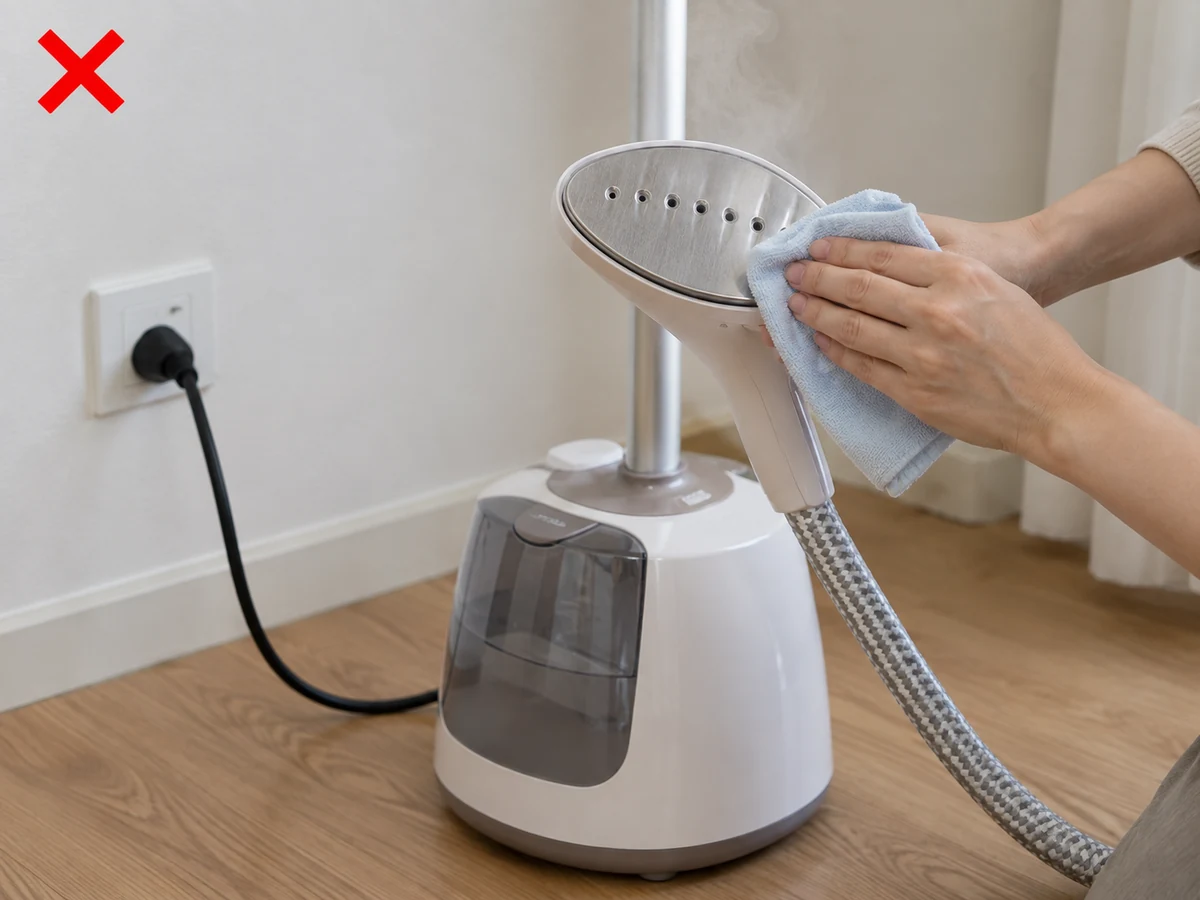
Cleaning before unplugging and cooling
✓ Correct actionSwitch off, unplug and wait for full cooldown first.
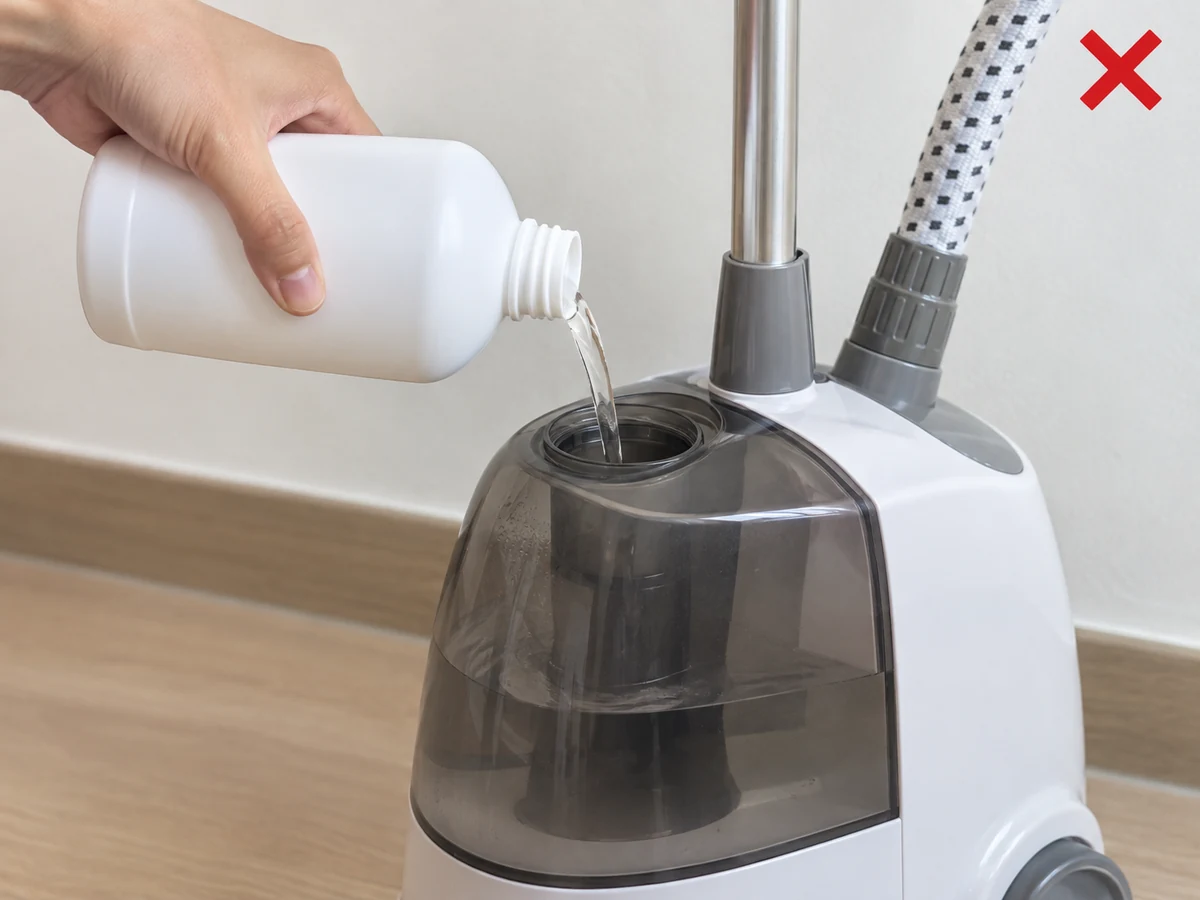
Pouring chemicals into the tank
✓ Correct actionUse only the manual-approved water and maintenance procedure.
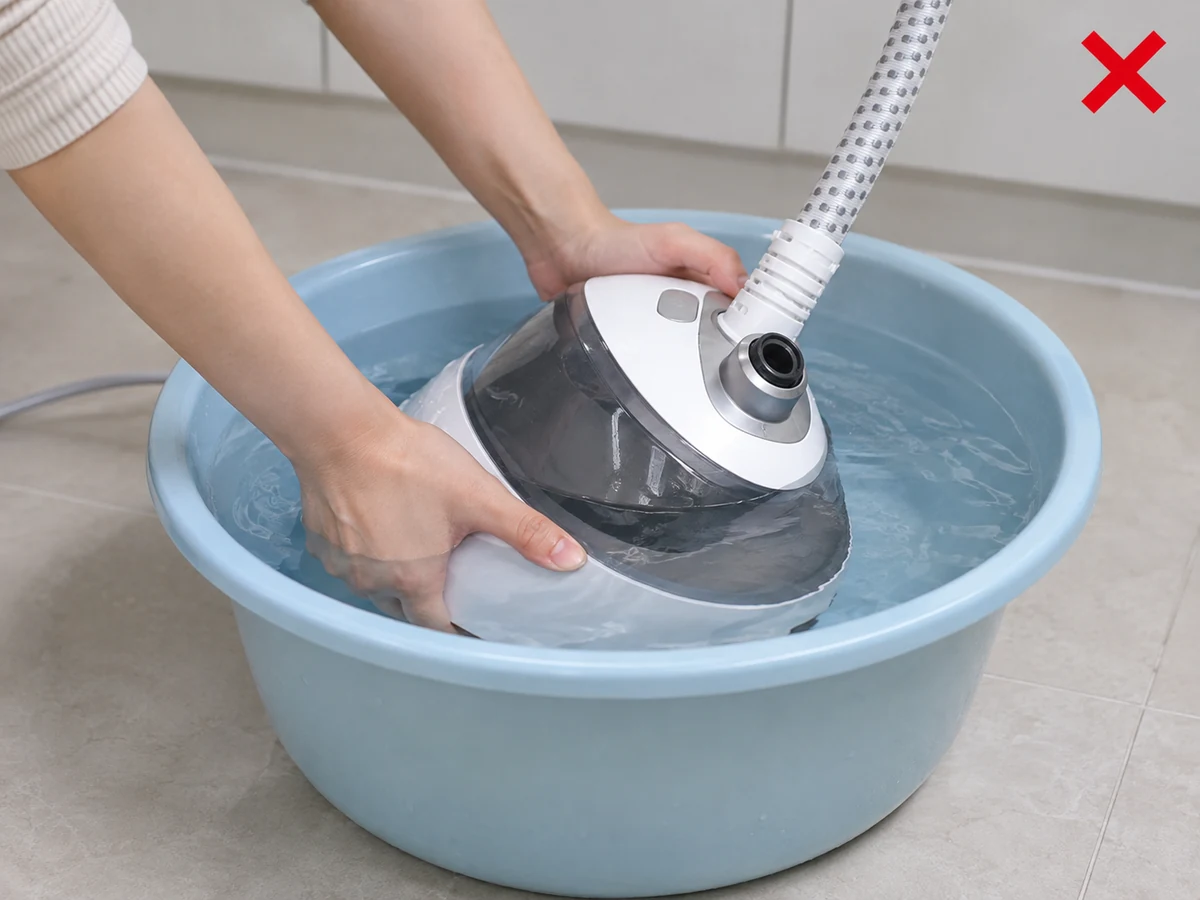
Immersing the base or motor
✓ Correct actionHandle only maker-approved removable parts and keep electrics dry.
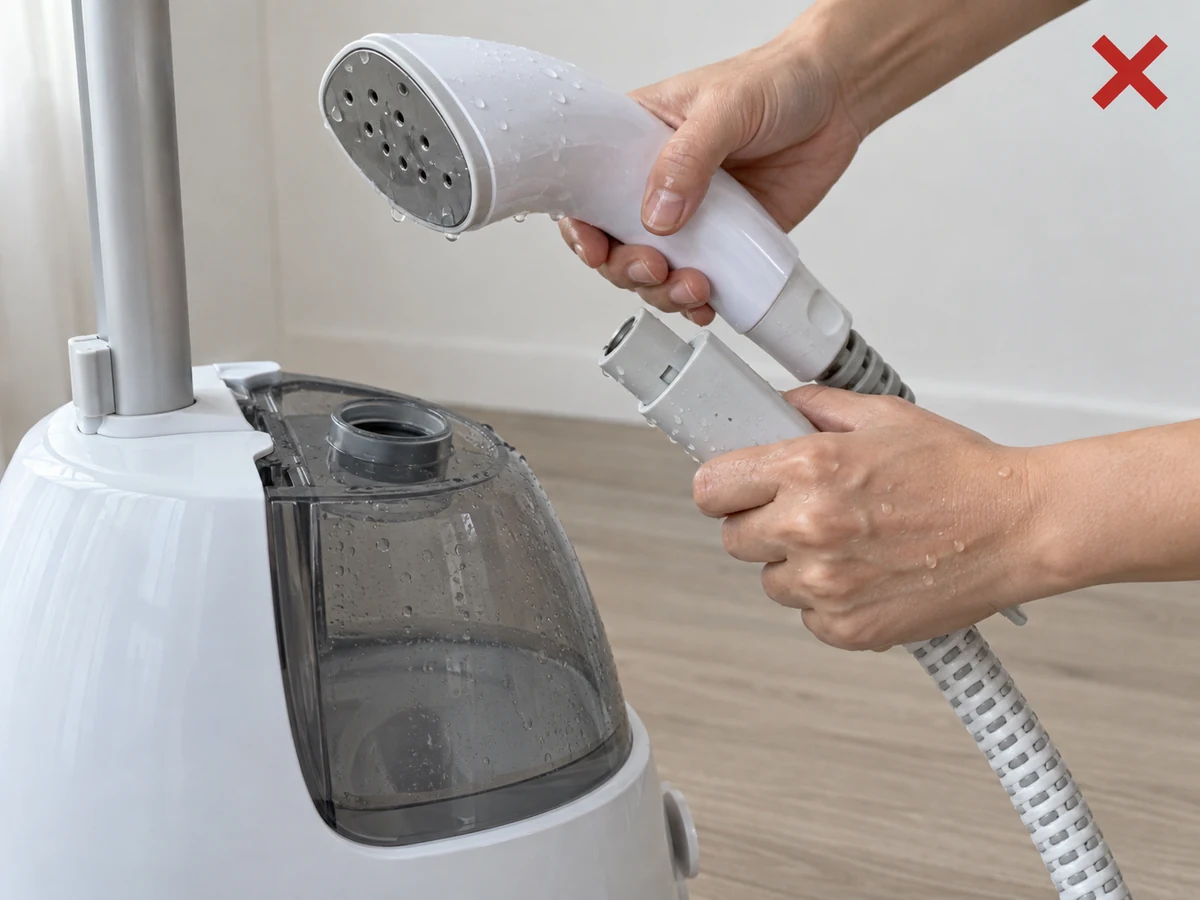
Reassembling while the tank or connections are wet
✓ Correct actionAir-dry all approved parts and connections before refitting.
Practical tips
Tips for helpers
- Photograph the model and calc-clean note so procedures are not mixed between models.
- Steady the appliance while draining and refit only a dry tank connection.
Tips for employers
- Provide the matching model manual and approved maintenance arrangement.
- Arrange repair for leaks, damaged leads or a calc-clean fault.
Completion checklist
Checked 0 / 4