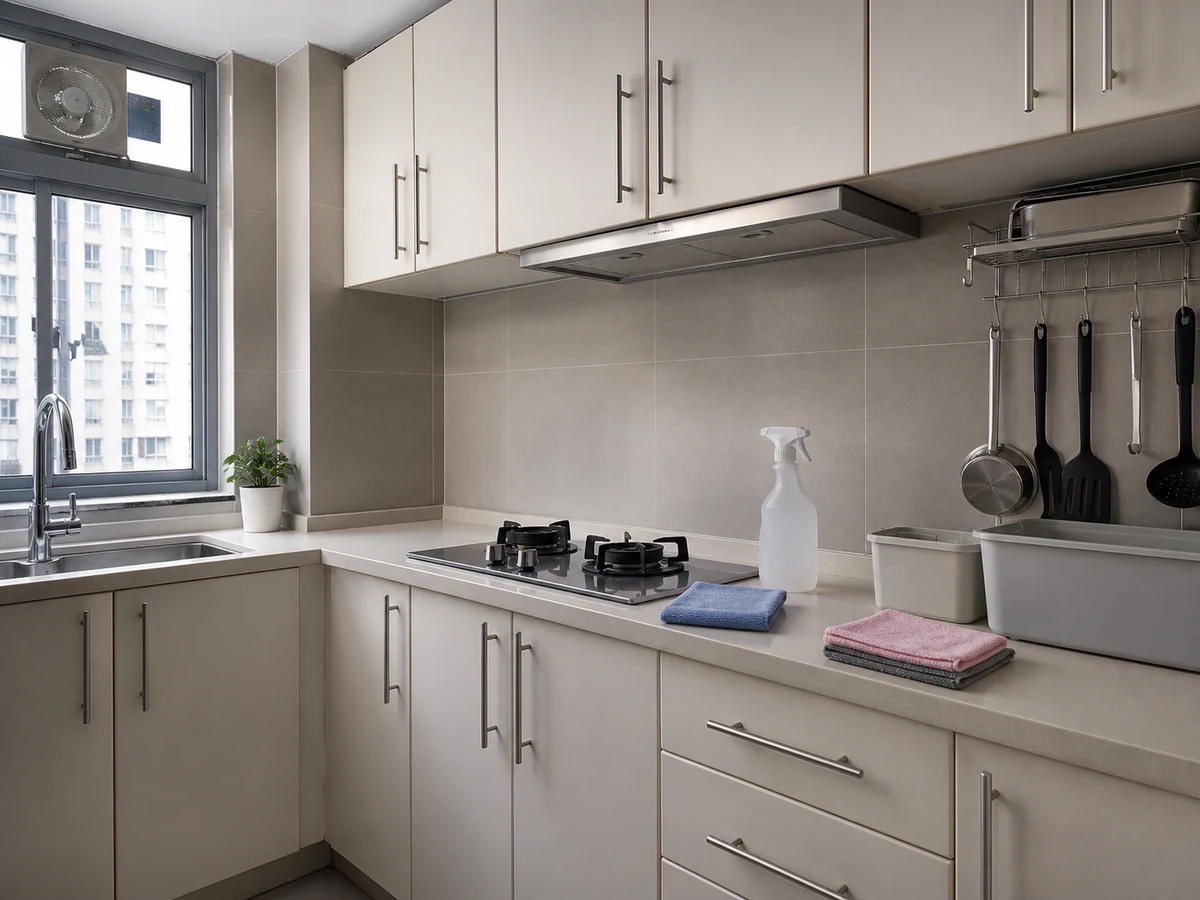
Kitchen cleaning
How to Remove Grease from Kitchen Cabinet Doors and Handles
Clean by material without soaking edges, seams, or hinges
Overview
Check the cabinet material and manufacturer care first, then spot-test discreetly. Use a slightly damp soft cloth and a little mild non-abrasive detergent, working in sections and drying doors, handles, and edges immediately.
Tools needed
- Two or three soft microfibre cloths
- Basin of warm water
- Mild non-abrasive dish detergent
- Dry soft cloth
- Small parts tray only if the manufacturer permits handle removal
Cleaning steps
Identify material and spot-test
Check care for wood, lacquer, laminate, stainless steel, or other finish and test a small hidden area.
Clear food and nearby items
Move food, dishes, and small appliances away from possible drips.
Remove loose dust dry
Wipe from top to bottom so dust and crumbs do not turn into muddy residue.
Degrease in small sections
Put a little mild solution on the cloth and wipe one section at a time without hard rubbing.
Clean handles, edges, and seams
Wrap a clean cloth face around handles and lightly wipe edges without flooding hinges.
Rinse, dry, and restore
Remove residue with a clean damp cloth, dry faces, edges, and handles immediately, then replace items.
Common mistakes
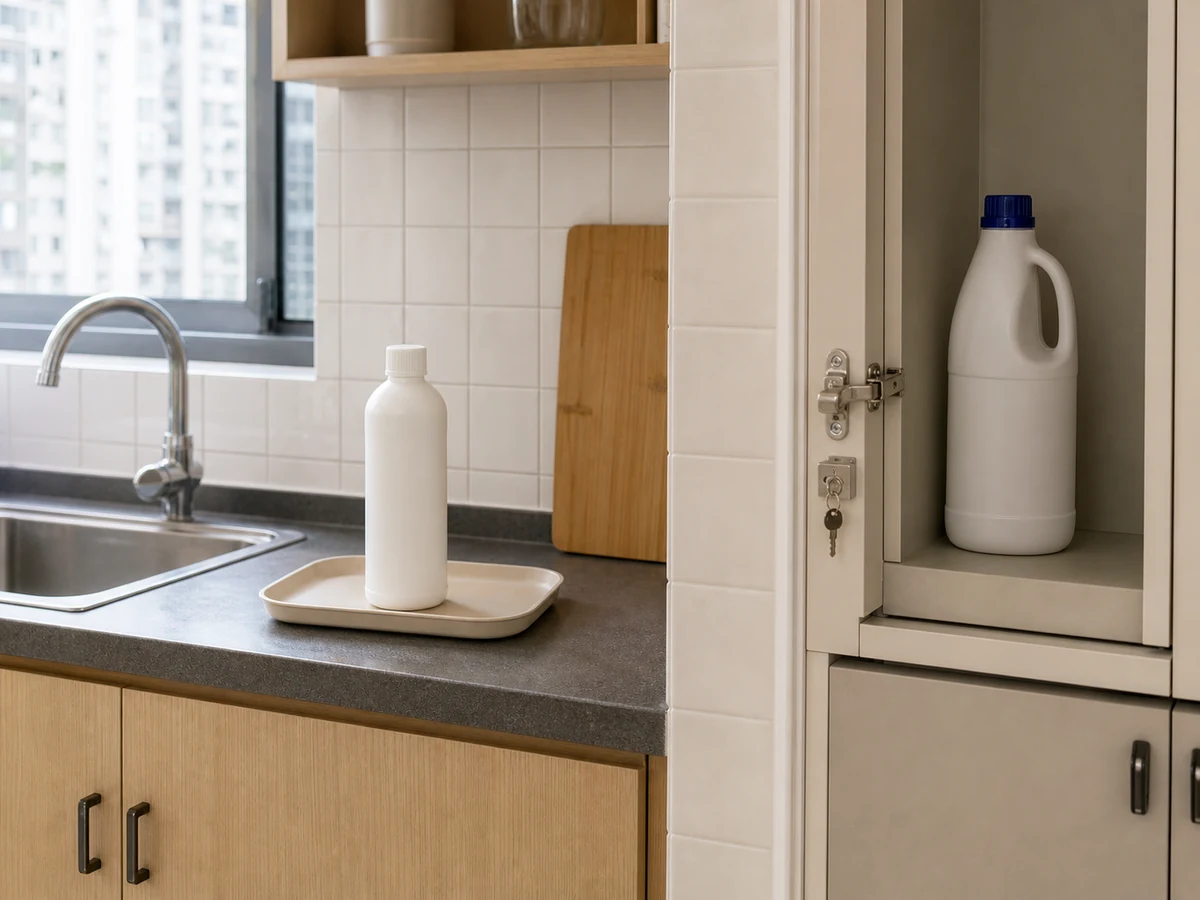
Using strong degreaser without checking the finish
✓ Correct actionRead care instructions, spot-test, and use only a compatible product.
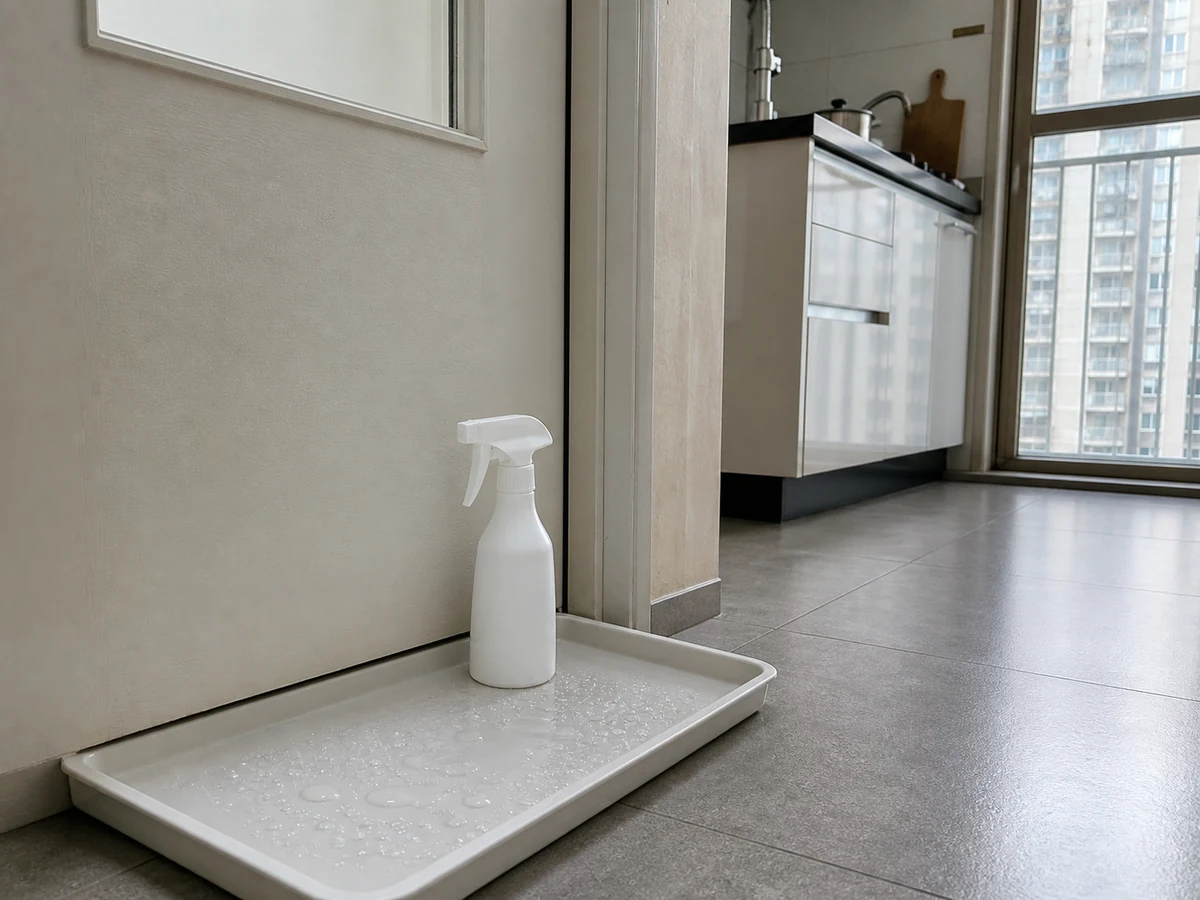
Spraying cleaner heavily onto the door
✓ Correct actionApply a small amount to the cloth so liquid cannot enter edges or hinges.
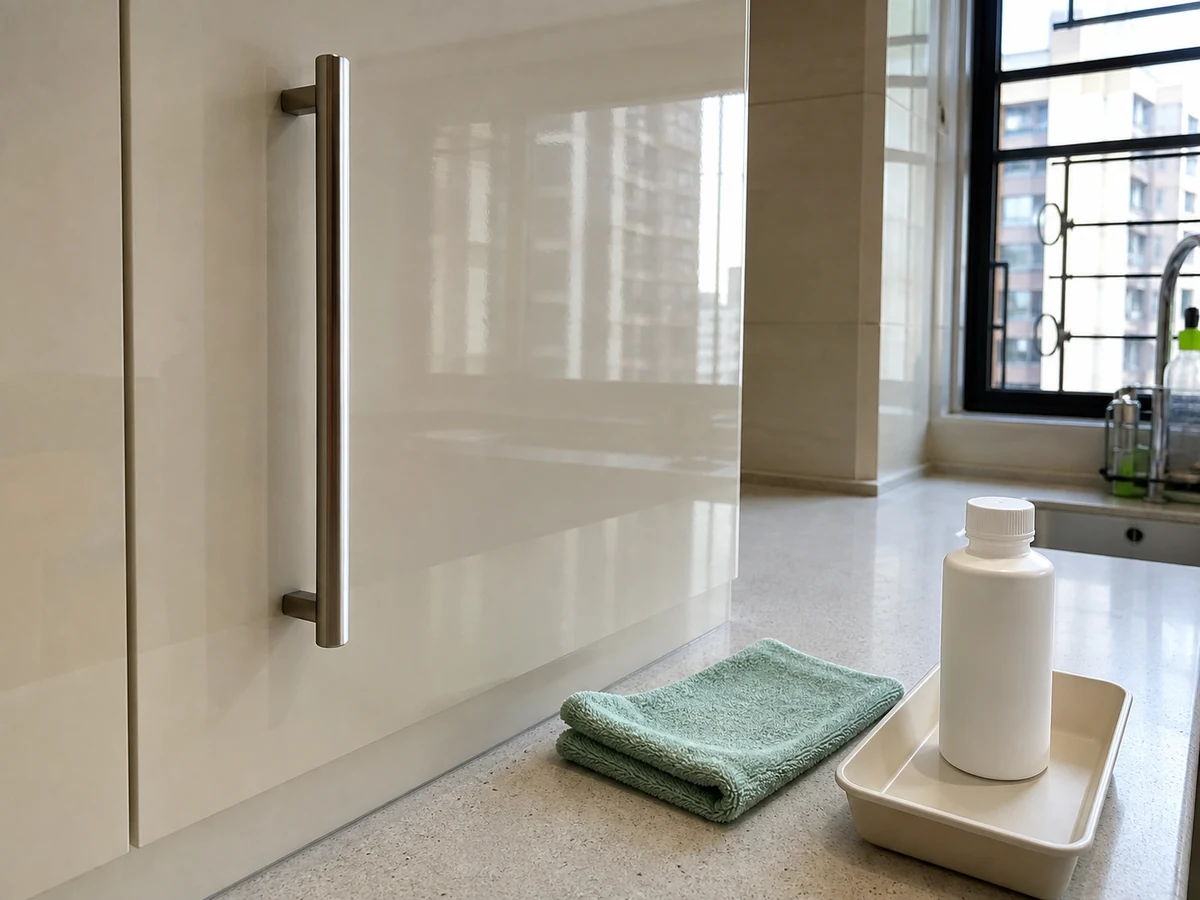
Scrubbing with steel wool or abrasive pads
✓ Correct actionUse a soft cloth and mild non-abrasive cleaner.
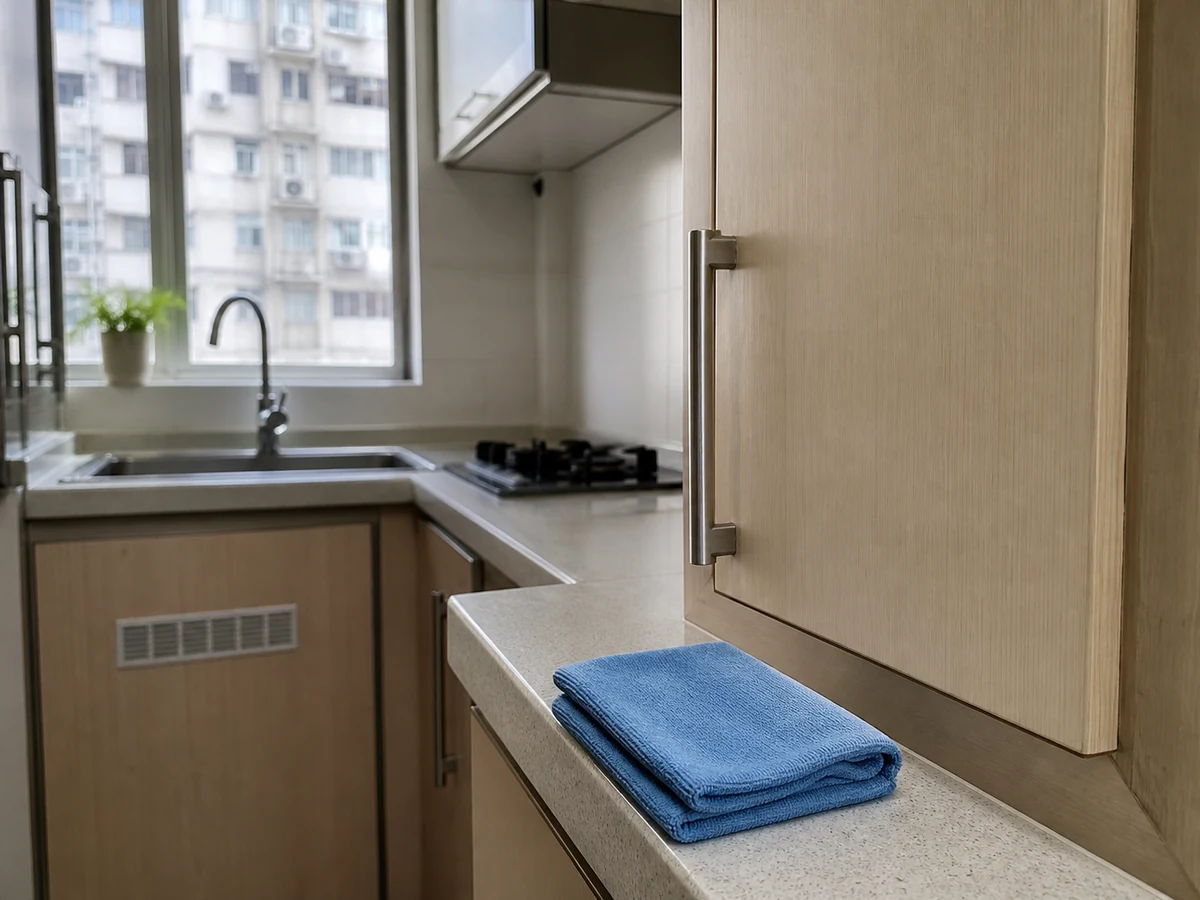
Leaving edges and handles wet
✓ Correct actionRinse and dry immediately, especially seams and lower edges.
Practical tips
Tips for helpers
- Start in a less greasy area and turn to a clean cloth face often.
- Let only a compatible mild solution sit briefly on stubborn grease; never soak the finish.
- Clean high-touch handles more often to prevent thick buildup.
Tips for employers
- Identify the cabinet material and approved product, especially for real wood, lacquer, or special coating.
- Stop wet cleaning if the finish bubbles, peels, or swells and arrange assessment.
Completion checklist
Checked 0 / 8