Families with children
How to Clean Pacifiers and Teethers and Sterilise Separately
Wash and rinse first, inspect seams and liquid-filled items, then sterilise only as the specific pacifier or teether maker permits; never boil a teether by assumption.
Overview
Wash and rinse first, inspect seams and liquid-filled items, then sterilise only as the specific pacifier or teether maker permits; never boil a teether by assumption.
Tools needed
- maker instructions
- clean bowl
- mild soap
- soft brush
- clean drying rack
Cleaning steps
Check item and instructions
Read the item’s maker instructions and reject cracked, sticky, leaking, liquid-filled or unknown items before cleaning.
Wash and rinse
Wash the intact item with warm water and mild soap, brushing only accessible grooves, then rinse all soap away.
Sterilise separately if allowed
Sterilise only after cleaning and only by the method approved for that exact pacifier or teether; do not boil or microwave a teether by assumption.
Air-dry and inspect
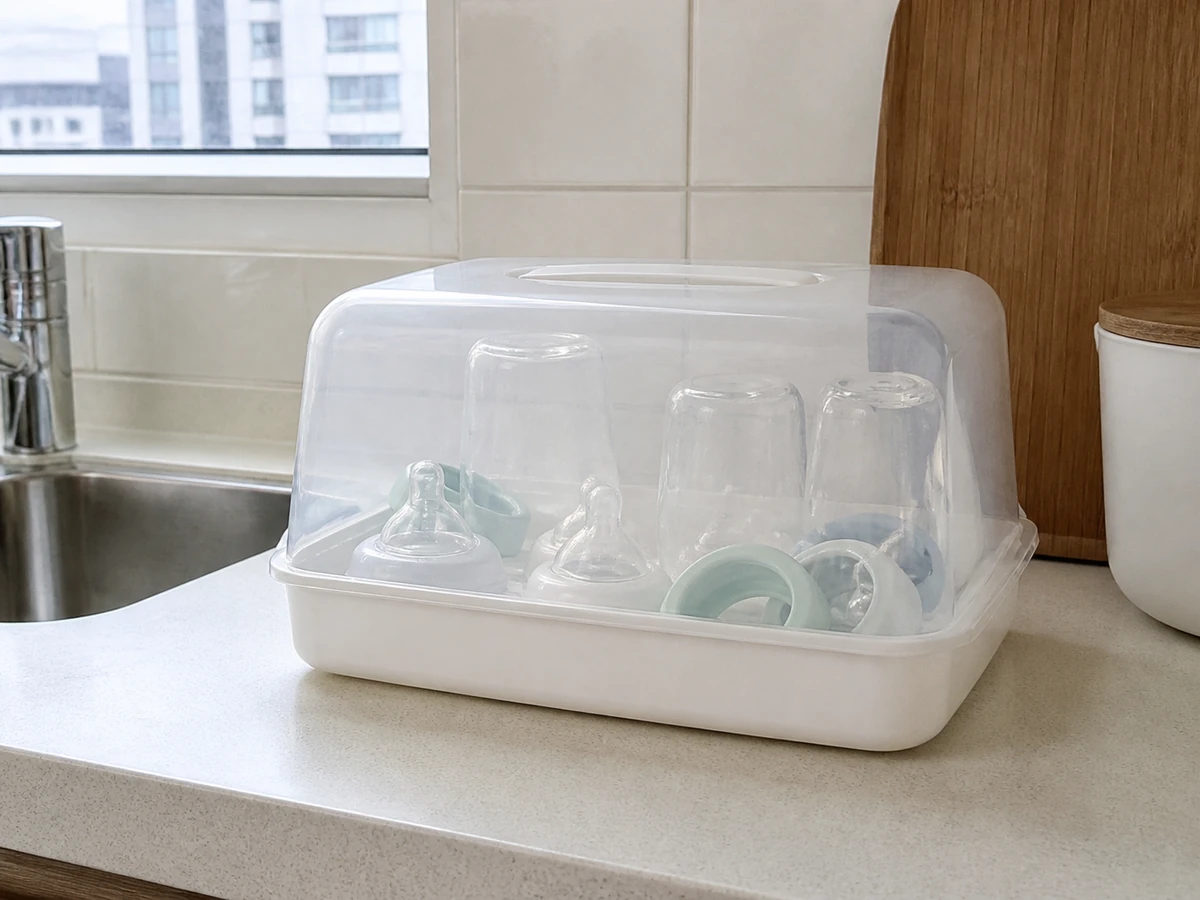
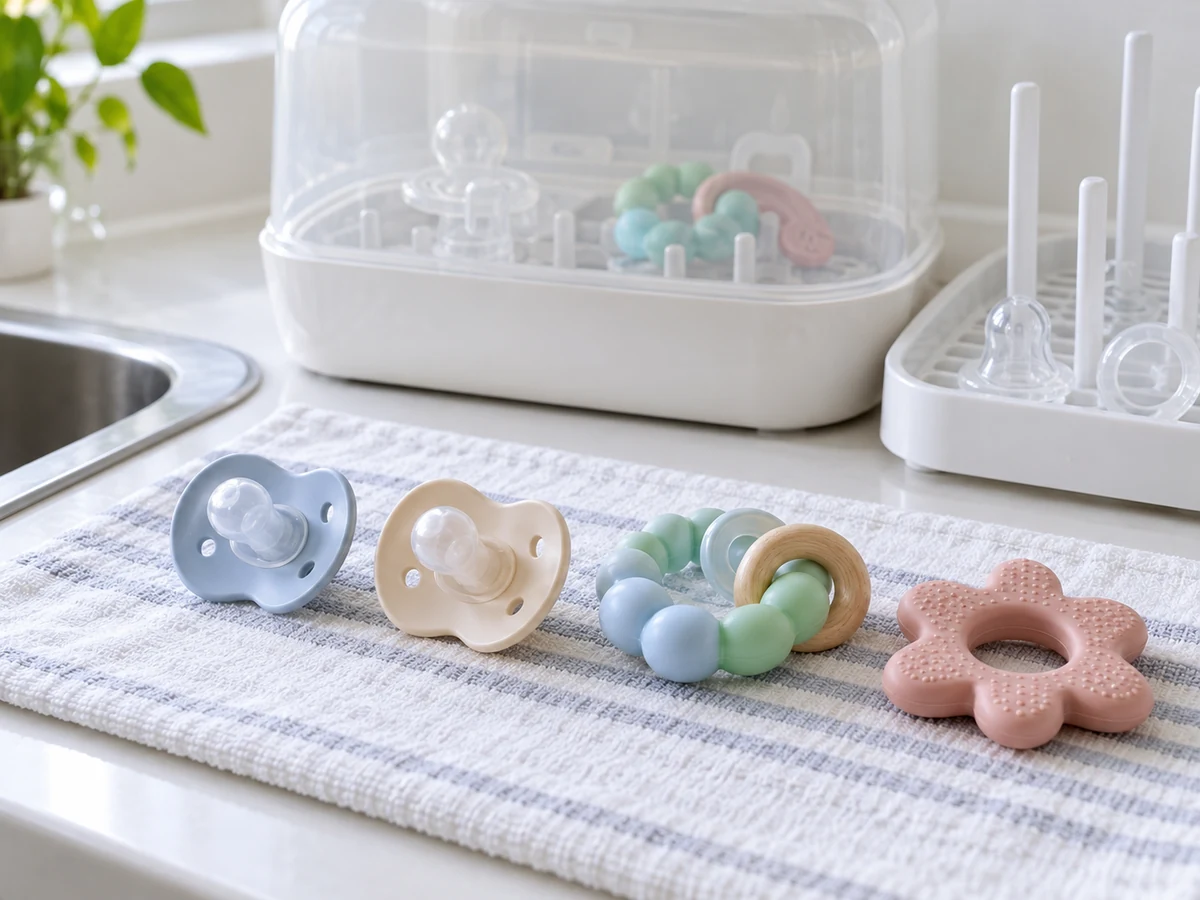
Air-dry on a clean rack, inspect the shield, handle and seams, then store clean items away from the changing area.
Common mistakes
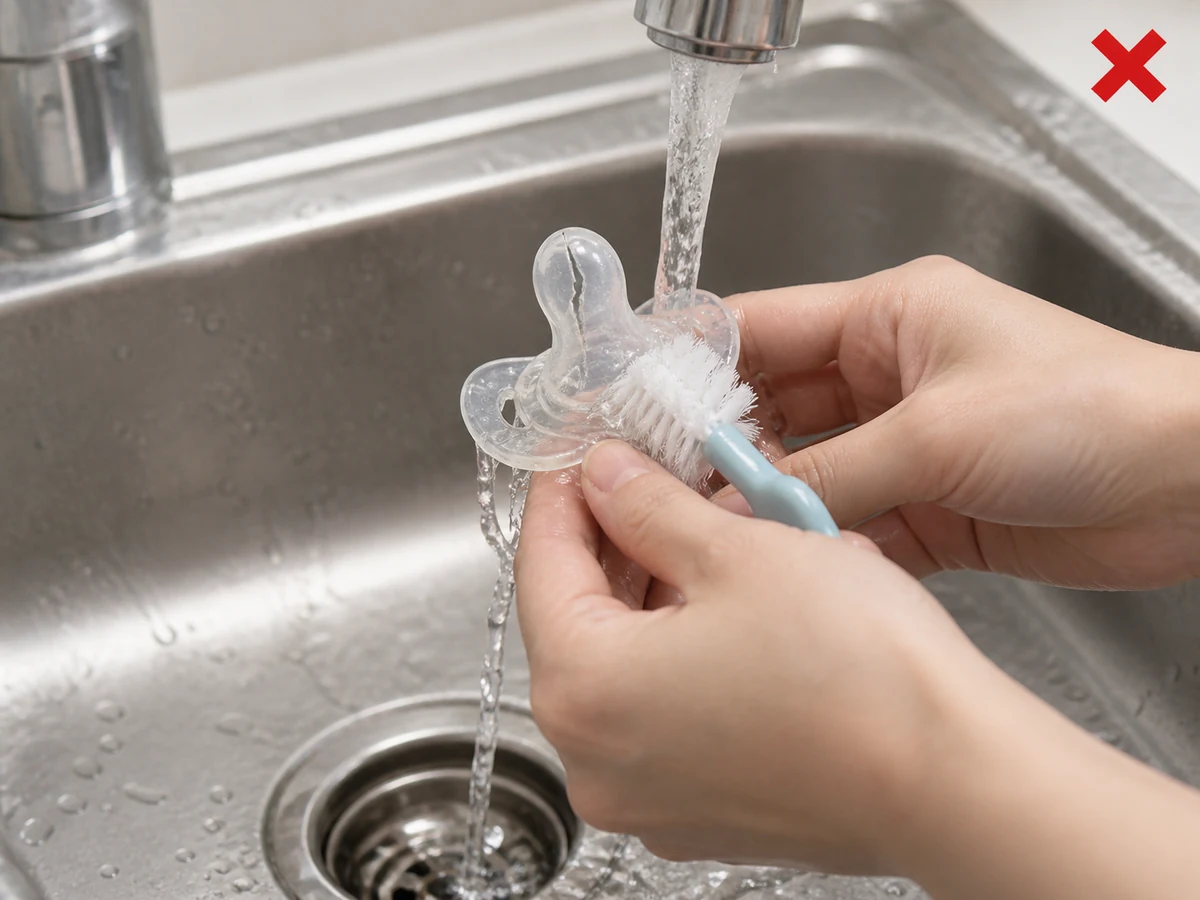
Washing a cracked, leaking or unidentified item
✓ Correct actionSet aside cracked, sticky, leaking, liquid-filled or unidentified items before washing.
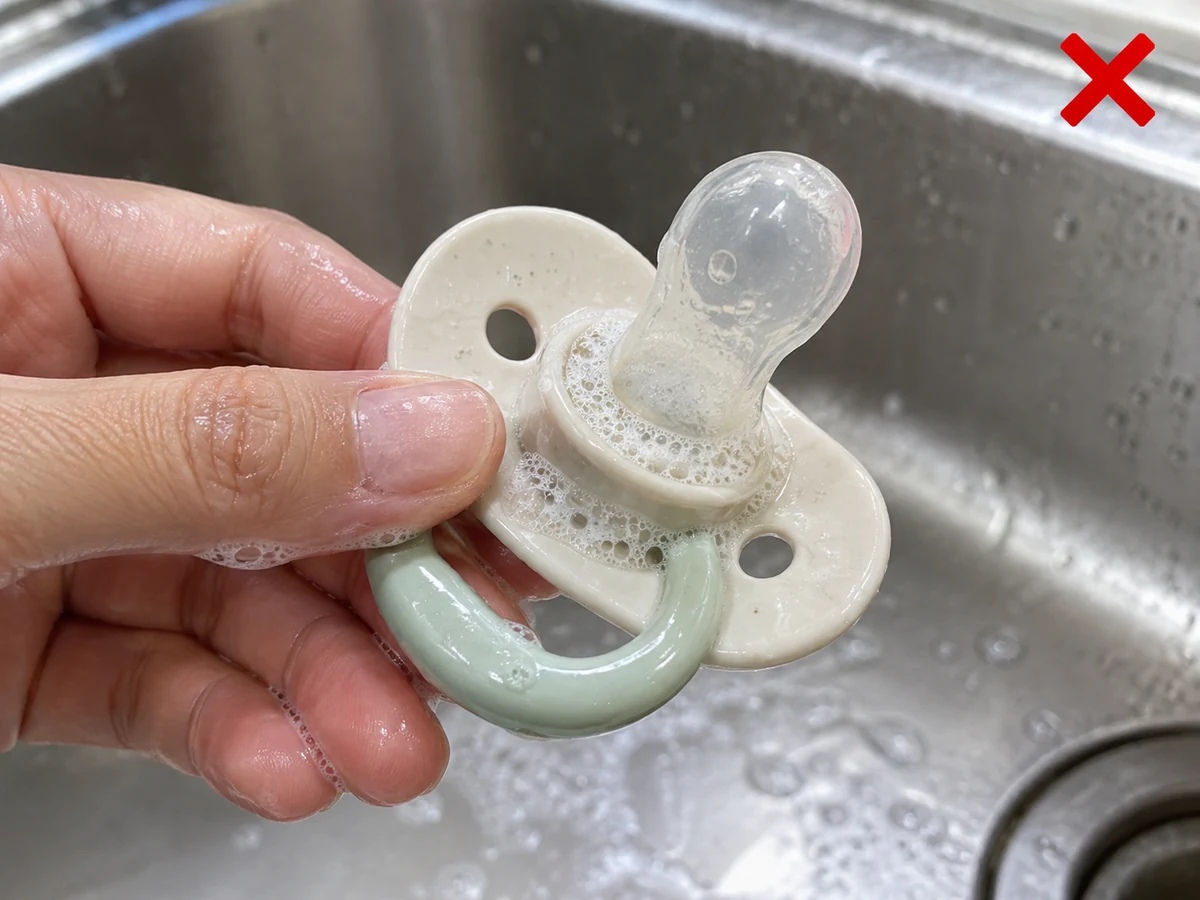
Leaving soap in a groove or seam
✓ Correct actionRinse every accessible groove until no soap remains.
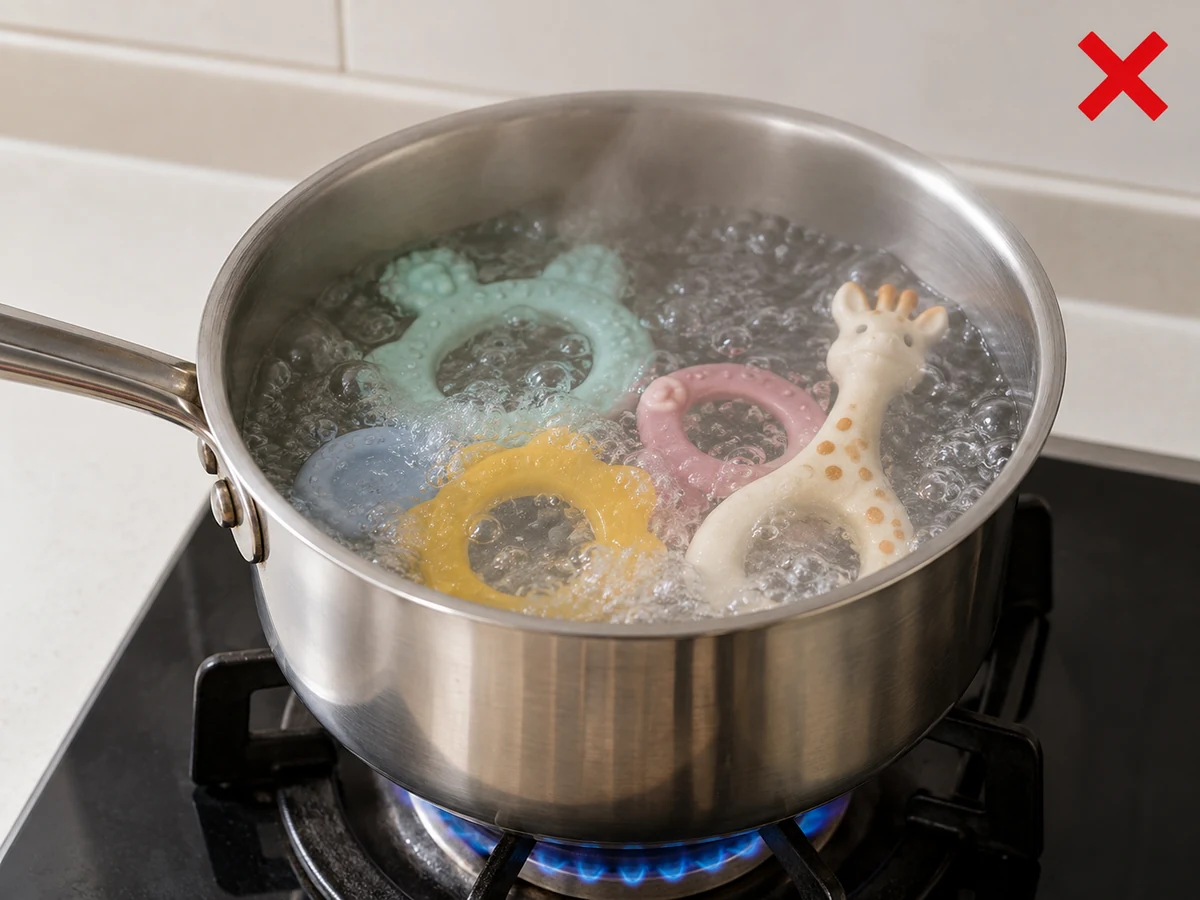
Boiling every teether by default
✓ Correct actionUse only the exact maker-approved sterilising method; do not boil a teether by assumption.
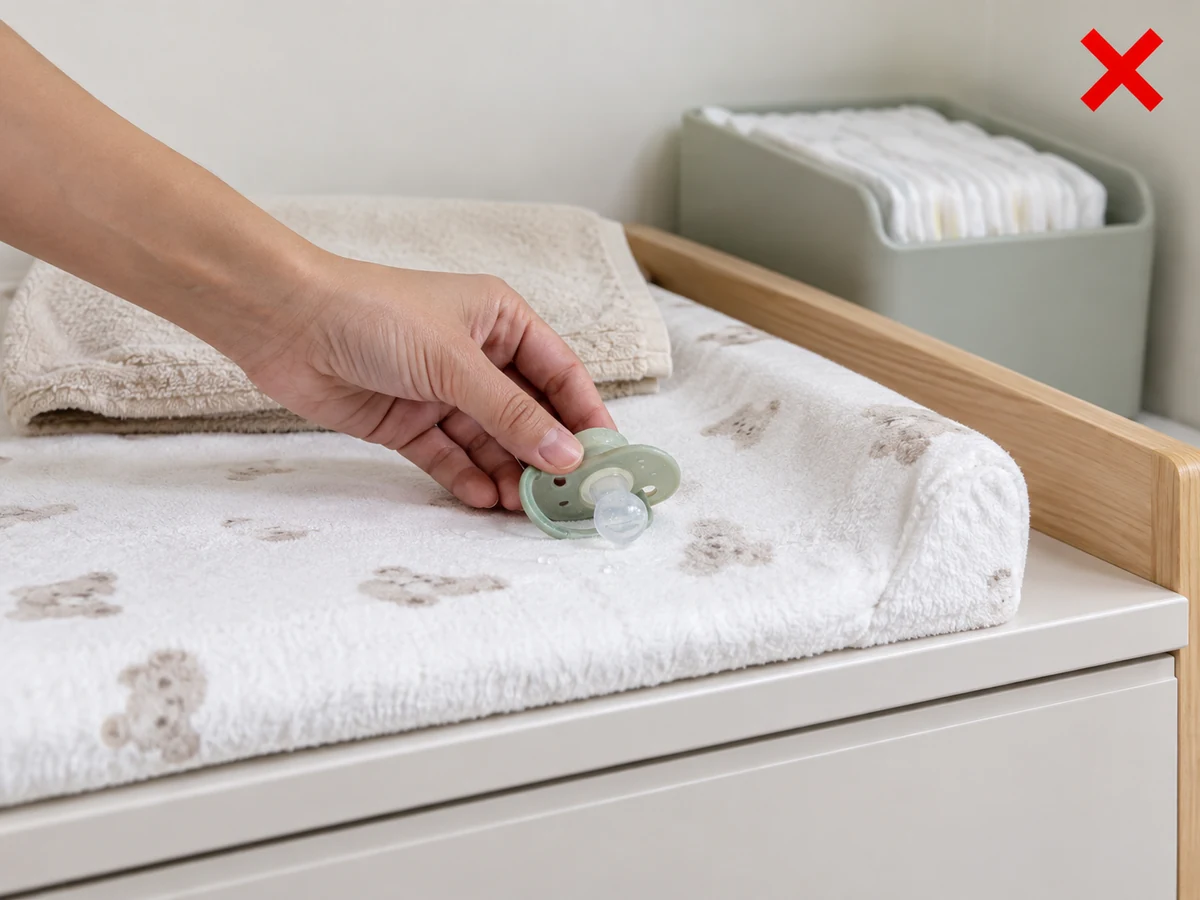
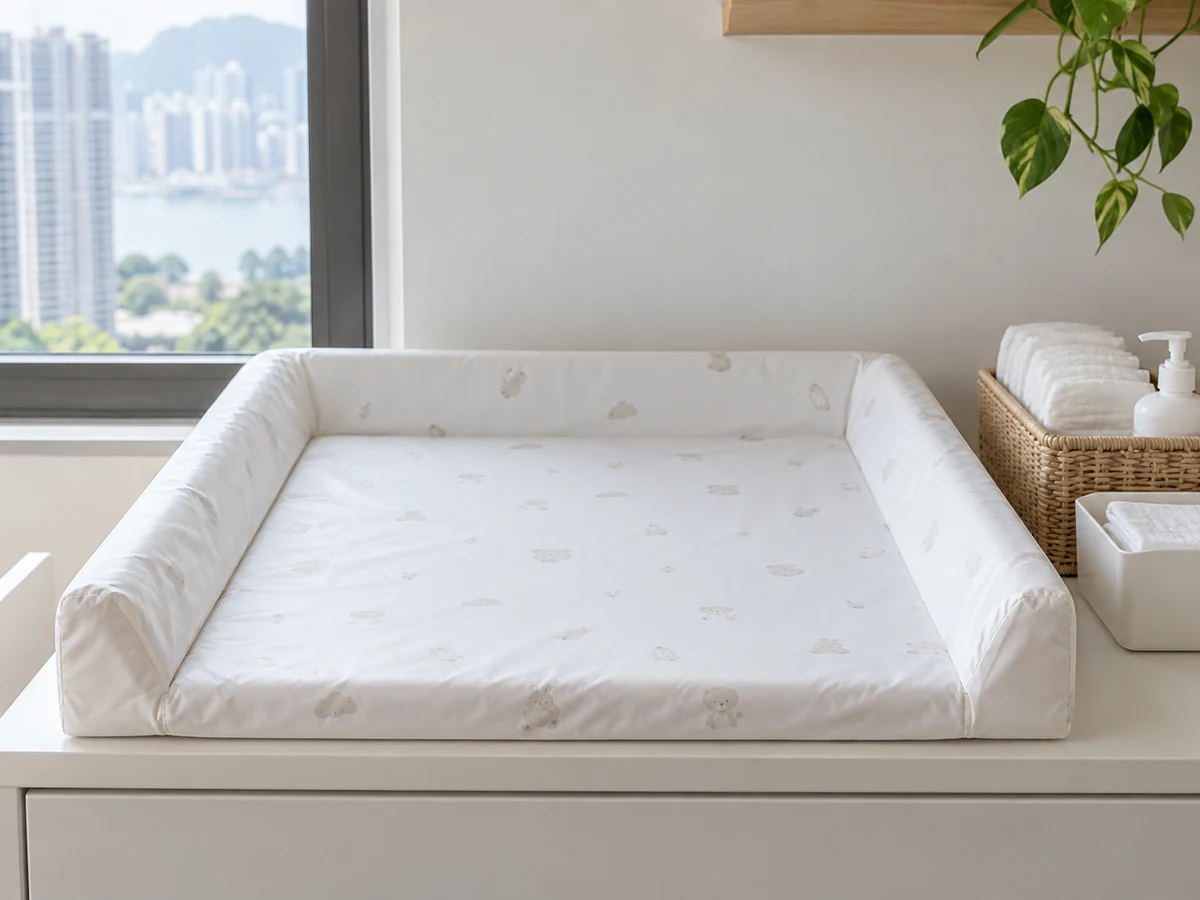
Putting a damp item back near the changing area
✓ Correct actionAir-dry on a clean rack and store away from the changing area after checking seams.
Practical tips
Tips for helpers
- Keep each product’s instructions with its storage container, especially where brands are mixed.
- Put cleaned items on a clean rack, never directly on the changing mat.
Tips for employers
- Keep pacifier and teether maker instructions with the products, not one universal sterilising rule.
- Provide replacements for worn or damaged items and remove unidentified teethers.
Completion checklist
Checked 0 / 4