Pet households
How to Clean Pet Toys by Material
Inspect bite damage and hidden food before material-specific washing.
Overview
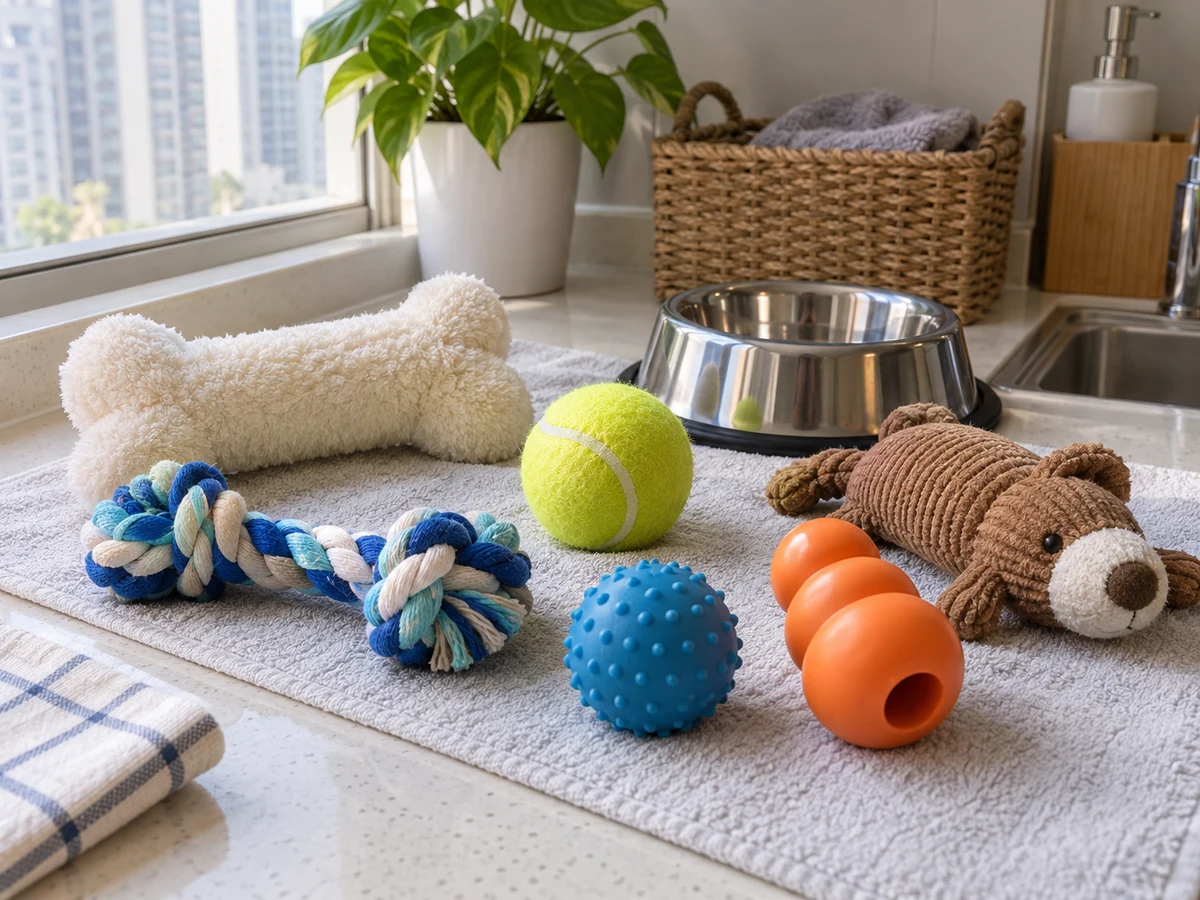
Move the pet safely away, separate rubber, hard plastic, fabric and electronic toys, and inspect bite holes, loose parts and exposed stuffing. Remove food and hair; brush cavities in rubber food toys with a dedicated soft brush rather than the dish sponge.
Tools needed
- Dedicated pet-supply brush
- Compatible cleaner
- Laundry mesh bag
- Ventilated drying rack
Cleaning steps
Separate the pet and inspect toys
Move the pet safely away, separate rubber, hard plastic, fabric and electronic toys, and inspect bite holes, loose parts and exposed stuffing.
Remove food from cavities
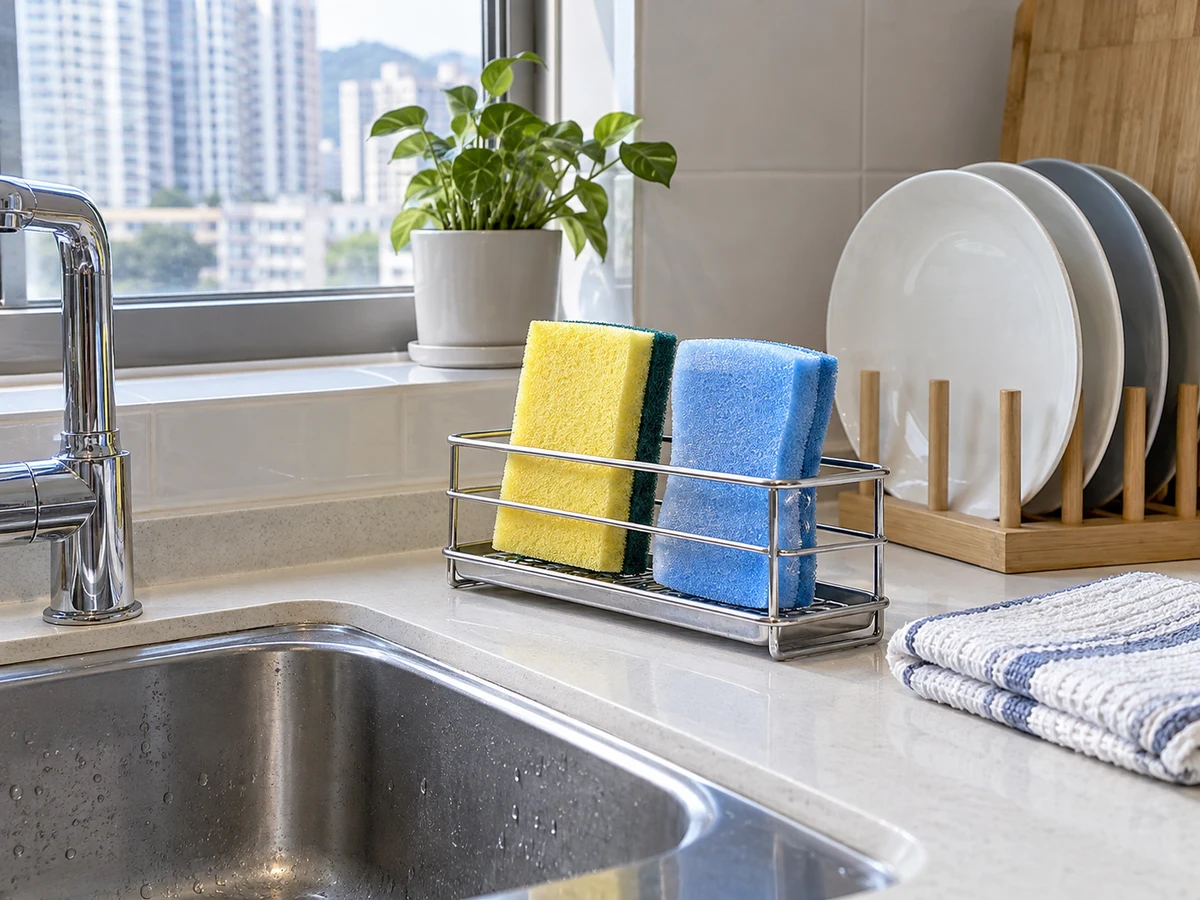
Remove food and hair; brush cavities in rubber food toys with a dedicated soft brush rather than the dish sponge.
Wash by toy material
Hand- or machine-wash only toys whose labels allow it; wipe electronic and non-immersible toys as directed without adding fragrance or disinfectant independently.
Check the dry core and integrity
Remove residue thoroughly and air-dry; turn or gently press washable fabric toys to check the core is dry before returning intact toys.
Common mistakes
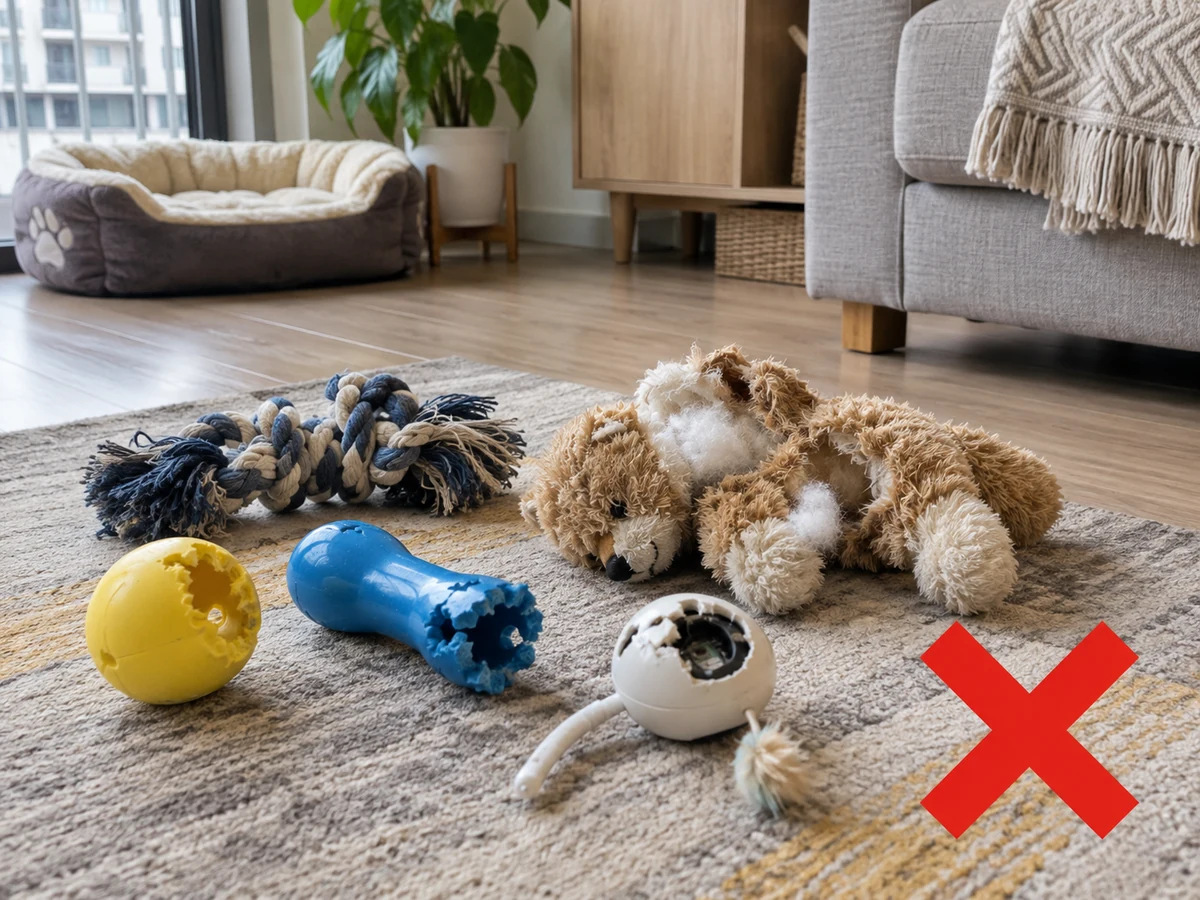
Continuing to use damaged toys
✓ Correct actionMove the pet safely away, separate rubber, hard plastic, fabric and electronic toys, and inspect bite holes, loose parts and exposed stuffing.
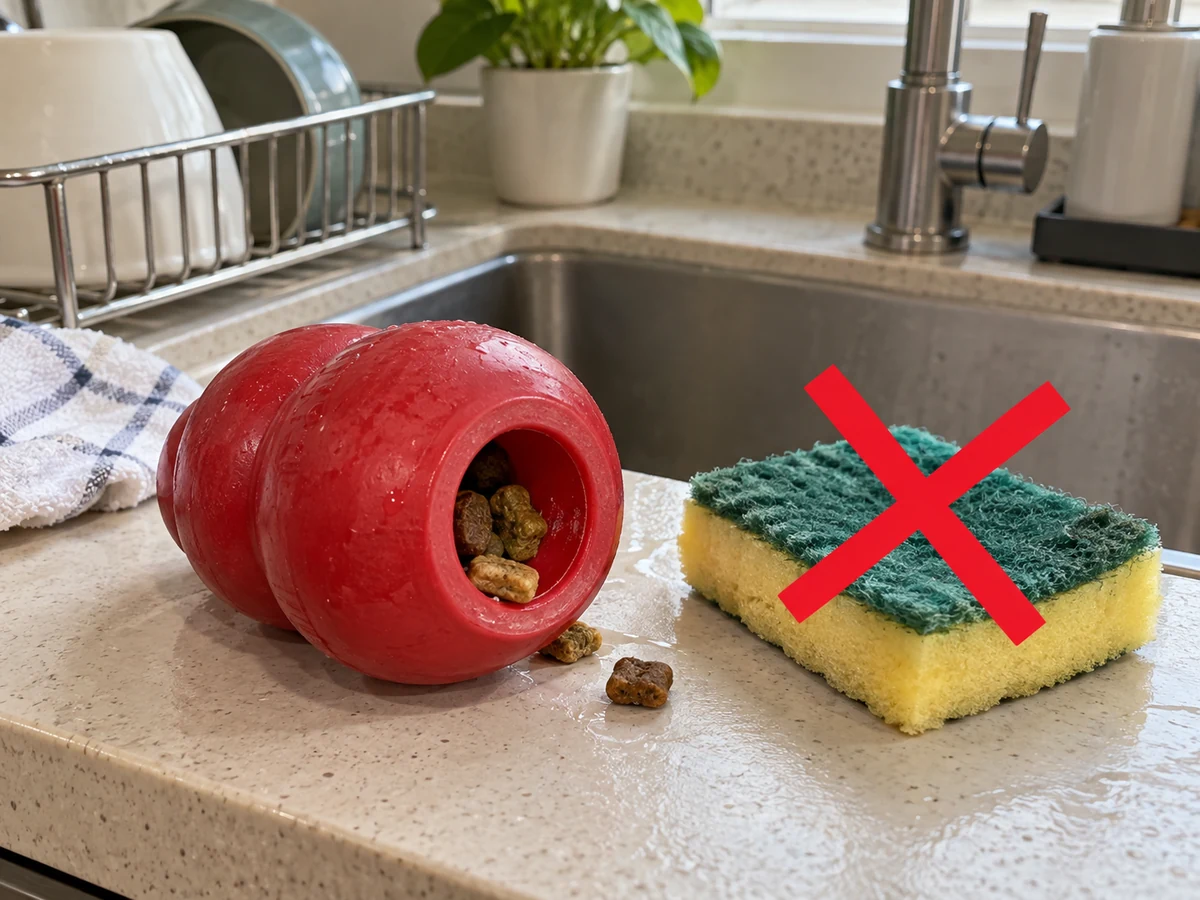
Missing food hidden in cavities
✓ Correct actionRemove food and hair; brush cavities in rubber food toys with a dedicated soft brush rather than the dish sponge.
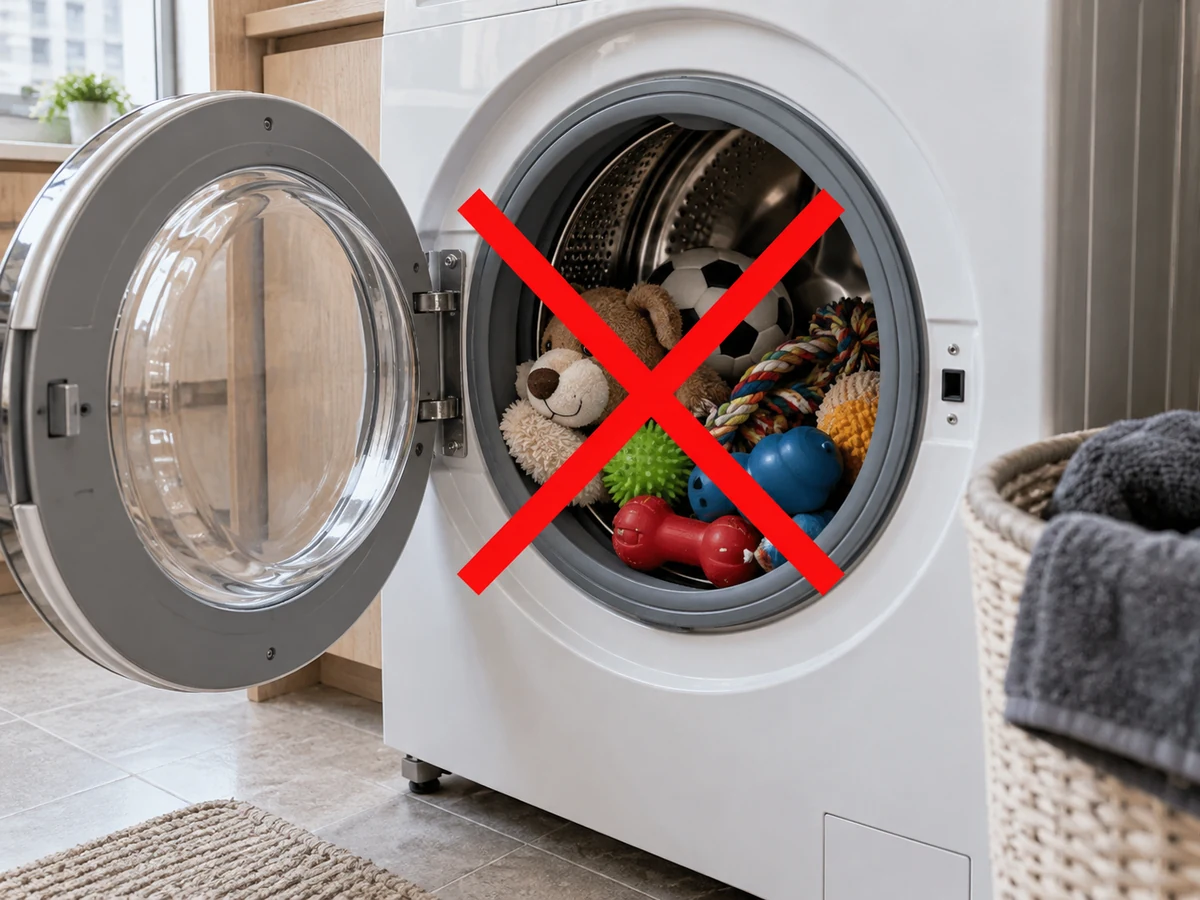
Using one wash programme for every toy
✓ Correct actionHand- or machine-wash only toys whose labels allow it; wipe electronic and non-immersible toys as directed without adding fragrance or disinfectant independently.
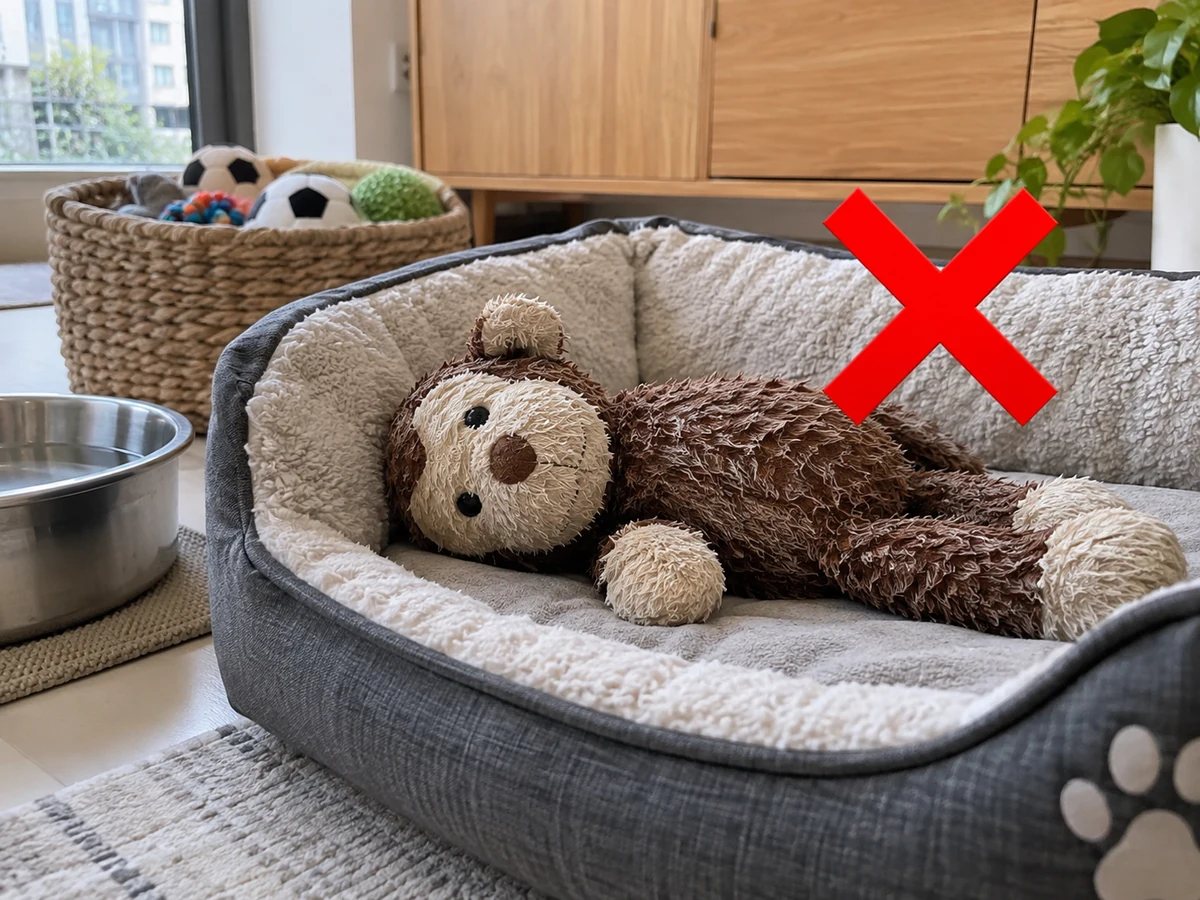
Returning toys with damp stuffing
✓ Correct actionRemove residue thoroughly and air-dry; turn or gently press washable fabric toys to check the core is dry before returning intact toys.
Practical tips
Tips for helpers
- Reserve a small brush for food toys.
- Turn fabric toys to inspect their core.
Tips for employers
- Provide toy-specific cleaning instructions.
- Replace holes or exposed squeakers.
Completion checklist
Checked 0 / 4