Kitchen cleaning
How to Clean, Dry and Replace Dish Sponges
Treat washing, drying and replacement as separate sponge-care decisions.
Overview
Separate dish sponges from other cleaning sponges; stop using mouldy, slimy, smelly or crumbling ones and replace as agreed. Rinse out food crumbs under running water, work in a little dish detergent and rinse repeatedly until clear.
Tools needed
- Hand dishwashing detergent
- Running clean water
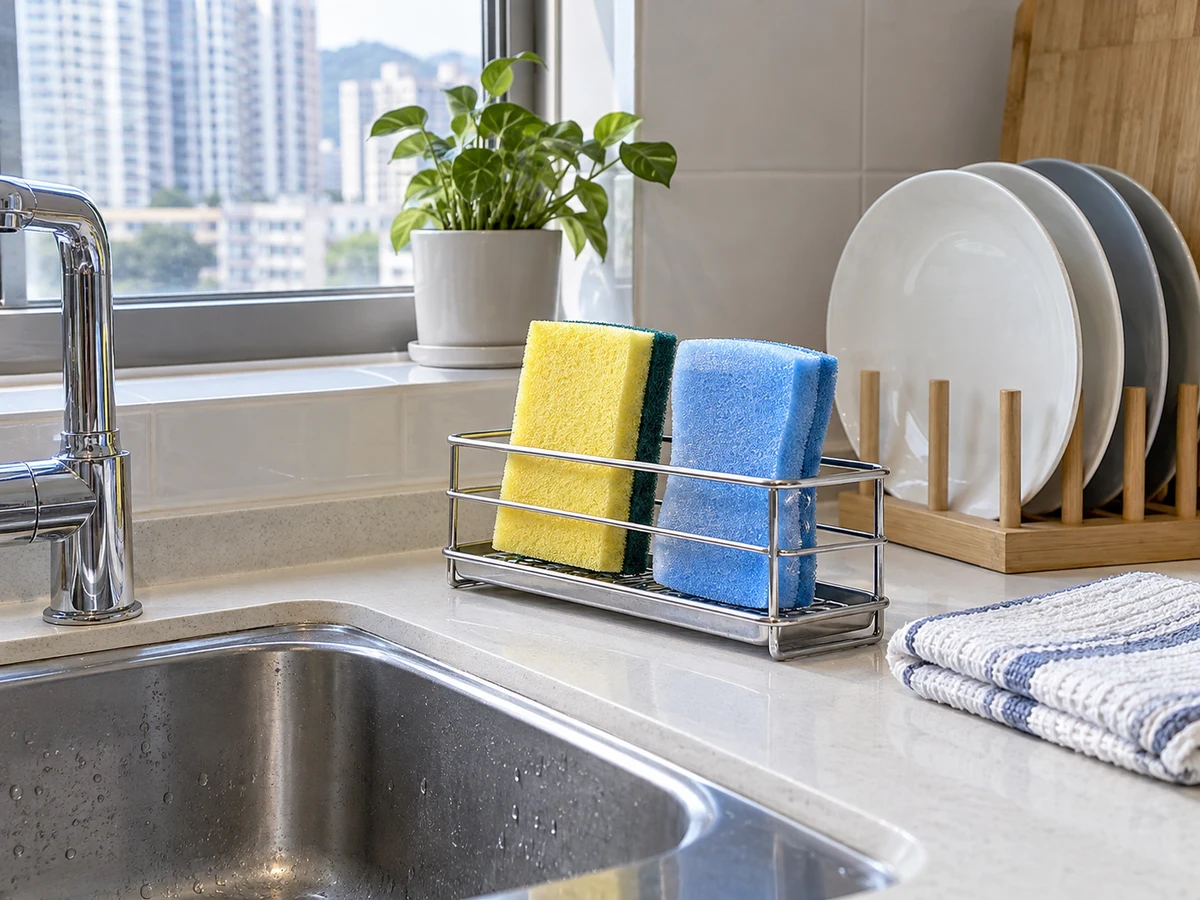
- Ventilated sponge holder
- Replacement sponge
Cleaning steps
Separate and inspect sponges
Separate dish sponges from other cleaning sponges; stop using mouldy, slimy, smelly or crumbling ones and replace as agreed.
Rinse food crumbs
Rinse out food crumbs under running water, work in a little dish detergent and rinse repeatedly until clear.
Squeeze and raise to dry
Squeeze gently and place on a draining, ventilated holder away from pooled water and food.
Clean the holder and check wear
Clean and dry the holder, and check sponge drying and condition; washing does not make a sponge reusable indefinitely.
Common mistakes
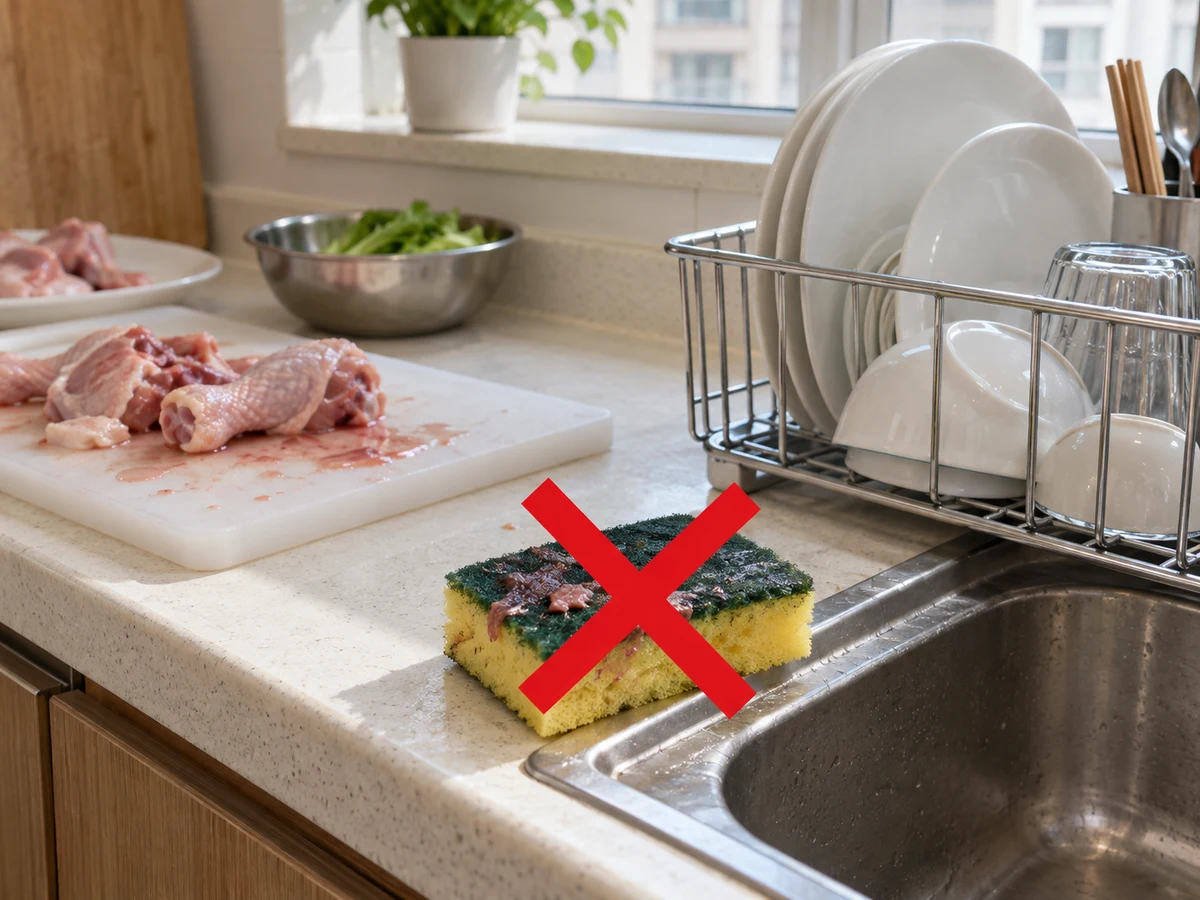
Using a raw-meat spill sponge on dishes
✓ Correct actionDo not reuse a sponge exposed to raw-meat juices or heavy contamination for dishes; replace under the household hygiene plan.
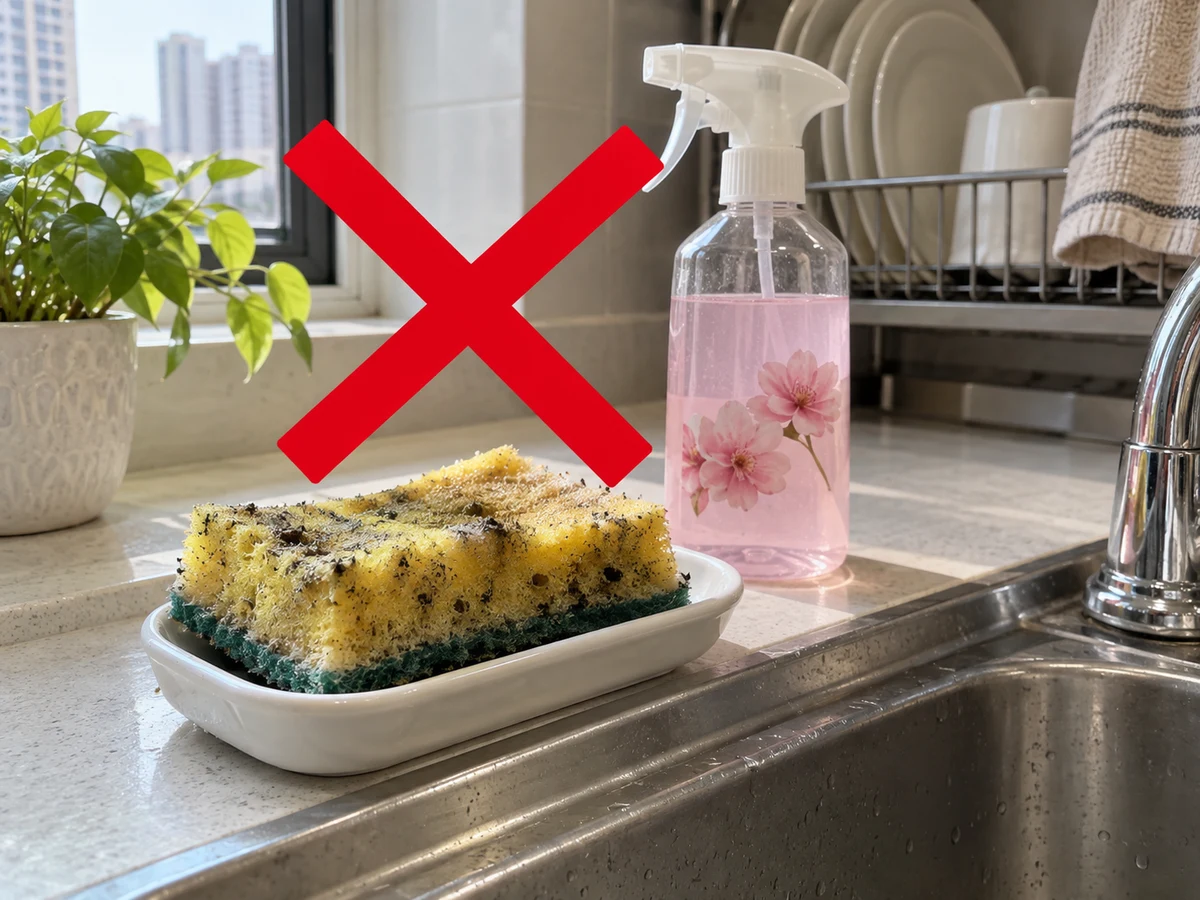
Masking odour with fragrance
✓ Correct actionReplace a sponge that is slimy, smelly, damaged or has soil that will not rinse out; rinsing or heating does not make it fit for reuse.
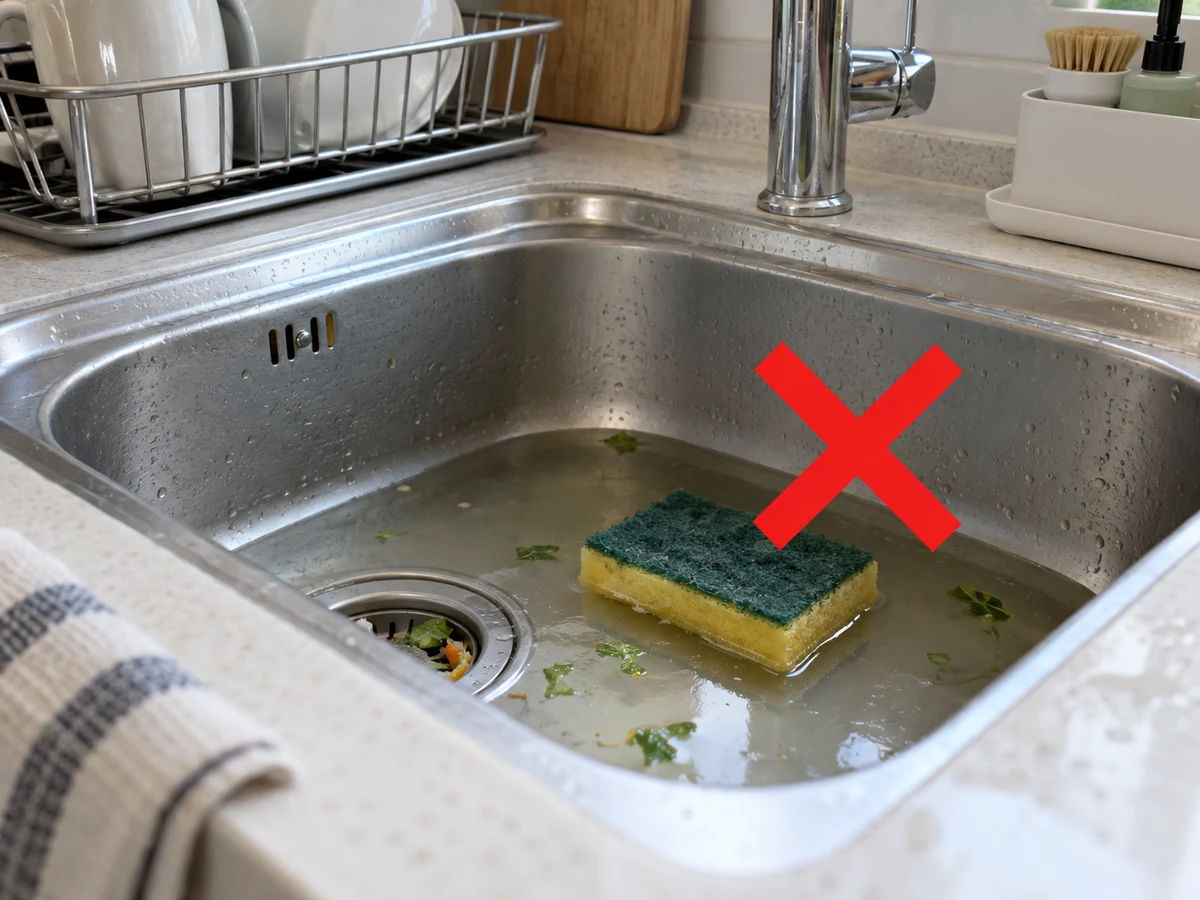
Leaving the sponge in pooled water
✓ Correct actionSqueeze gently and place on a draining, ventilated holder away from pooled water and food.
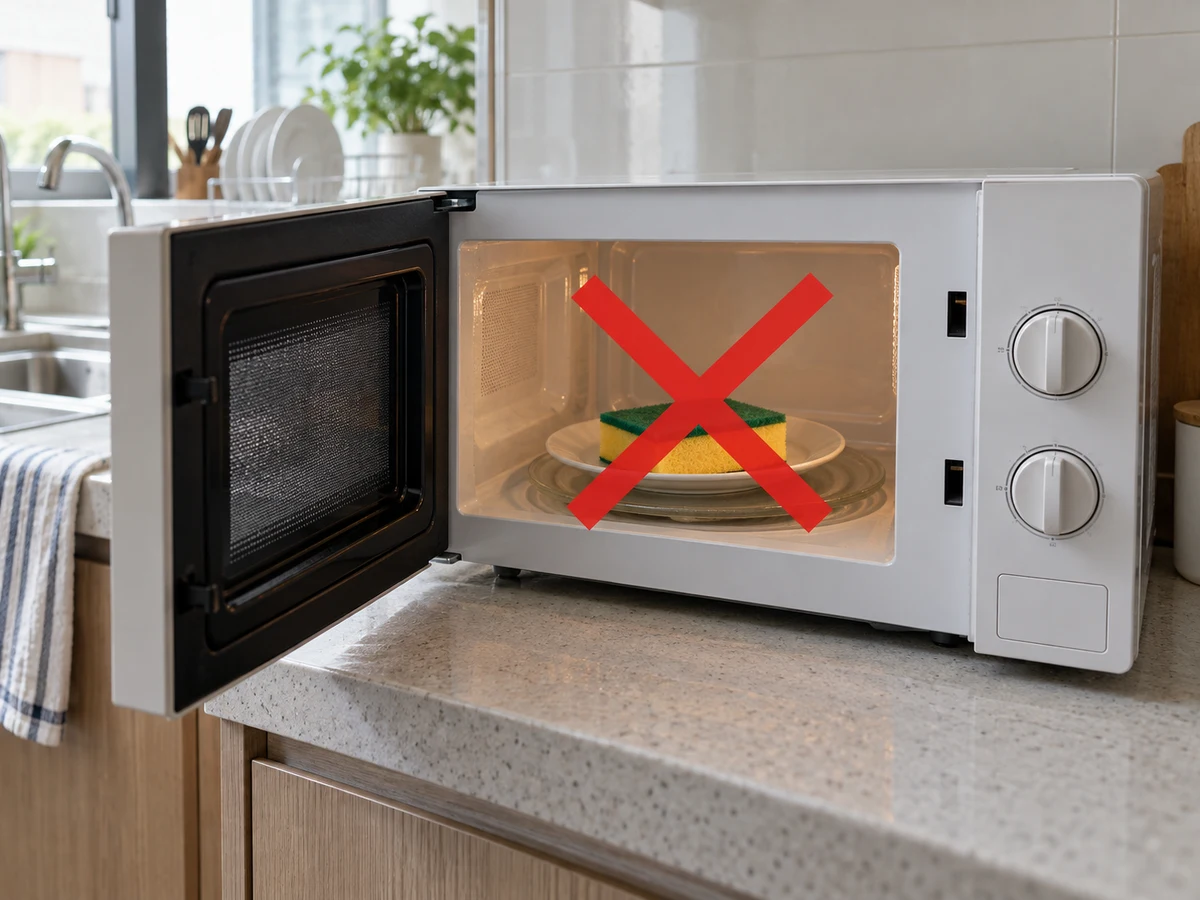
Assuming microwaving guarantees disinfection
✓ Correct actionThis guide does not microwave, boil or mix chemicals for sponges; appearance cannot confirm disinfection.
Practical tips
Tips for helpers
- Keep dish sponges in one designated spot.
- Check daily for slime or crumbling.
Tips for employers
- Keep replacement sponges available.
- Specify replacement after raw-meat contamination.
Completion checklist
Checked 0 / 4