Appliance care
How to Clean Pressure-cooker Removable Parts Safely
Confirm zero pressure and preserve safety assemblies before cleaning.
Overview
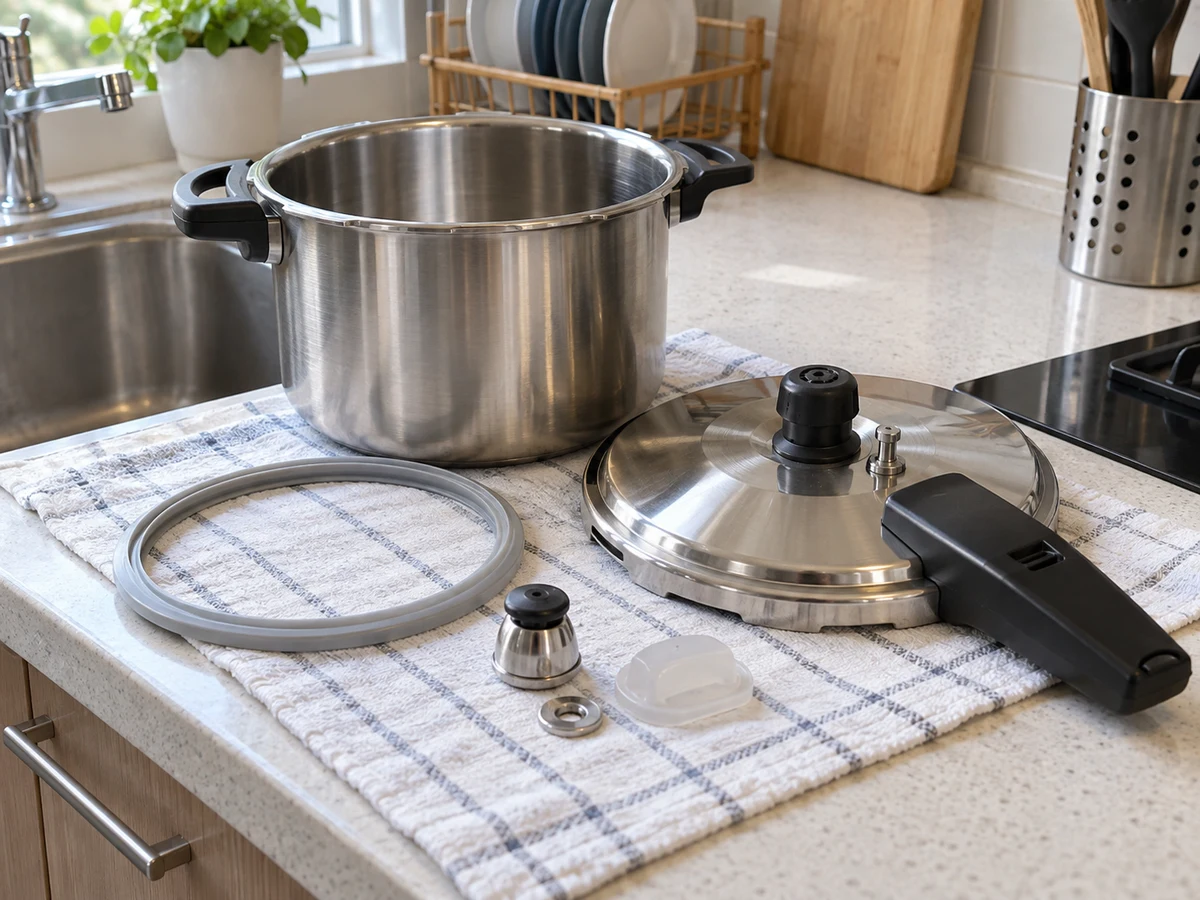
Switch off and unplug; let pressure release fully and the cooker cool as the model directs. Confirm the safe pressure indication before opening, without force. Record the ring and parts against the manual; remove only the inner pot, ring and lid pieces approved for user cleaning.
Tools needed
- Exact-model manual
- Mild dish detergent
- Soft sponge
- Dry cloth
Cleaning steps
Disconnect, cool and depressurise
Switch off and unplug; let pressure release fully and the cooker cool as the model directs. Confirm the safe pressure indication before opening, without force.
Record removable parts
Record the ring and parts against the manual; remove only the inner pot, ring and lid pieces approved for user cleaning.
Wash parts, keep body dry
Wash and rinse permitted parts separately; wipe the body with a well-wrung cloth, keep electrical connections dry and do not dismantle safety valves independently.
Dry, refit and check seals
Dry completely and refit in the correct orientation; inspect the ring, vent path and lid lock. Stop use for damage, missing parts or uncertain assembly.
Common mistakes
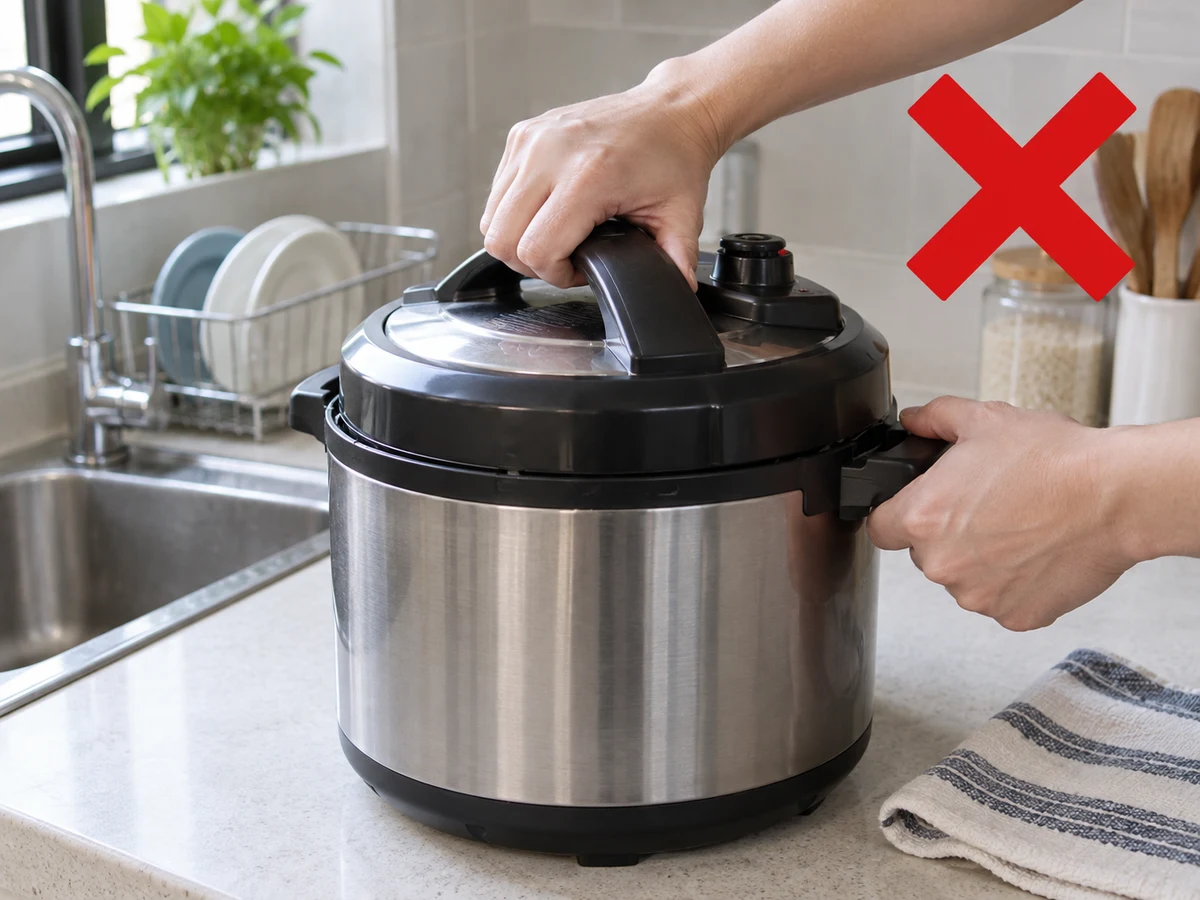
Forcing the lid before pressure releases
✓ Correct actionSwitch off and unplug; let pressure release fully and the cooker cool as the model directs. Confirm the safe pressure indication before opening, without force.
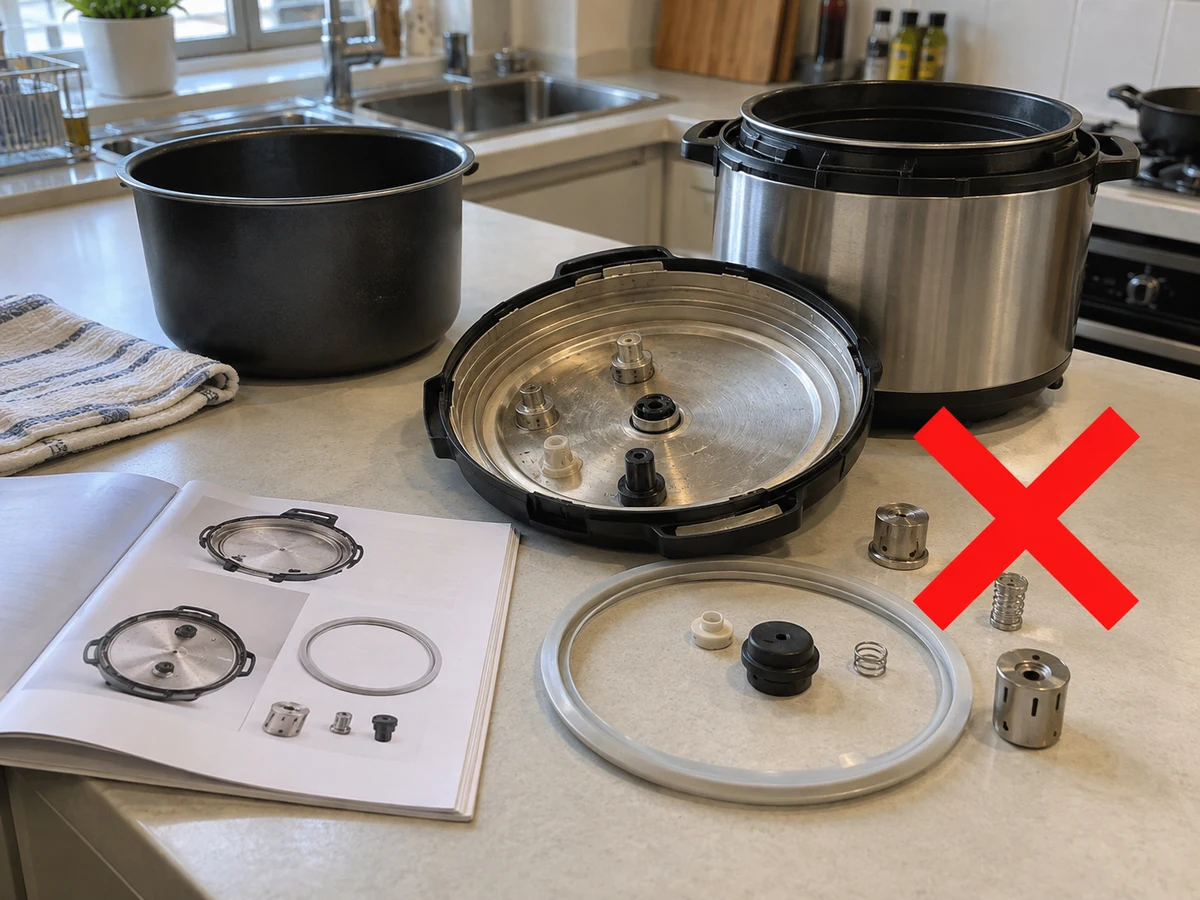
Dismantling safety parts without a record
✓ Correct actionRecord the ring and parts against the manual; remove only the inner pot, ring and lid pieces approved for user cleaning.
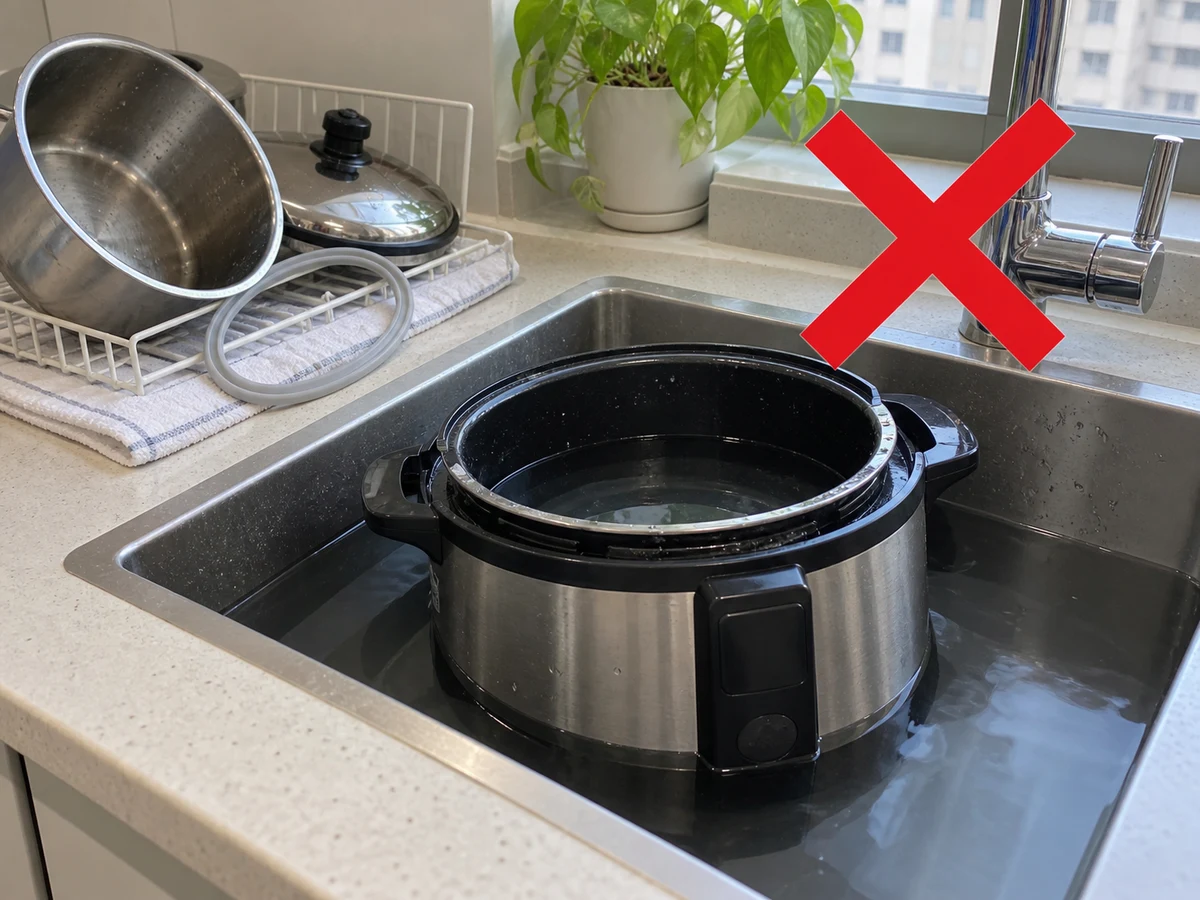
Immersing the body
✓ Correct actionWash and rinse permitted parts separately; wipe the body with a well-wrung cloth, keep electrical connections dry and do not dismantle safety valves independently.
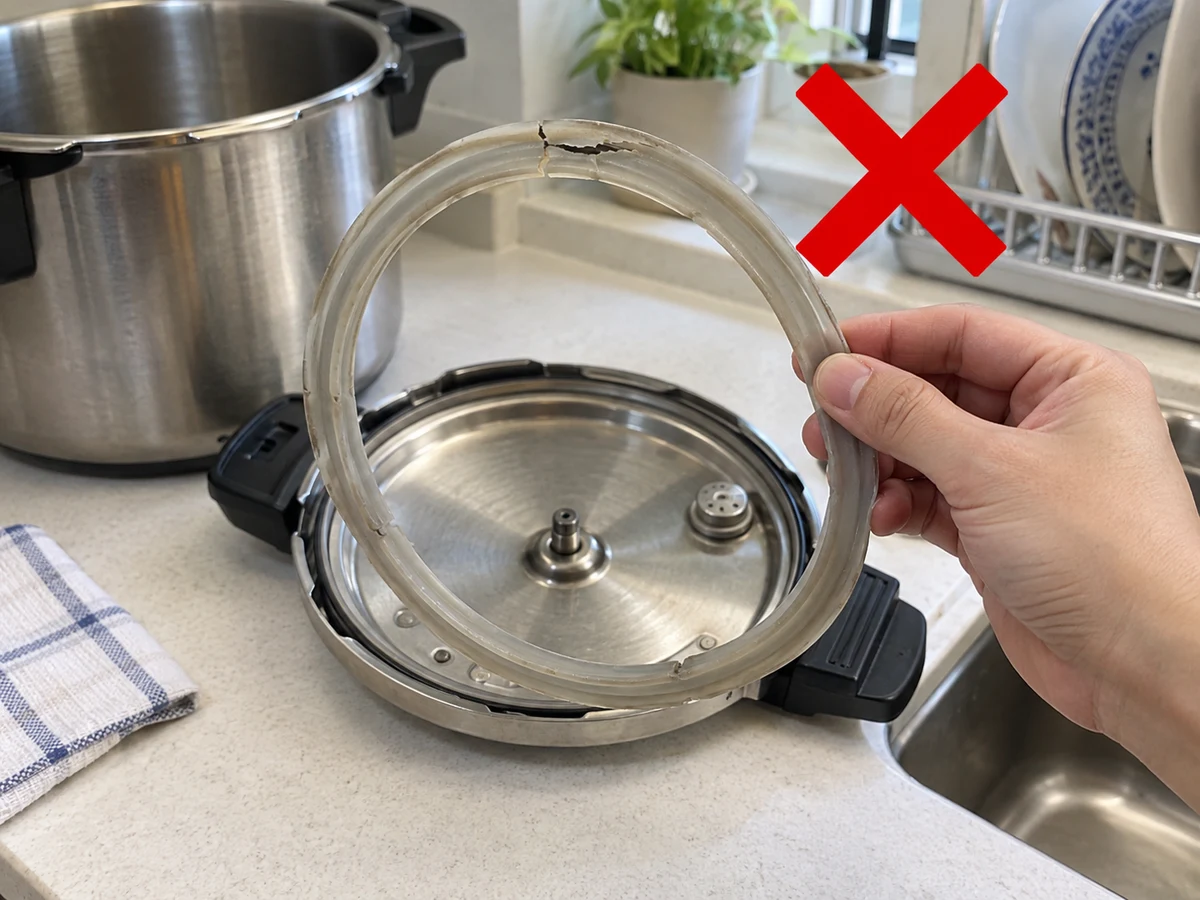
Reusing a damaged sealing ring
✓ Correct actionDry completely and refit in the correct orientation; inspect the ring, vent path and lid lock. Stop use for damage, missing parts or uncertain assembly.
Practical tips
Tips for helpers
- Place each removed piece in a fixed tray.
- Recheck orientation before refitting.
Tips for employers
- Provide the exact-model manual.
- Arrange manufacturer service for valve or seal faults.
Completion checklist
Checked 0 / 4