Bathroom cleaning
How to Clean Toothbrush Holders and Rinsing Cups
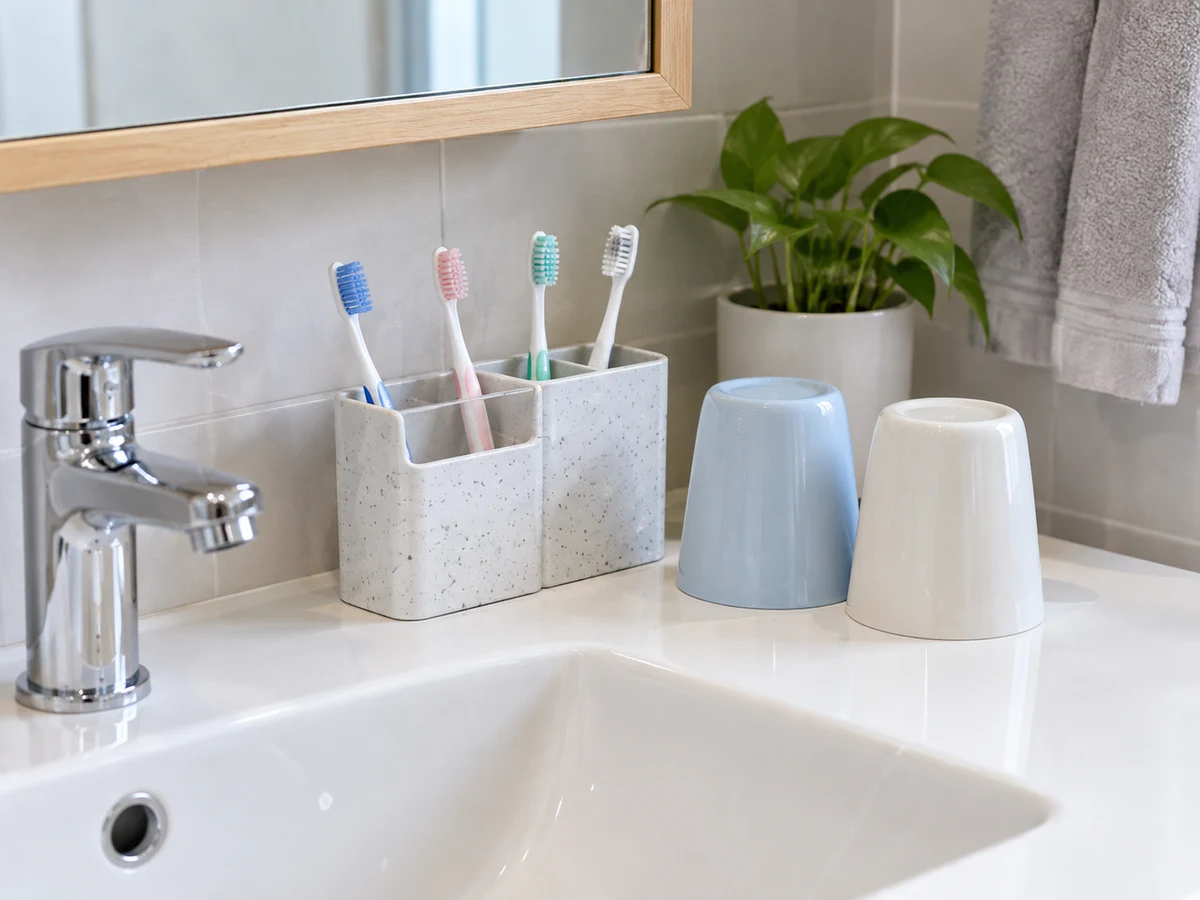
Inspect water trapped in cup bases and toothbrush holders.
Overview
Remove toothbrushes without mixing owners, empty pooled water and check whether the holder and cups are washable. Remove only permitted dividers and brush toothpaste and base deposits with a dedicated brush, separate from toilet tools.
Tools needed
- Dedicated small brush
- Mild cleaner
- Clean bathroom cloth
- Draining tray
Cleaning steps
Separate brushes and drain
Remove toothbrushes without mixing owners, empty pooled water and check whether the holder and cups are washable.
Brush toothpaste deposits
Remove only permitted dividers and brush toothpaste and base deposits with a dedicated brush, separate from toilet tools.
Wash and rinse cup rims
Wash inside, outside and drinking rims with one material-compatible mild cleaner, then rinse thoroughly.
Dry separately and restore
Dry cups and holders separately and check drainage holes; return to a dry position with toothbrush heads apart.
Common mistakes
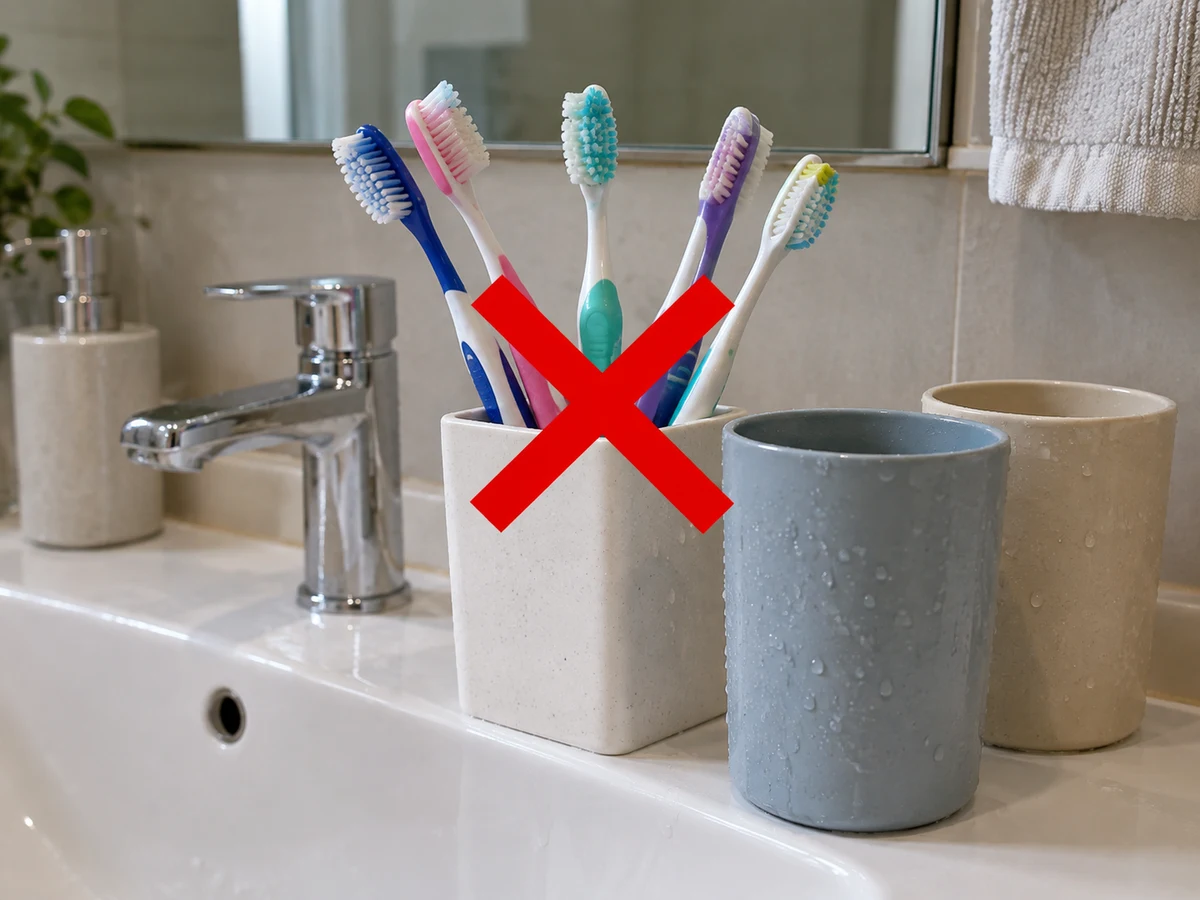
Mixing everyone's toothbrushes
✓ Correct actionRemove toothbrushes without mixing owners, empty pooled water and check whether the holder and cups are washable.
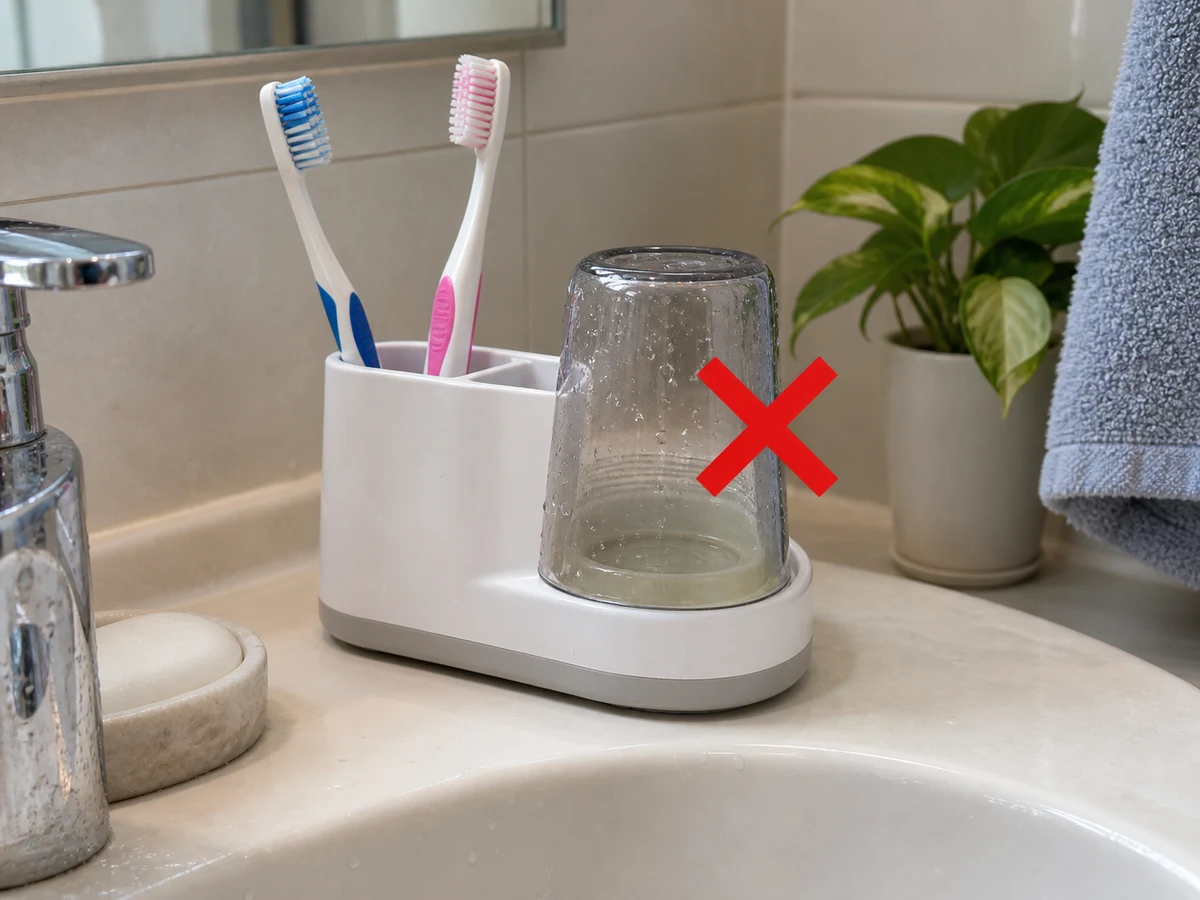
Missing water trapped in the base
✓ Correct actionRemove only permitted dividers and brush toothpaste and base deposits with a dedicated brush, separate from toilet tools.
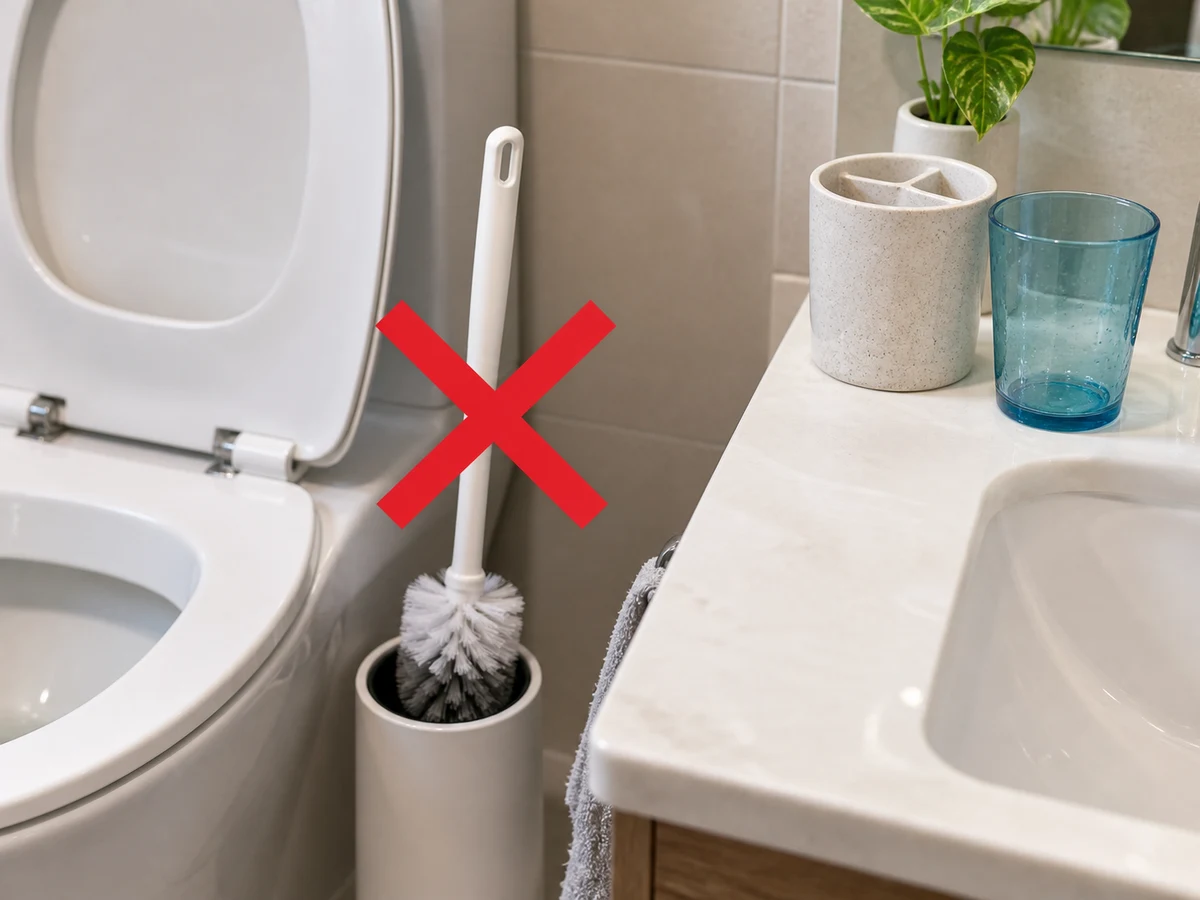
Using a toilet brush
✓ Correct actionRemove only permitted dividers and brush toothpaste and base deposits with a dedicated brush, separate from toilet tools.
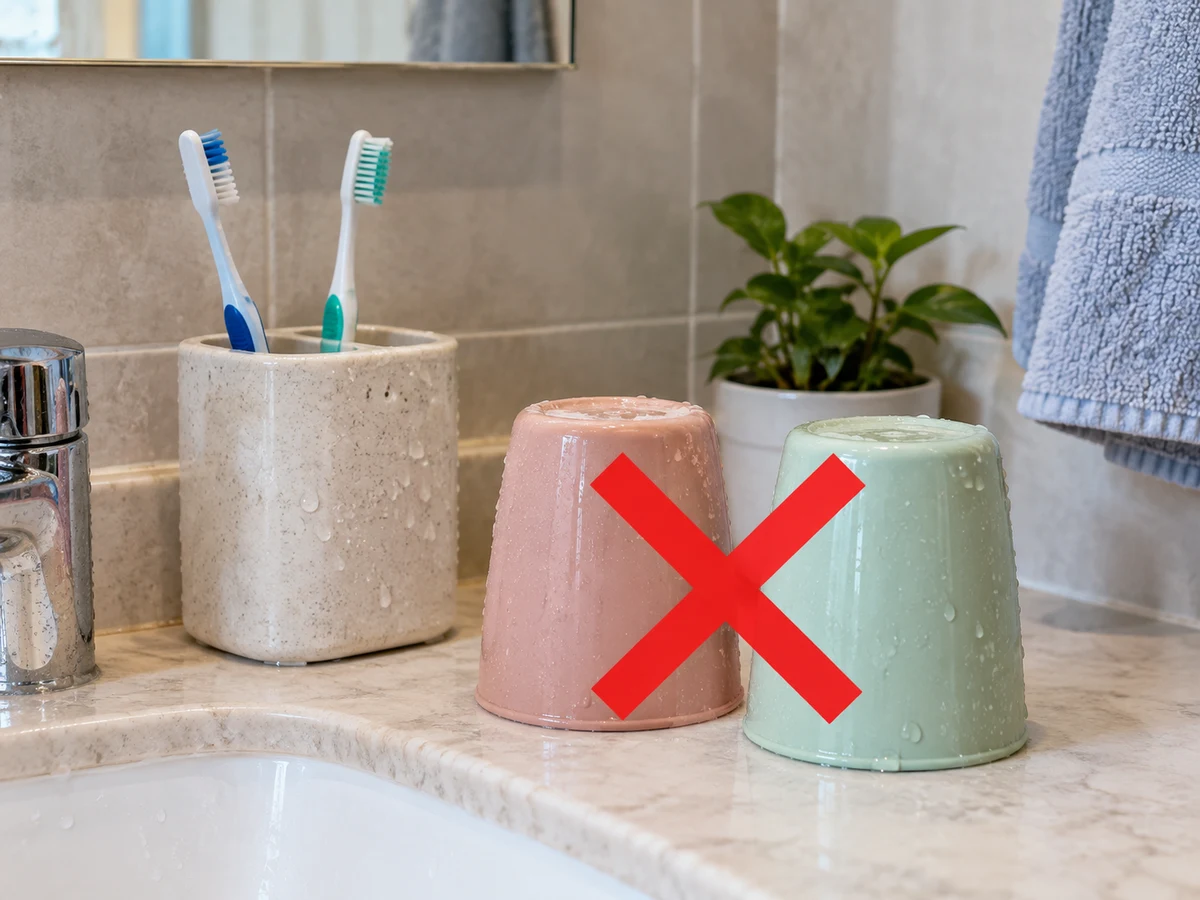
Sealing cups while damp inside
✓ Correct actionDry cups and holders separately and check drainage holes; return to a dry position with toothbrush heads apart.
Practical tips
Tips for helpers
- Keep each owner's toothbrush in its own section.
- Empty water before brushing the base.
Tips for employers
- Provide a dedicated bathroom brush.
- Replace cracked cups or uncleanable holders.
Completion checklist
Checked 0 / 4