Appliance care
How to Clean a Washer Dispenser and Door Seal
Follow front-load or top-load model instructions for the dispenser and visible seal only
Overview
Dispenser position, release method and door construction vary between front- and top-load washers. Read the manual, switch off and unplug. Remove only approved drawer pieces and clean only visible seal surfaces; no disassembly, sharp tools or improvised chemicals.
Tools needed
- Model manual
- Household gloves
- Clean soft cloth or sponge
- Small soft brush
- Manual-specified cleaner and dry towel
Cleaning steps
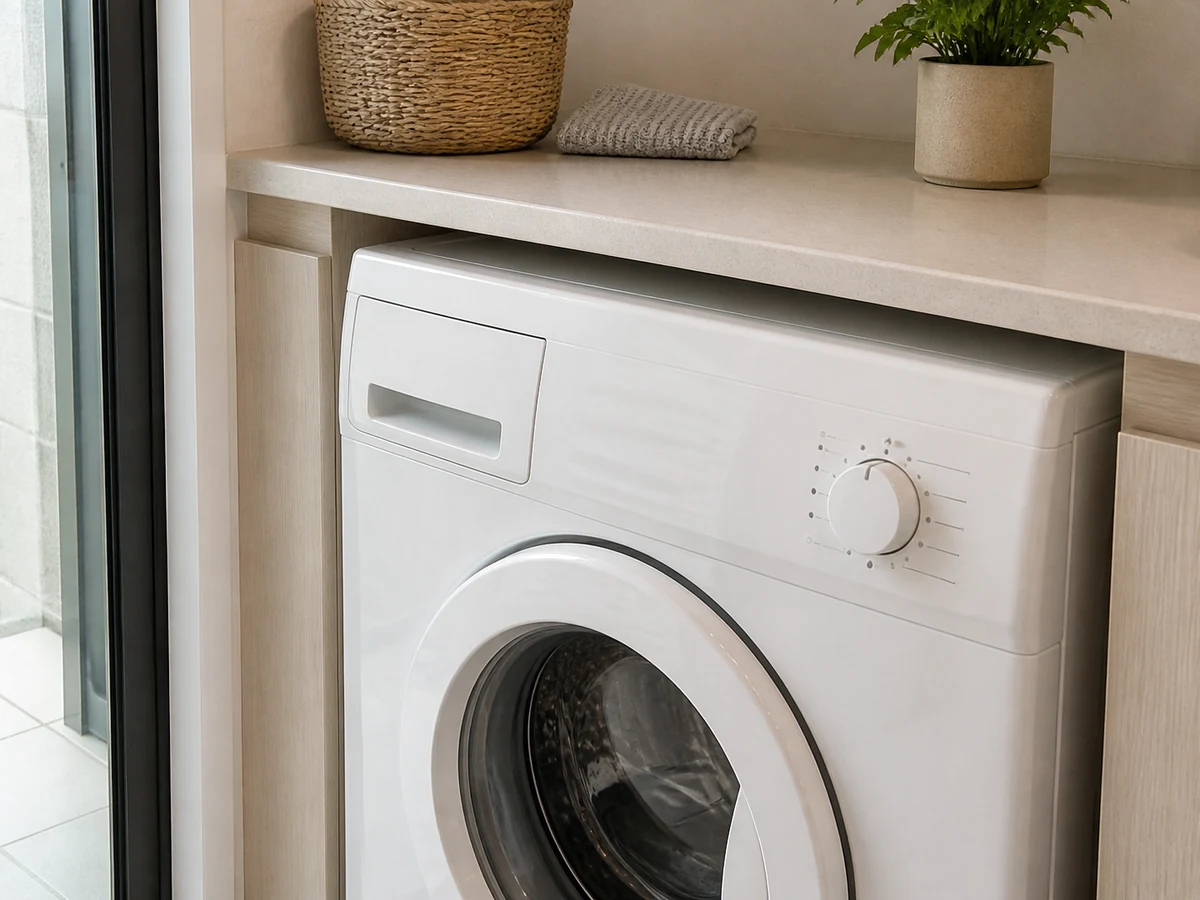
Identify the washer design
Confirm front- or top-load design and its dispenser, inserts and door structure; a top-loader may not have a front gasket.
Switch off and unplug
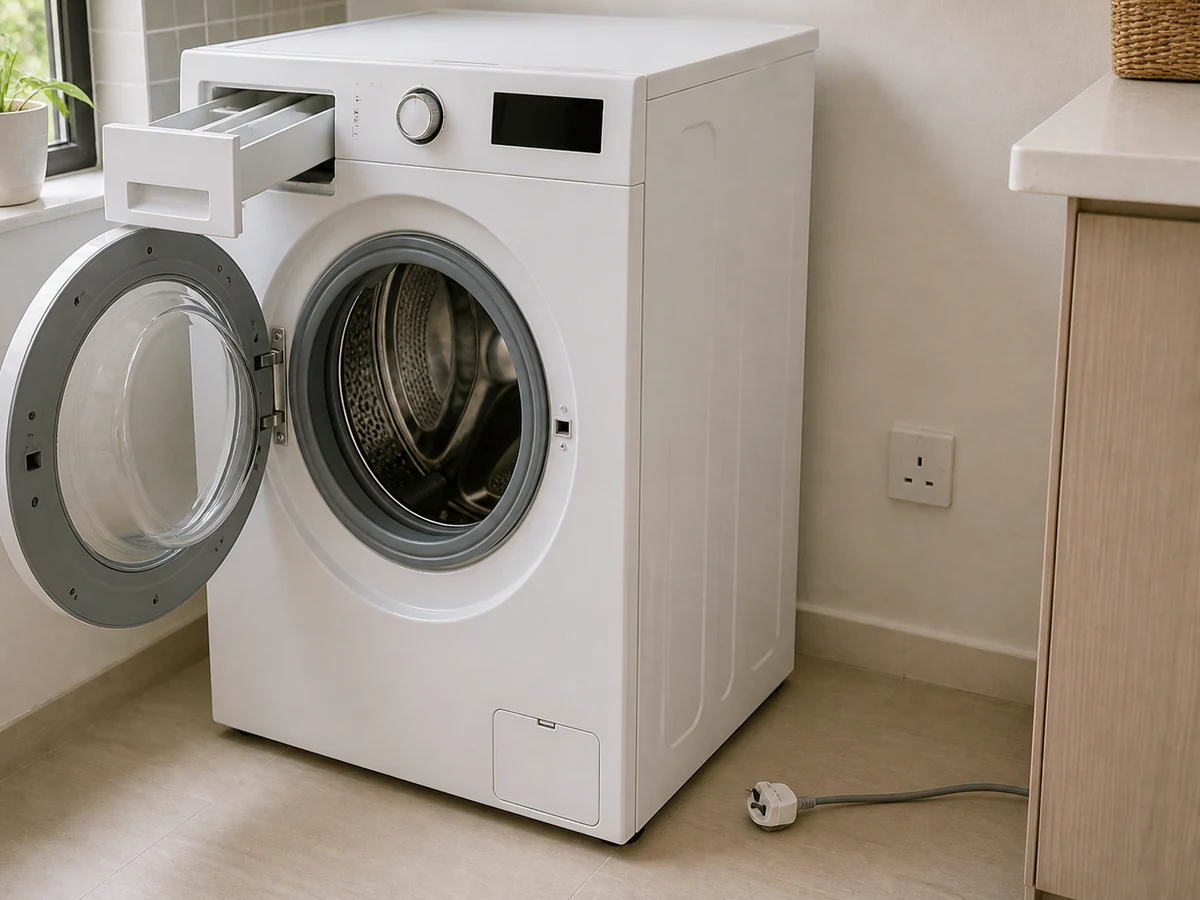
Make sure the drum is empty, switch off and unplug by the plug with dry hands.
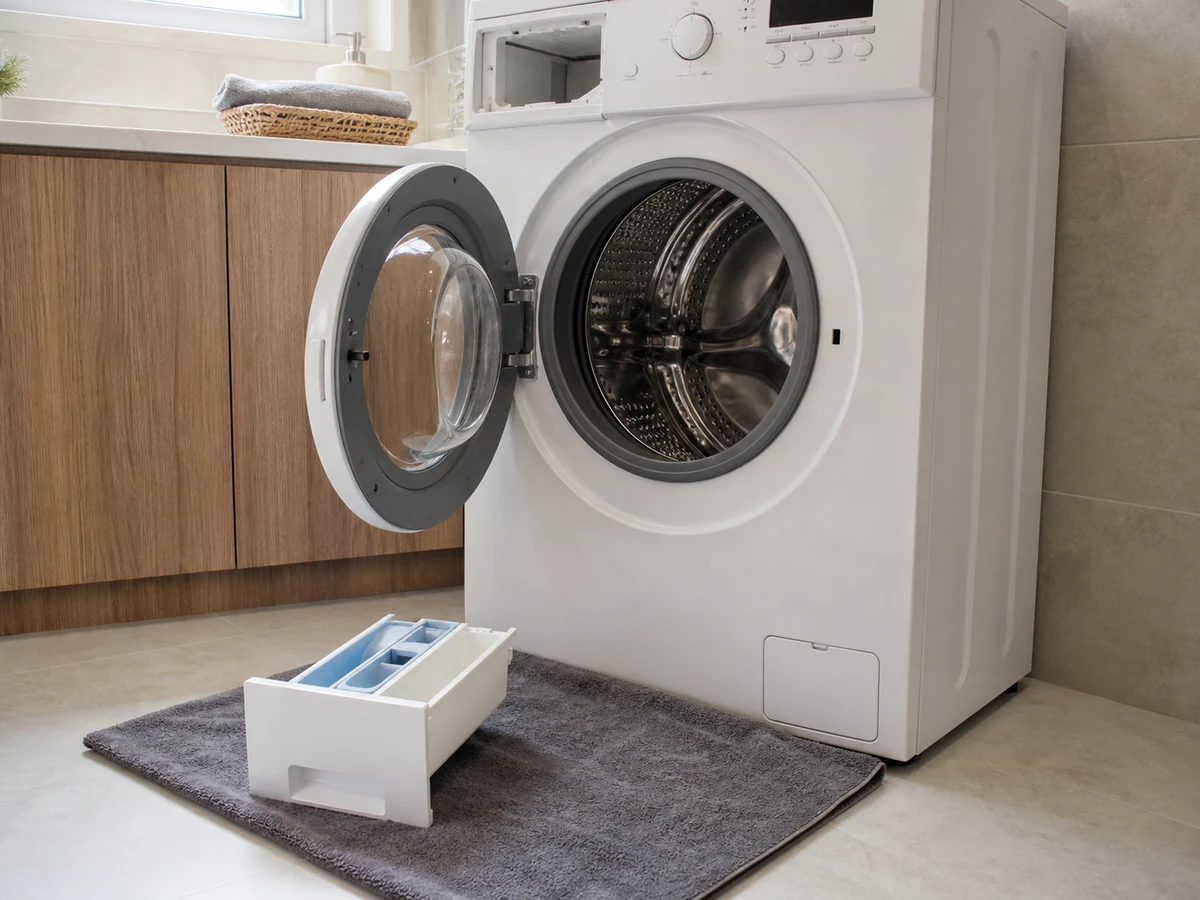
Remove the dispenser as directed
Pull to the stated point and use the model release. Never force, pry or remove screws.
Clean and dry the dispenser
Use the manual-specified lukewarm water, soft cloth or brush, wipe the cavity, then fully dry approved parts and refit.
Clean the visible seal surface
On a front-loader, remove hair, lint and residue with a soft cloth and specified method. No sharp tools, pulling or flooding gaps.
Dry, ventilate and inspect
Dry the dispenser, door glass and seal. Ventilate only as safe and instructed; report a torn seal or continuing leak.
Common mistakes
Forcing a differently designed dispenser
✓ Correct actionFind the model release point; never use force or a tool.
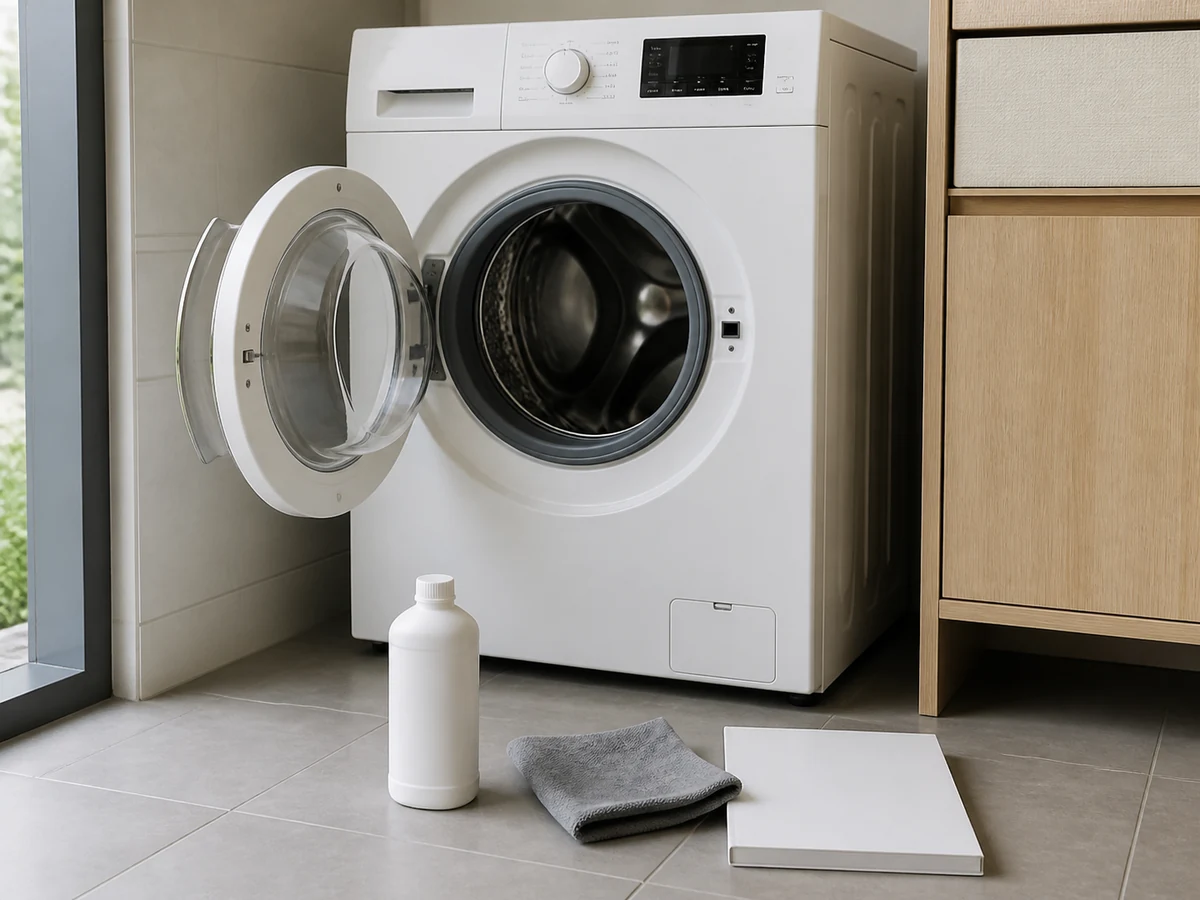
Using concentrated bleach or mixing cleaners
✓ Correct actionUse only the manual-specified product and dilution; never mix chemicals.
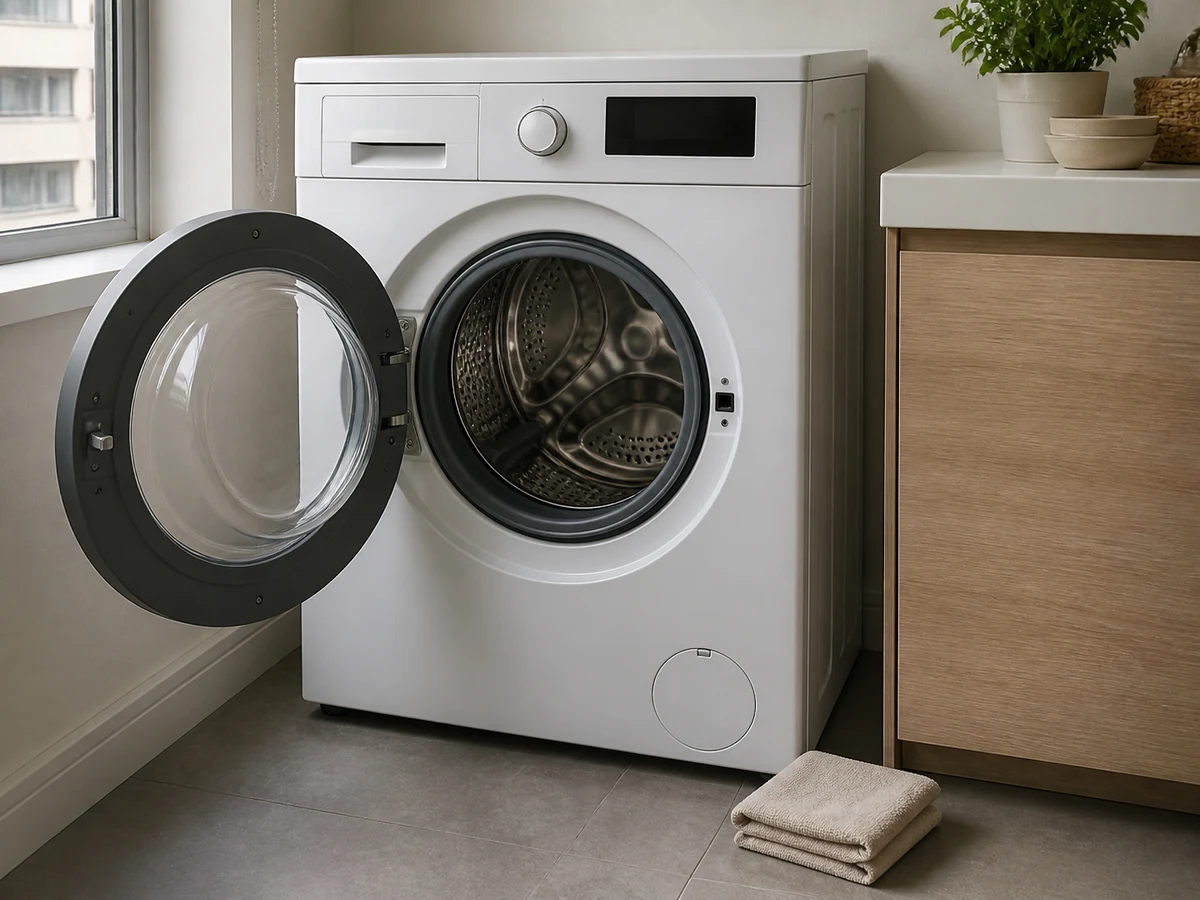
Scraping the seal or holes with a sharp object
✓ Correct actionUse a soft cloth and only safely removable debris; do not puncture or dismantle.
Ignoring a tear or leak after cleaning
✓ Correct actionStop use and ask the employer to arrange inspection.
Practical tips
Tips for helpers
- Record insert order and orientation before removal.
- Wipe visible hair and moisture after wash days to limit buildup.
Tips for employers
- Provide the model manual and specified cleaning product.
- In homes with children, set a safe ventilation method that prevents access to an open washer.
Completion checklist
Checked 0 / 6