Bathroom cleaning
How to Clean a Shower Head
Confirm the model and serviceable scope, then follow its maker-approved method
Overview
Coatings, nozzles and removable parts differ between shower-head models. Check the exact manufacturer instructions and clean only approved external or removable parts. Do not assume every shower head may be soaked, and do not invent acid, vinegar or chemical ratios.
Tools needed
- Soft lint-free cloth
- Small soft-bristle brush
- Clean-water container
- Dry absorbent cloth
- Exact-model manufacturer care guidance
- Only cleaner specifically permitted by that guidance
Cleaning steps
Confirm the model and method
Check the coating, removal, soaking and product rules for the exact model. If guidance is unclear, limit work to external cleaning.
Turn off water and let surfaces cool
Stop the shower, close the controls and wait until metal surfaces are comfortable to touch before clearing nearby items.
Wipe external soil first
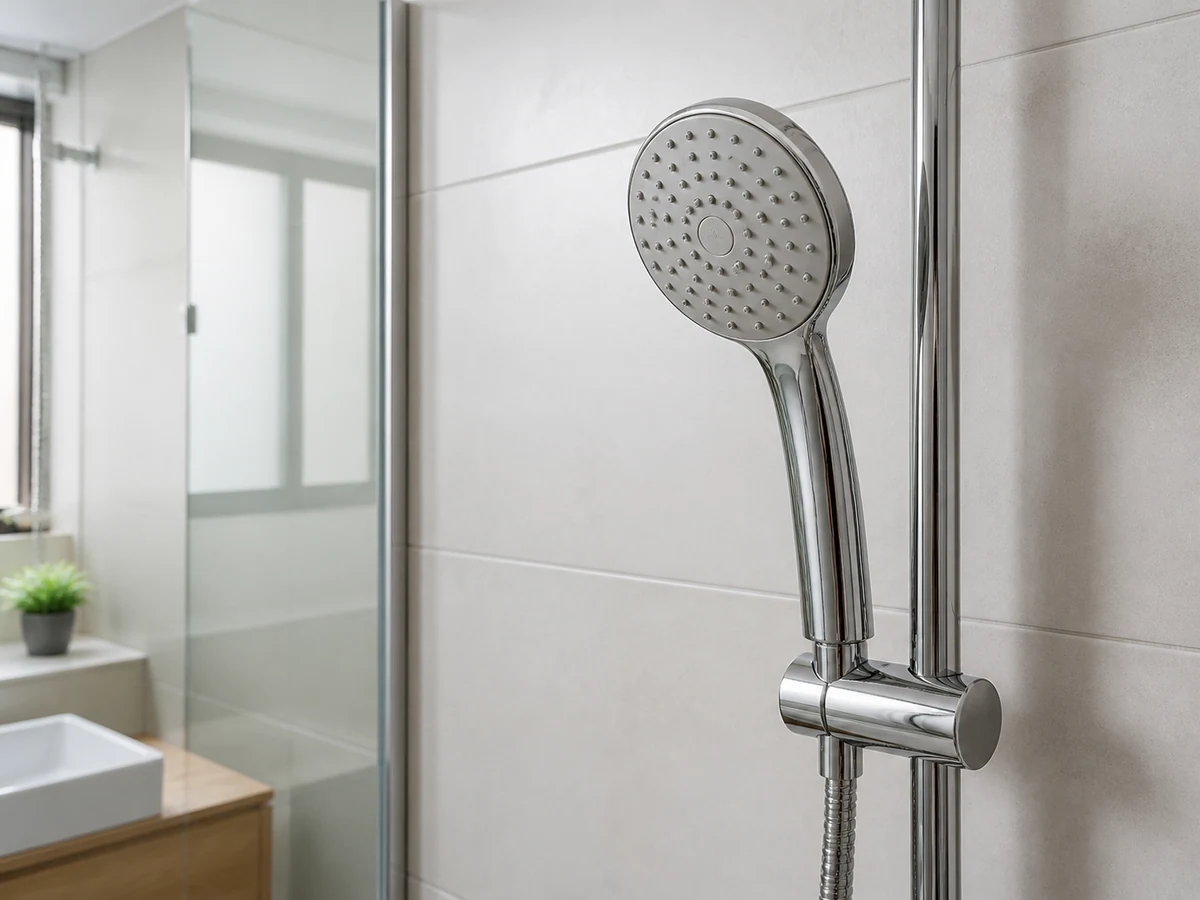
Use a slightly damp soft cloth on the shower head and external joint. Do not use scourers, metal brushes or abrasive powder.
Treat spray outlets as directed
Use only a soft brush or maker-specified method on the nozzles. Never insert sharp objects or distort flexible parts.
Remove only approved parts
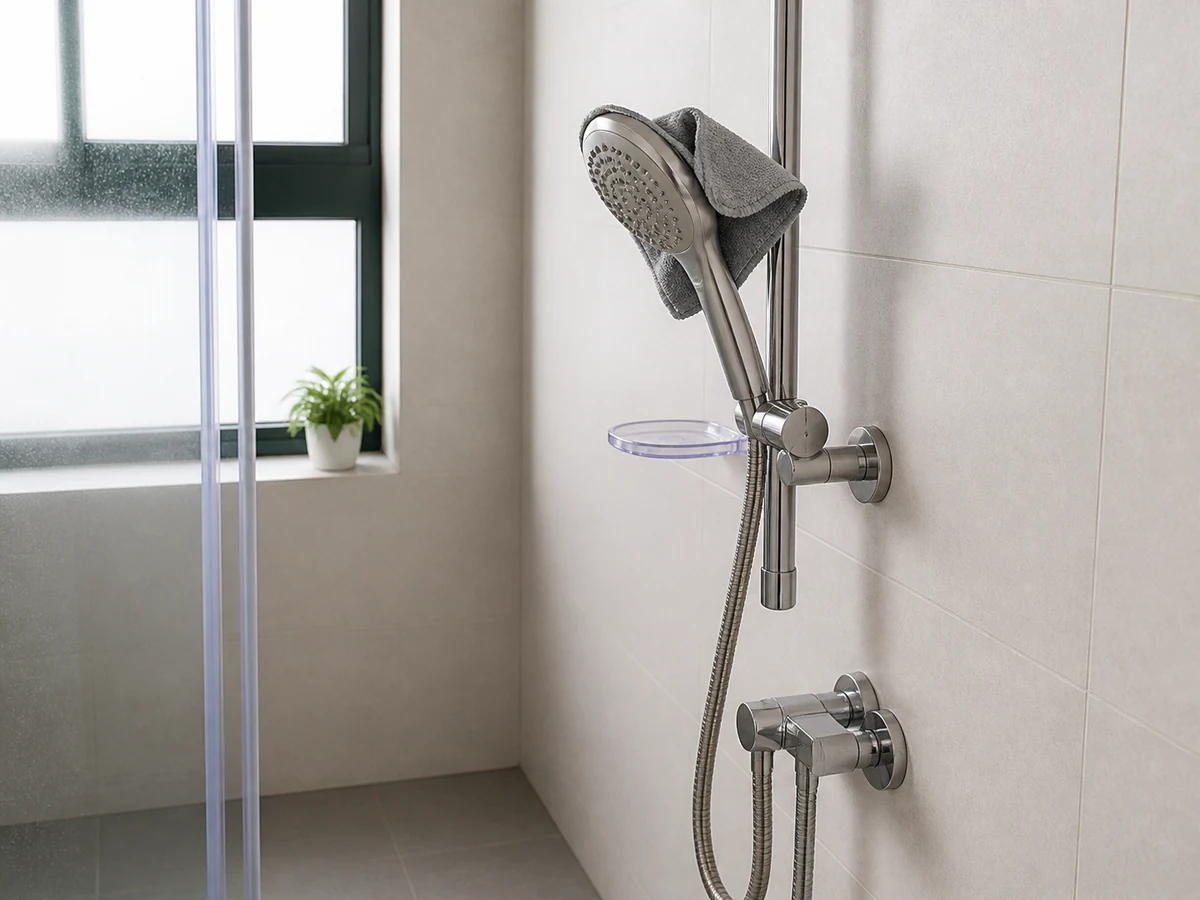
Only when instructions permit, remove a user-serviceable component in the stated direction. Do not open valves, fixed joints or wall fittings.
Remove residue and check
Use clean water as directed, dry and refit correctly. Briefly test water; stop and report any leak, looseness or damage.
Common mistakes
Assuming every shower head can be soaked
✓ Correct actionCheck the exact-model guidance and clean only externally if uncertain.
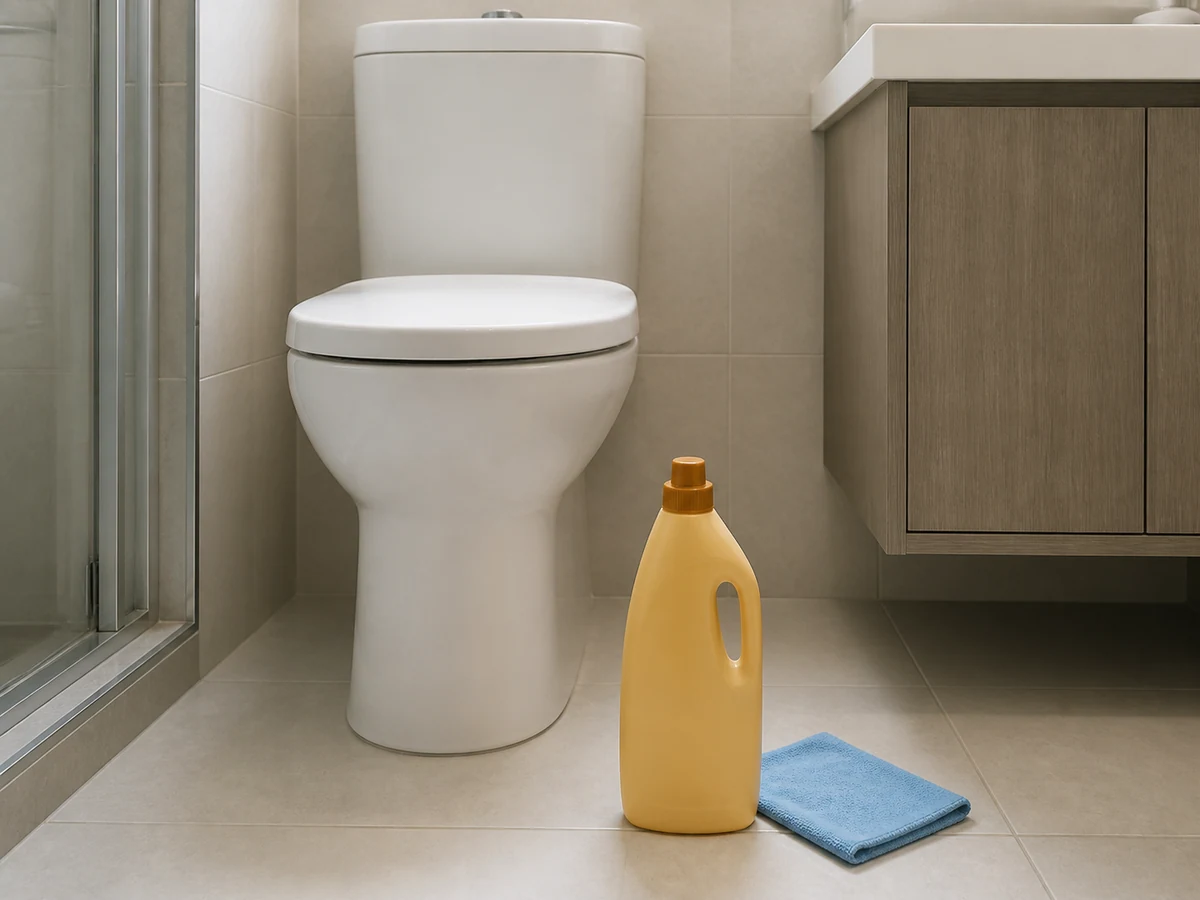
Inventing vinegar, acid or bleach ratios
✓ Correct actionUse only methods and products explicitly permitted by the manufacturer.
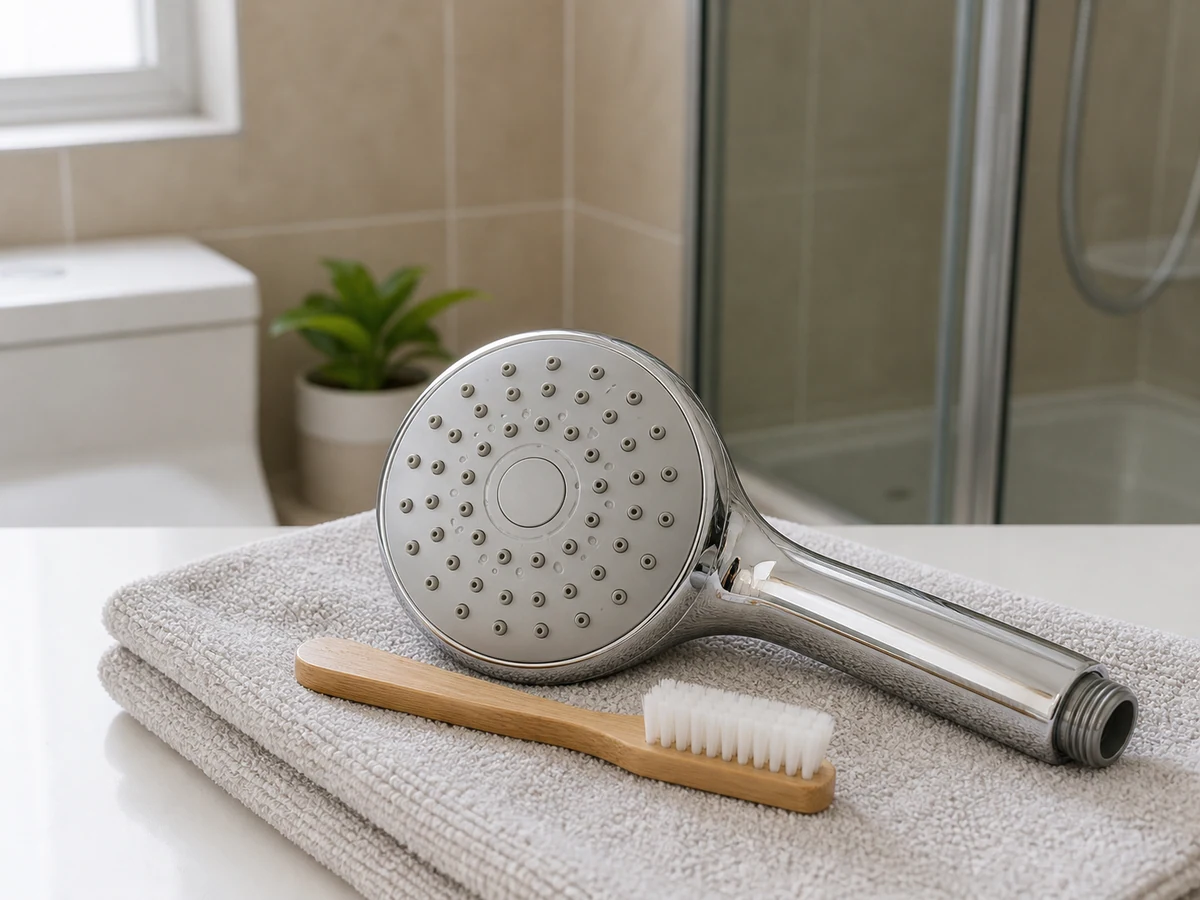
Poking spray holes with a pin or metal brush
✓ Correct actionUse a soft brush or the specified gentle method.
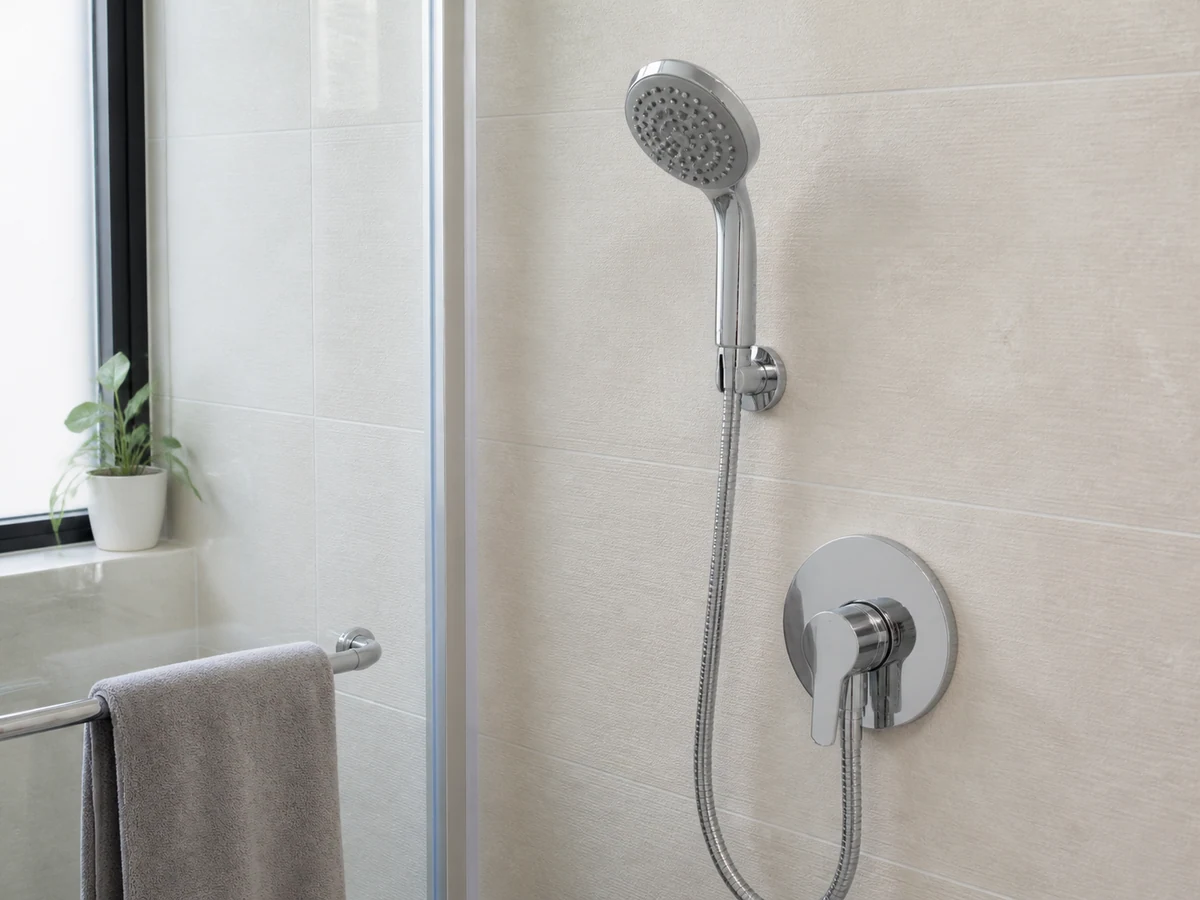
Opening valves or wall connections
✓ Correct actionHandle only external parts clearly identified as user-serviceable.
Practical tips
Tips for helpers
- Record the pre-removal arrangement for refitting without capturing private items or text.
- Dry around the joint after cleaning so leakage is easier to identify.
Tips for employers
- Provide the correct model and official care page.
- Do not assign internal plumbing, valves or fixed connections as routine cleaning.
Completion checklist
Checked 0 / 6