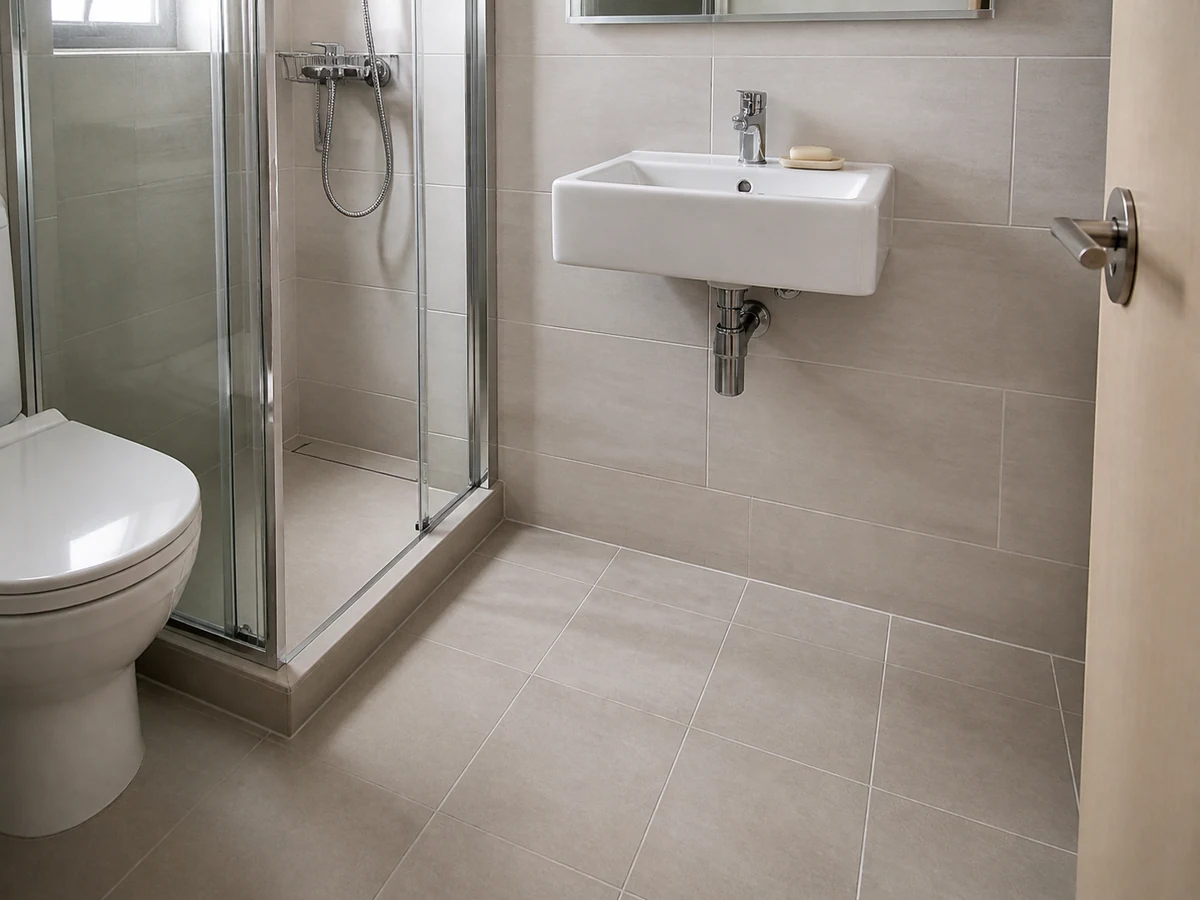
Bathroom cleaning
How to Clean Bathroom Tiles and Grout
Confirm the materials, clean in sections, remove residue and dry fully
Overview
Bathroom tile, grout and surface finishes can have different care limits. Check manufacturer guidance, test an inconspicuous spot and use only one compatible product. Never mix bleach, acidic cleaners or other cleaning products.
Tools needed
- Dry dusting cloth or soft brush
- Two separate clean-water containers
- Soft sponge or non-abrasive brush
- Absorbent cloths and squeegee
- One surface-compatible, label-directed cleaner
- Gloves required by the product label
Cleaning steps
Identify the tile and grout materials
Check care guidance for the tile finish and grout. Stop and ask the employer if the material is unknown, loose, cracked or already damaged.
Ventilate and clear the area
Use safe available ventilation, remove bottles and mats, then lift loose dust with a dry cloth or soft brush.
Test a hidden spot
Apply the single compatible product to a small area and remove it as directed. Stop for colour change, dulling or surface softening.
Clean small sections top to bottom
Use a damp soft sponge or non-abrasive brush on tile and grout. Avoid metal brushes and keep wastewater out of the dry zone.
Remove residue as directed
Use clean water or the exact label-directed method. Do not add a second cleaner or improvise with acid or bleach.
Squeegee and dry
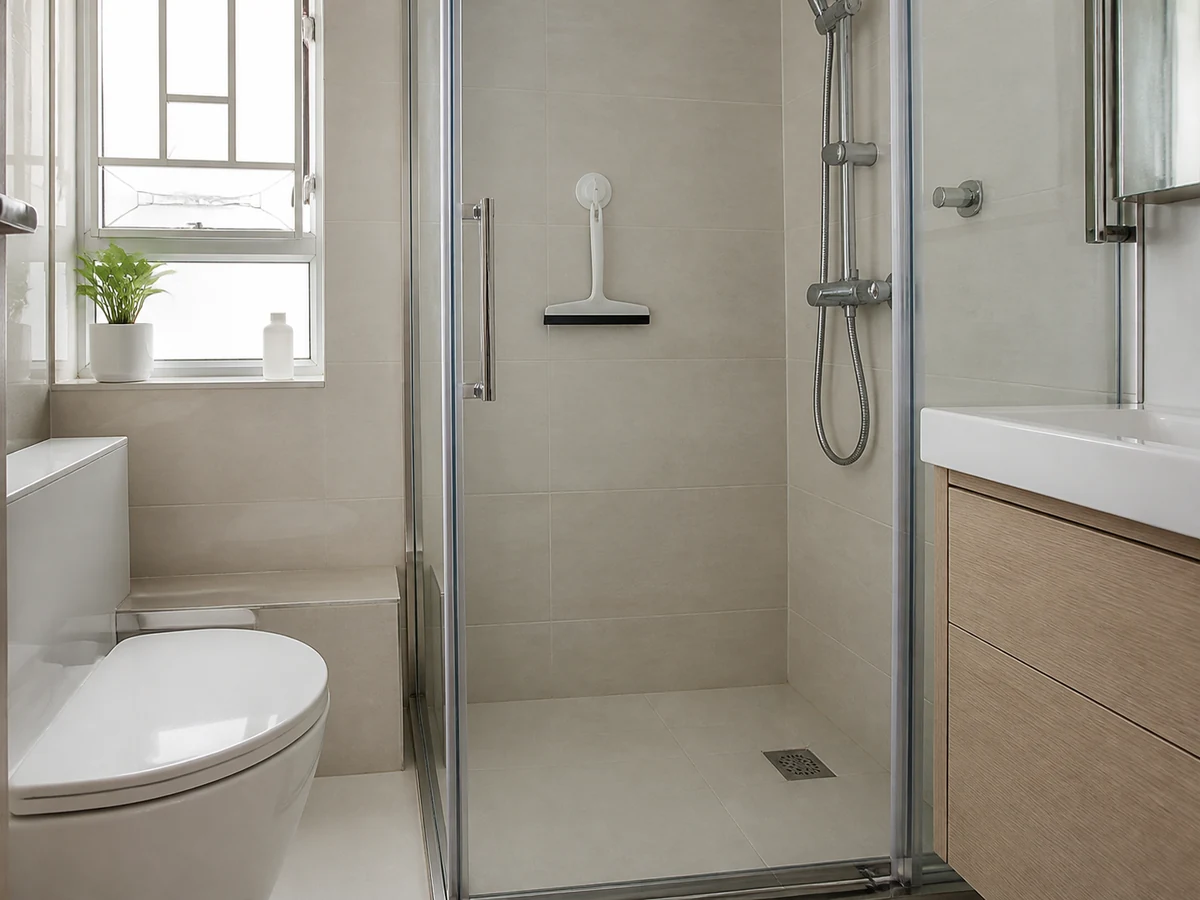
Direct water toward the drain and dry tile faces, corners and joints with absorbent cloths, leaving no pooled water.
Inspect and finish drying
Confirm the surface is not slippery or sticky and has no residue. Report persistent dark grout, looseness or leakage.
Common mistakes
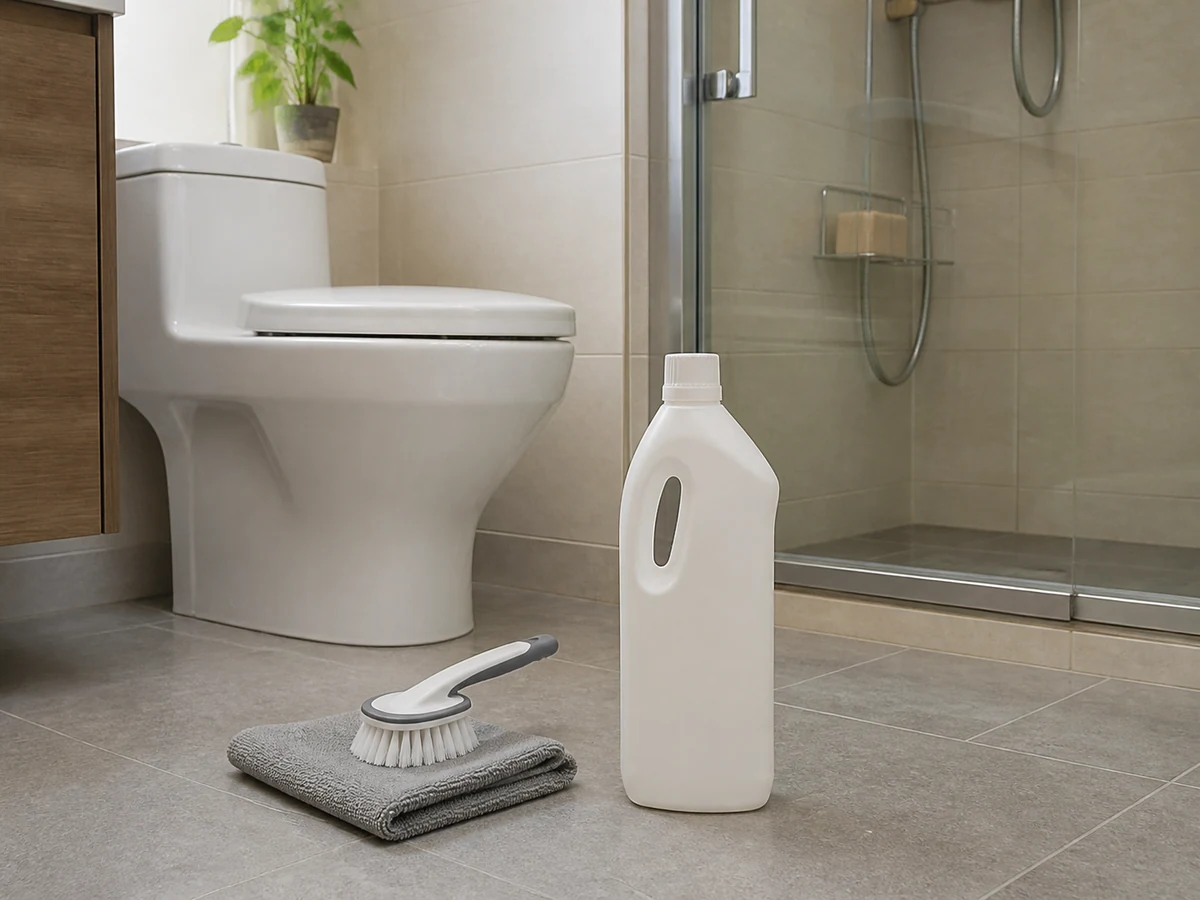
Mixing different cleaning products
✓ Correct actionUse one compatible, labelled product at a time.
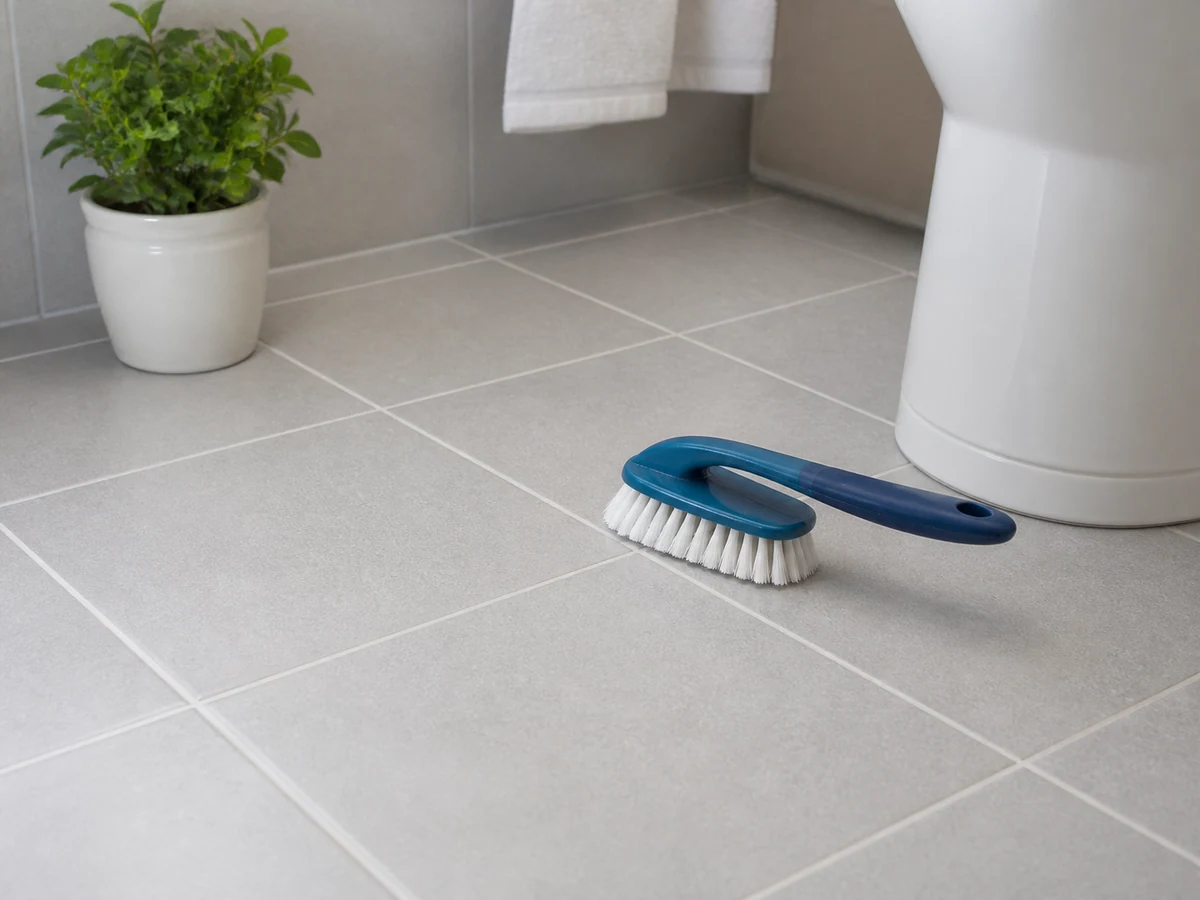
Scrubbing grout with a metal brush
✓ Correct actionUse a non-abrasive soft brush to avoid scratching or grout damage.
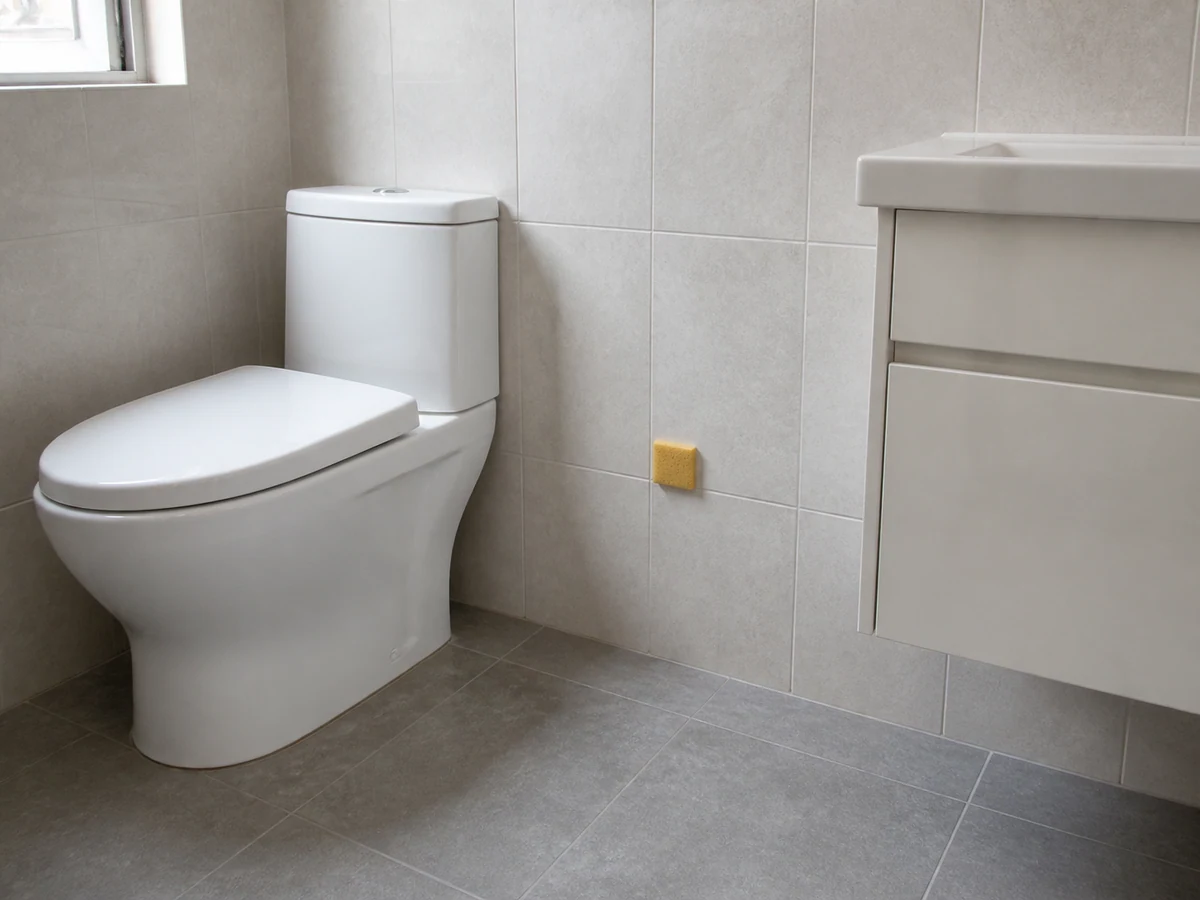
Cleaning the whole wall without testing
✓ Correct actionTest a small inconspicuous area and inspect the finish first.
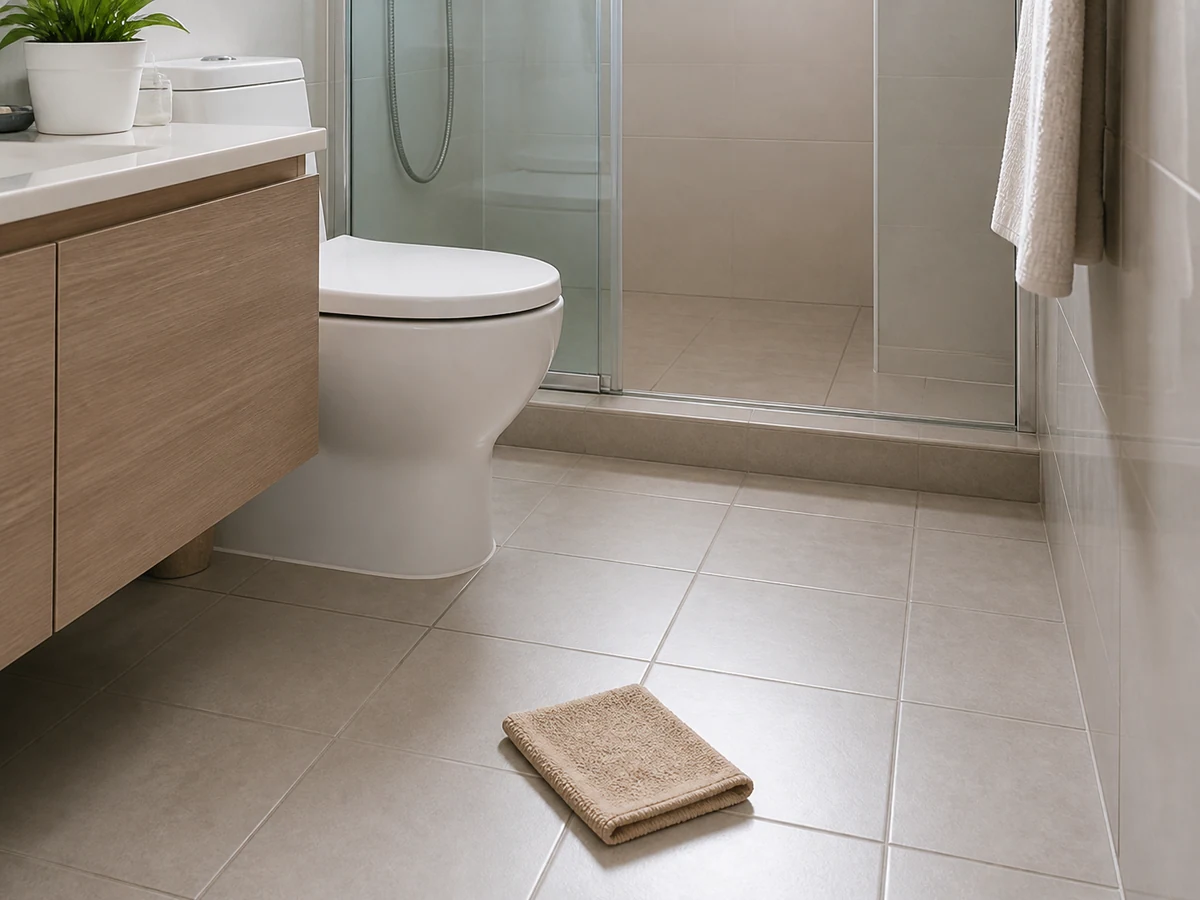
Leaving slippery residue and standing water
✓ Correct actionRemove residue as directed, squeegee and dry the area fully.
Practical tips
Tips for helpers
- Work from higher sections down, leaving lower corners until last.
- Remove residue after each small section so product does not dry on the surface.
Tips for employers
- Provide manufacturer care information for the tile, grout and sealer.
- Arrange qualified inspection for hollow tiles, cracks, leakage or persistent mould-like growth.
Completion checklist
Checked 0 / 7