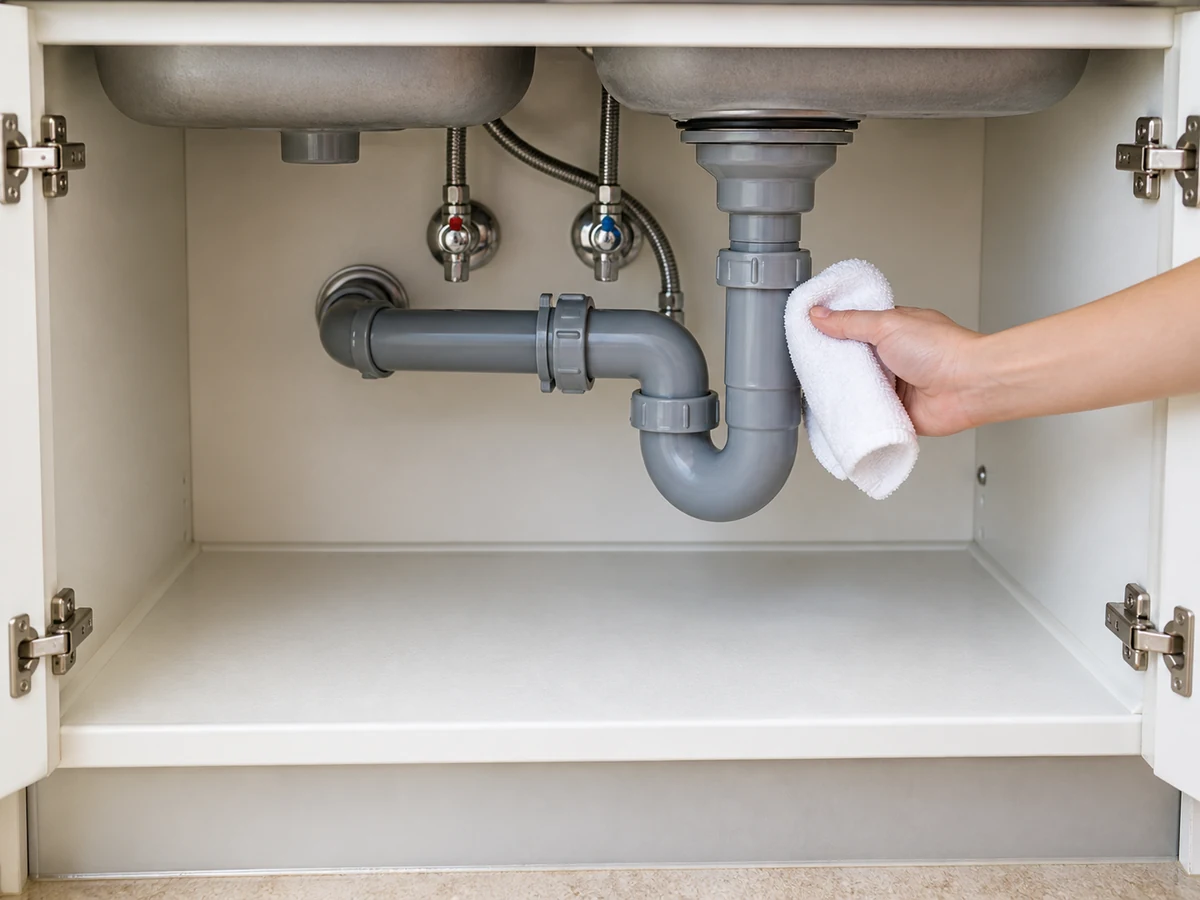
Home cleaning
Clean an Under-sink Cabinet and Check for Leaks
Remove items in their original labelled containers and separate acids, bleach and other products; do not decant or mix storage.
Overview
Remove items in their original labelled containers and separate acids, bleach and other products; do not decant or mix storage. Use a torch and dry cloth to inspect joints, below valves and board edges for water marks, drips, odour or swelling.
Tools needed
- Nitrile gloves
- Dry cloth
- Clean water and barely damp cloth
- Torch
Cleaning steps
Remove items in their original labelled containers and separate acids, bleach and other products
Remove items in their original labelled containers and separate acids, bleach and other products; do not decant or mix storage.
Use a torch and dry cloth to inspect joints, below valves and board edges for water marks, drips, odour or swelling
Use a torch and dry cloth to inspect joints, below valves and board edges for water marks, drips, odour or swelling.
For an active leak, stop wet cleaning, do not turn fittings and report immediately
For an active leak, stop wet cleaning, do not turn fittings and report immediately; clean inside only when dry and leak-free.
Dry the cabinet completely, record swollen board or water marks, then return original products only after the area is dry and separated
Dry the cabinet completely, record swollen board or water marks, then return original products only after the area is dry and separated.
Common mistakes
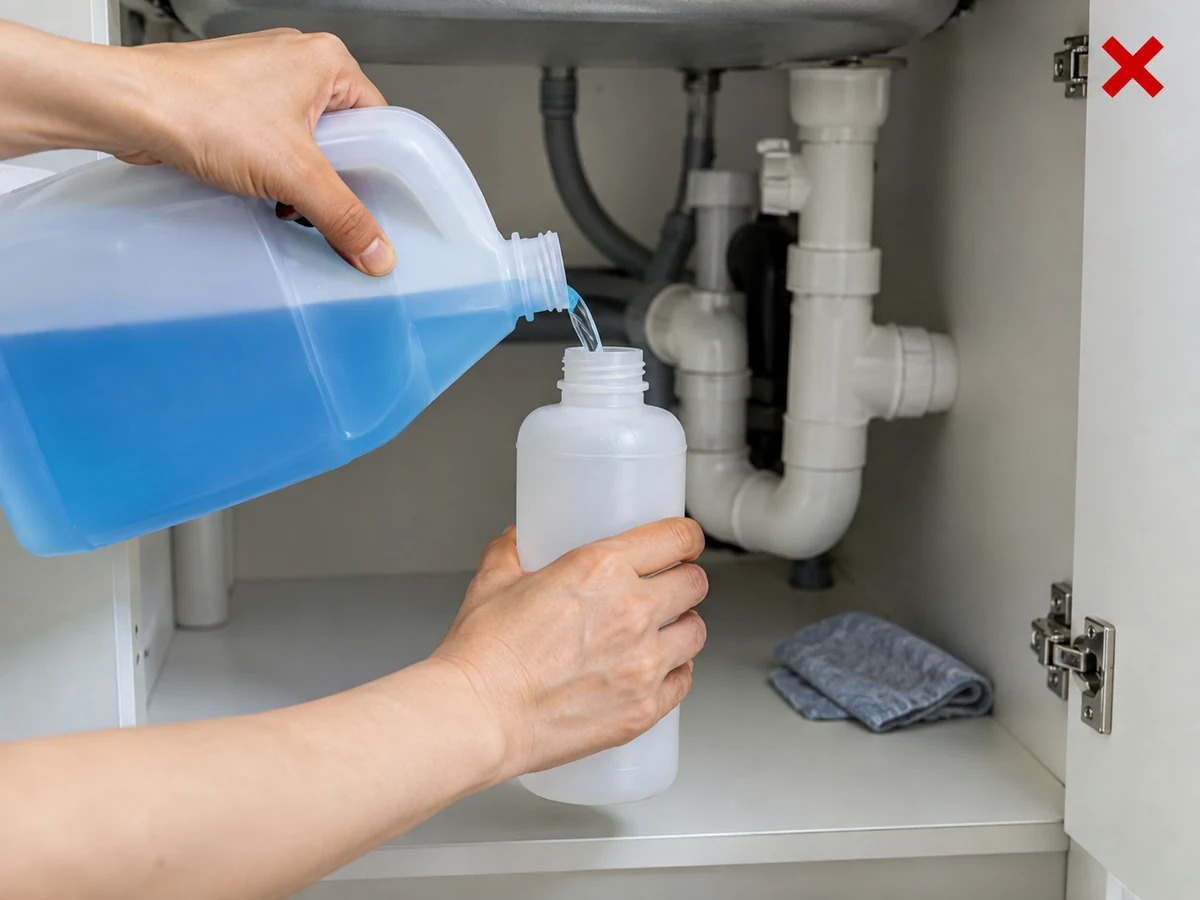
Pouring products into unlabelled containers
✓ Correct actionKeep chemicals in original labelled containers and separated.
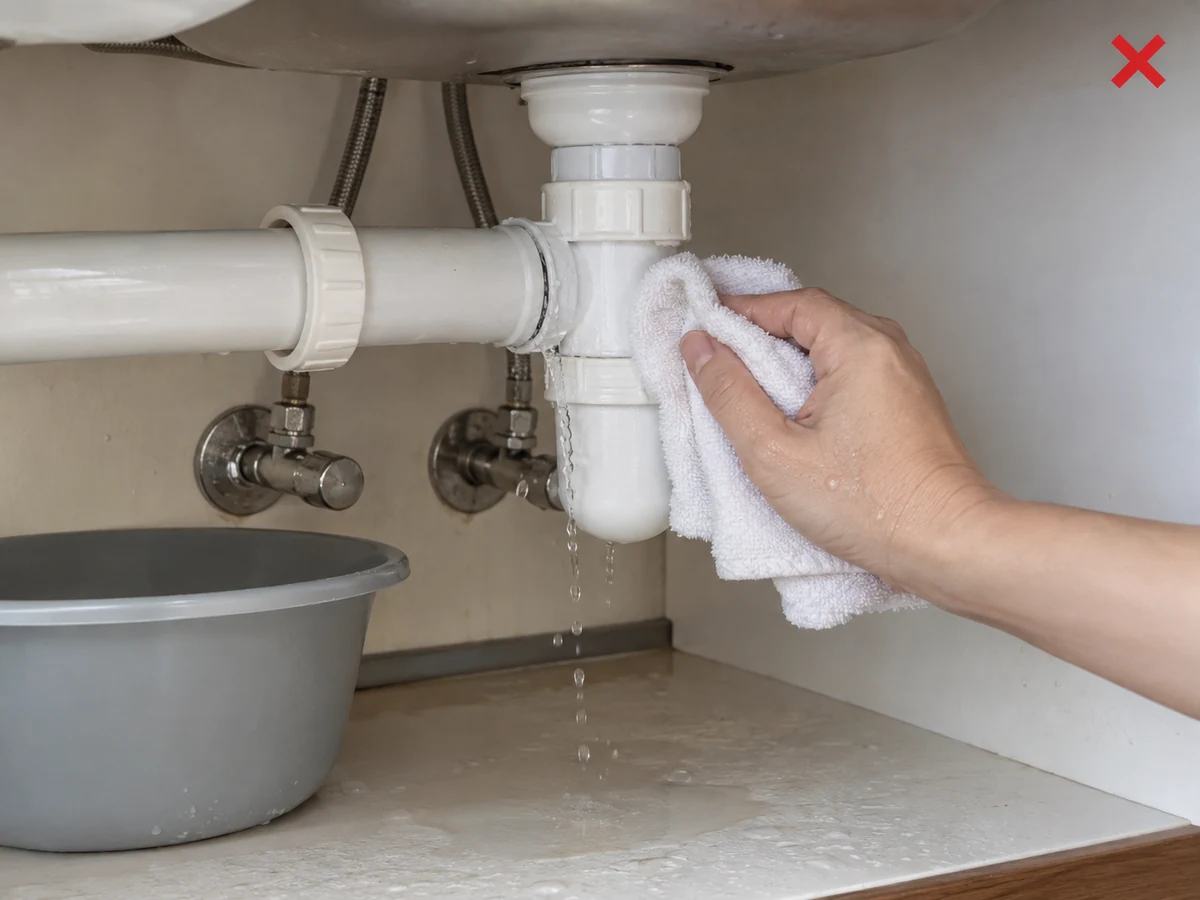
Wiping an active leak as routine cleaning
✓ Correct actionStop wet work, leave fittings untouched and report the leak.
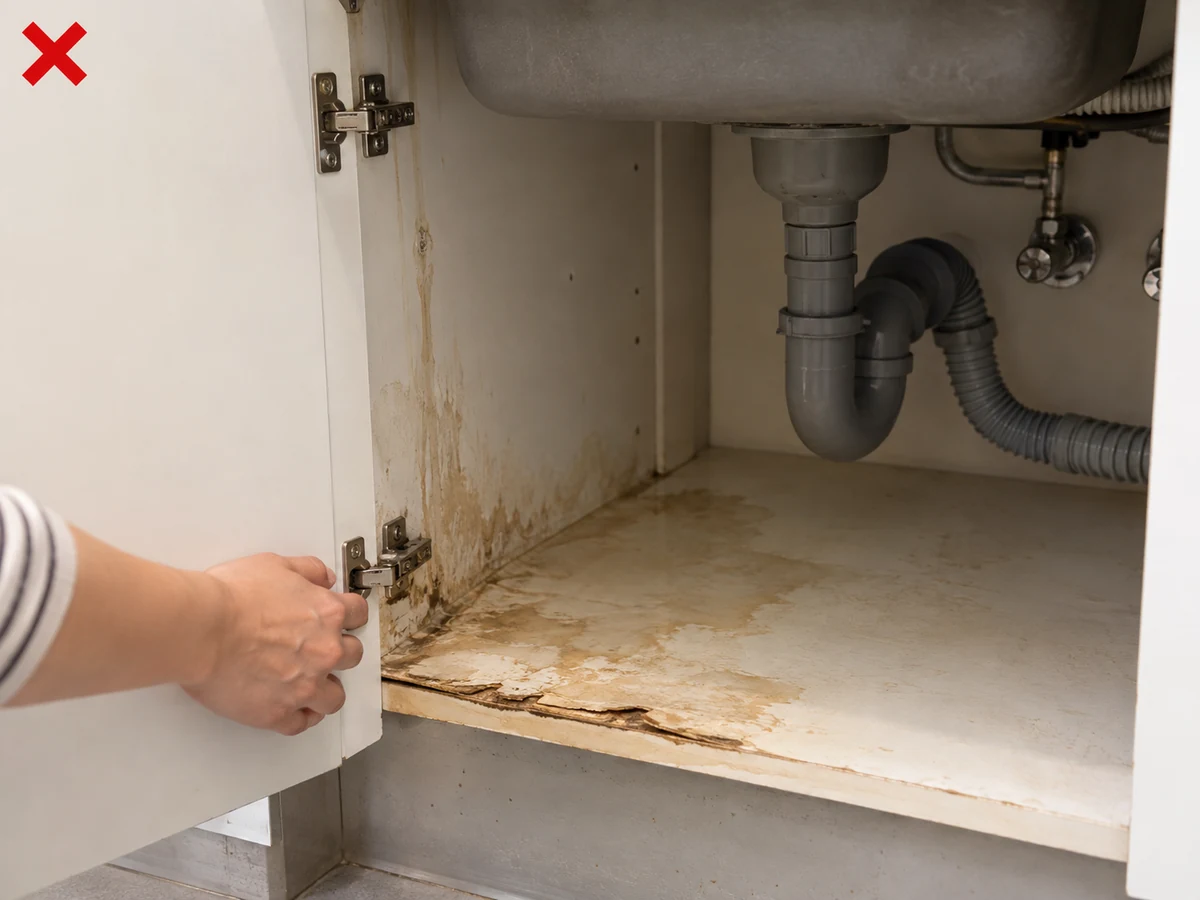
Ignoring water marks or swollen board
✓ Correct actionPhotograph and record marks, swelling and odour for the employer.
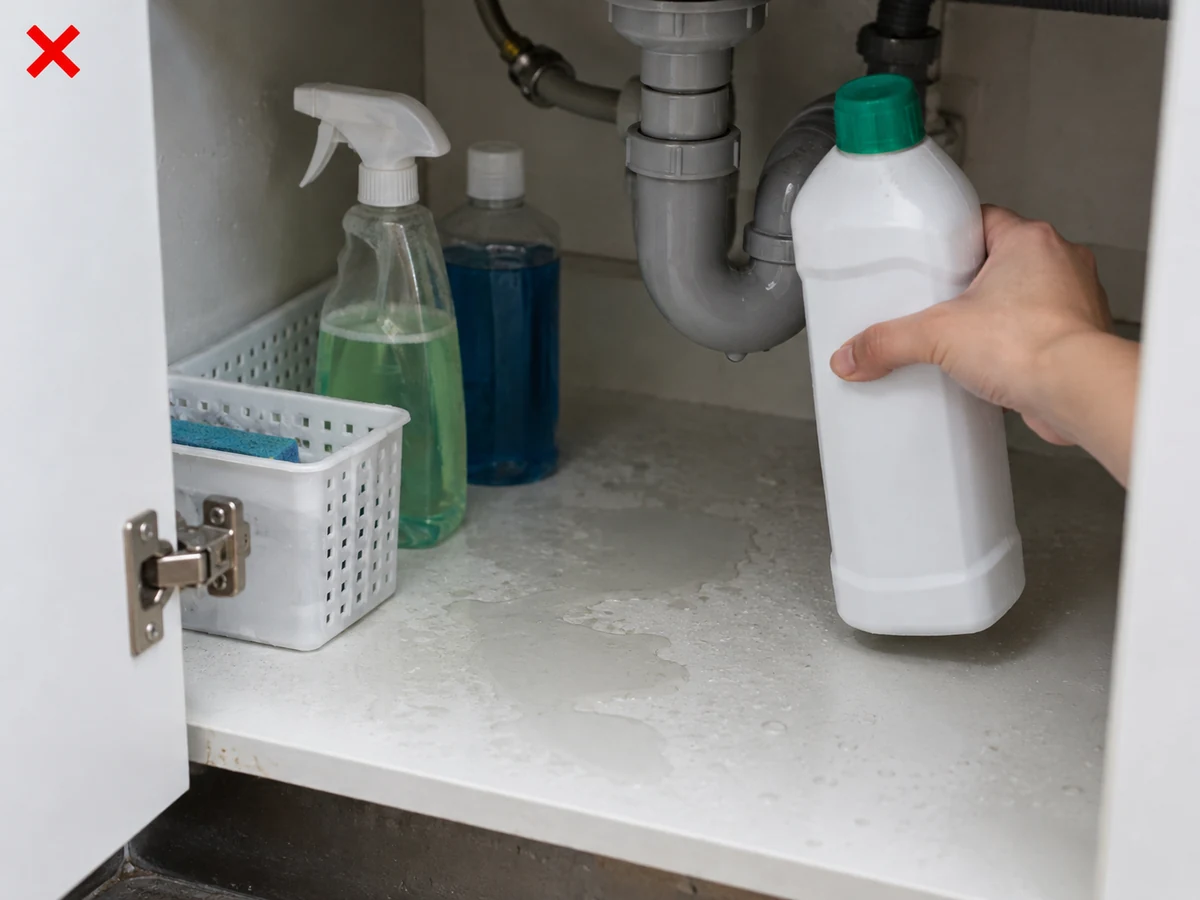
Putting products back into a damp cabinet
✓ Correct actionReturn separated products only after every surface is dry.
Practical tips
Tips for helpers
- Keep original labels facing up while removing products for an accurate return.
- Press each joint with a dry cloth; do not judge it with wet hands.
Tips for employers
- Provide separated chemical storage and a leak contact route.
- Decide repair or replacement for swelling, odour or leakage.
Completion checklist
Checked 0 / 4