Bathroom cleaning
Clean Bathroom Silicone Seals and Know When Repair Is Needed
Clean intact sealant gently; report separated, cracked or persistently affected sealant instead of repairing it.
Overview
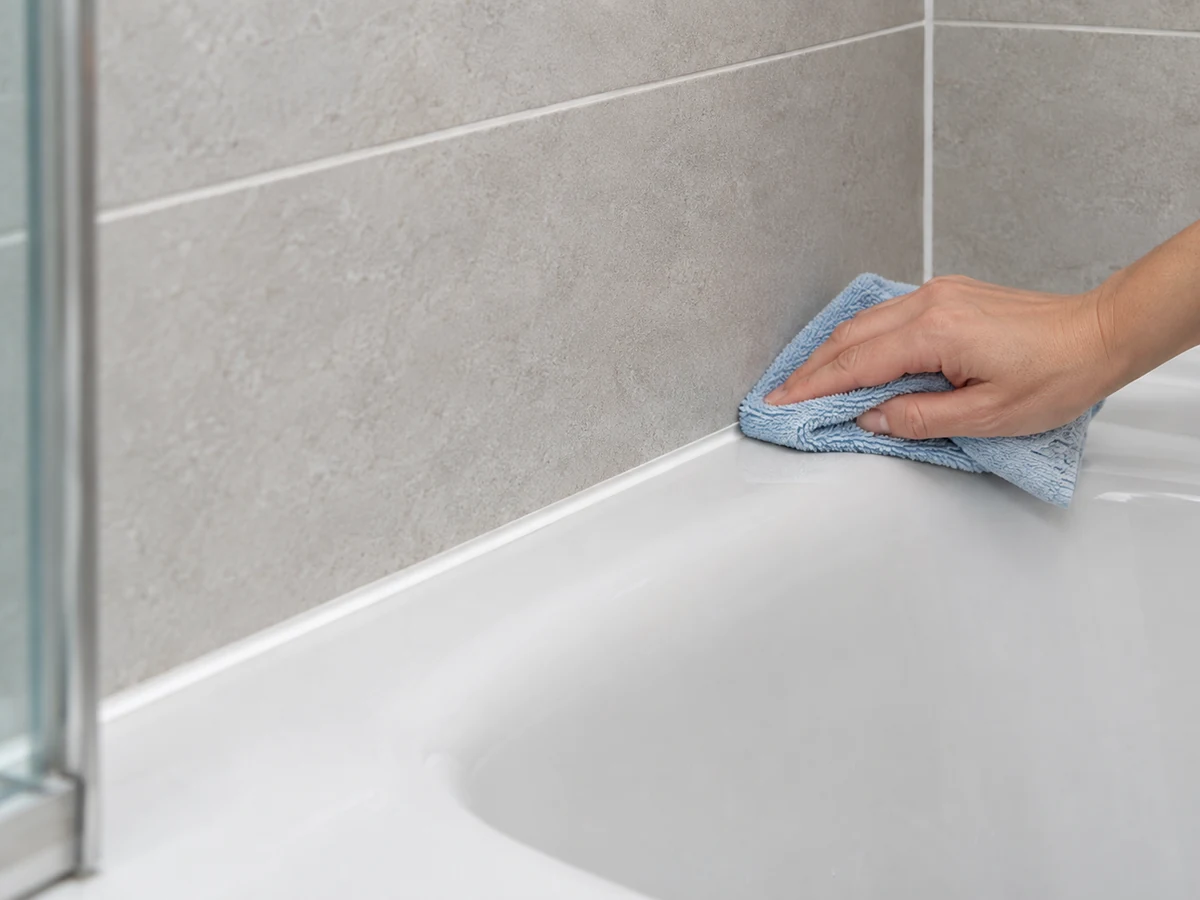
Check silicone around the bath, basin or wall edge. This is surface care only: do not cut out, scrape away or replace sealant.
Tools needed
- Nitrile gloves
- Soft cloth
- Compatible bathroom cleaner
- Absorbent dry cloth
Cleaning steps
Inspect the seal
Inspect the seal; photograph and tell the employer about cracks, gaps, lifting, leaks or soft material.
Remove loose water and dust with a dry cloth and ventilate the bathroom
Remove loose water and dust with a dry cloth and ventilate the bathroom.
Test a small intact area, then wipe gently with a compatible mild cleaner and soft cloth
Test a small intact area, then wipe gently with a compatible mild cleaner and soft cloth; do not abrade.
Remove product residue as directed, dry fully and confirm the seal remains intact
Remove product residue as directed, dry fully and confirm the seal remains intact.
Common mistakes
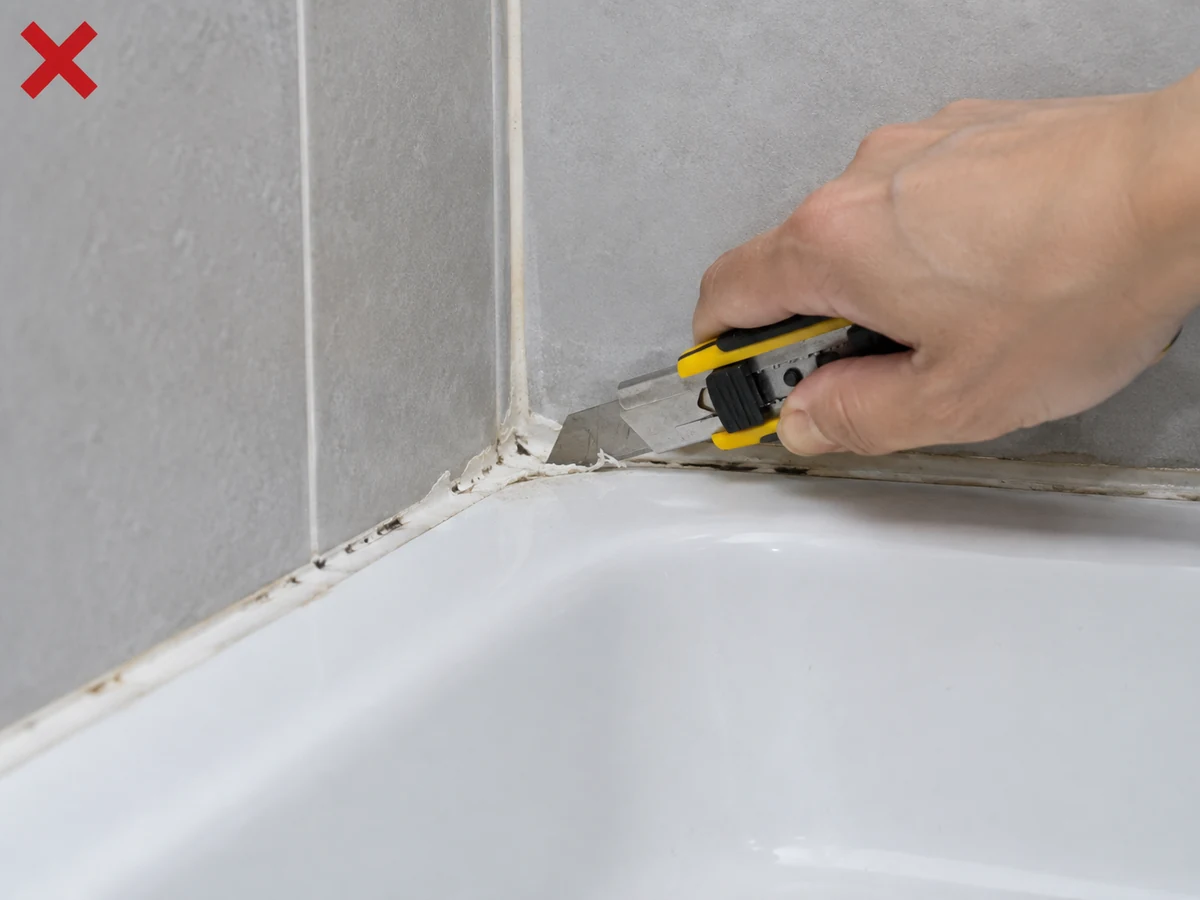
Scraping out silicone with a blade
✓ Correct actionClean only an intact surface; leave separated or damaged sealant for repair.
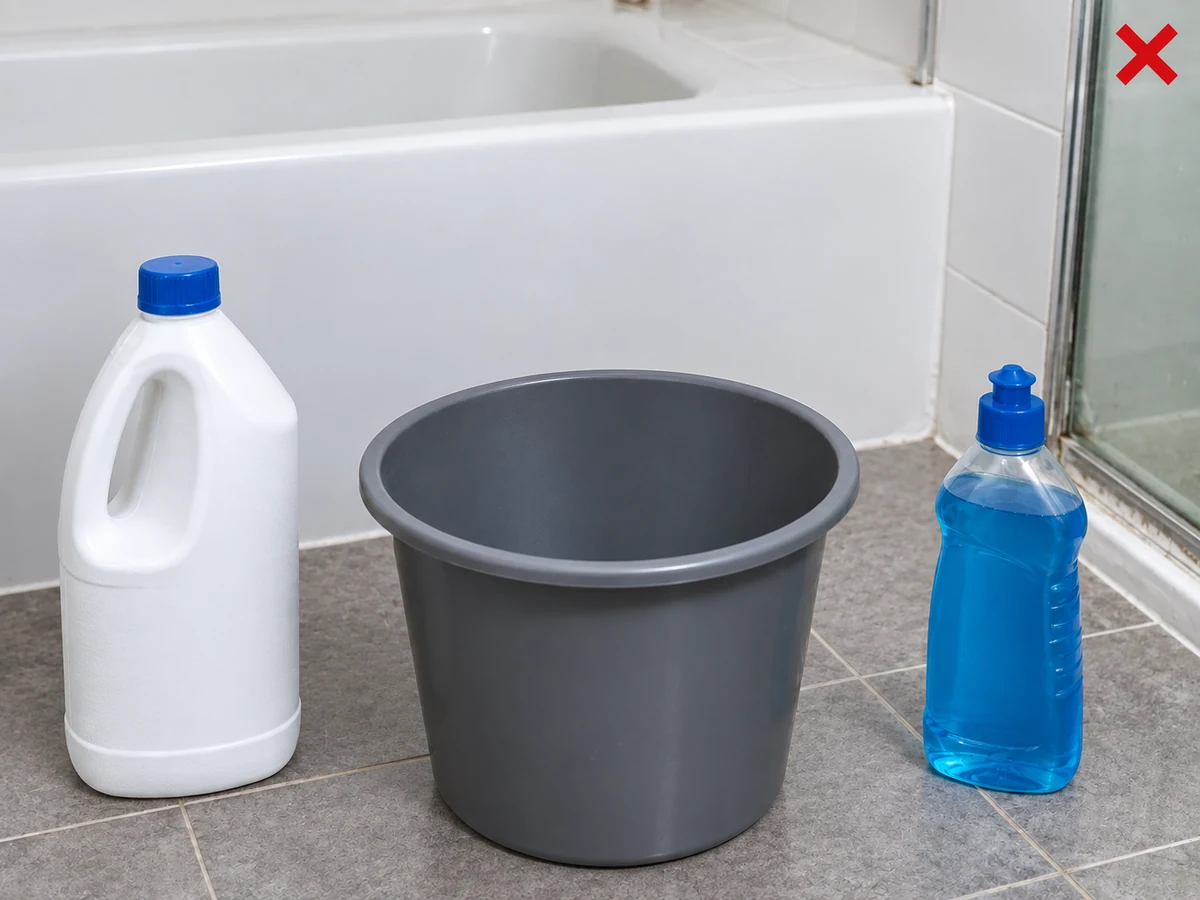
Mixing bleach with another cleaner
✓ Correct actionUse one compatible product at a time and follow its original label.
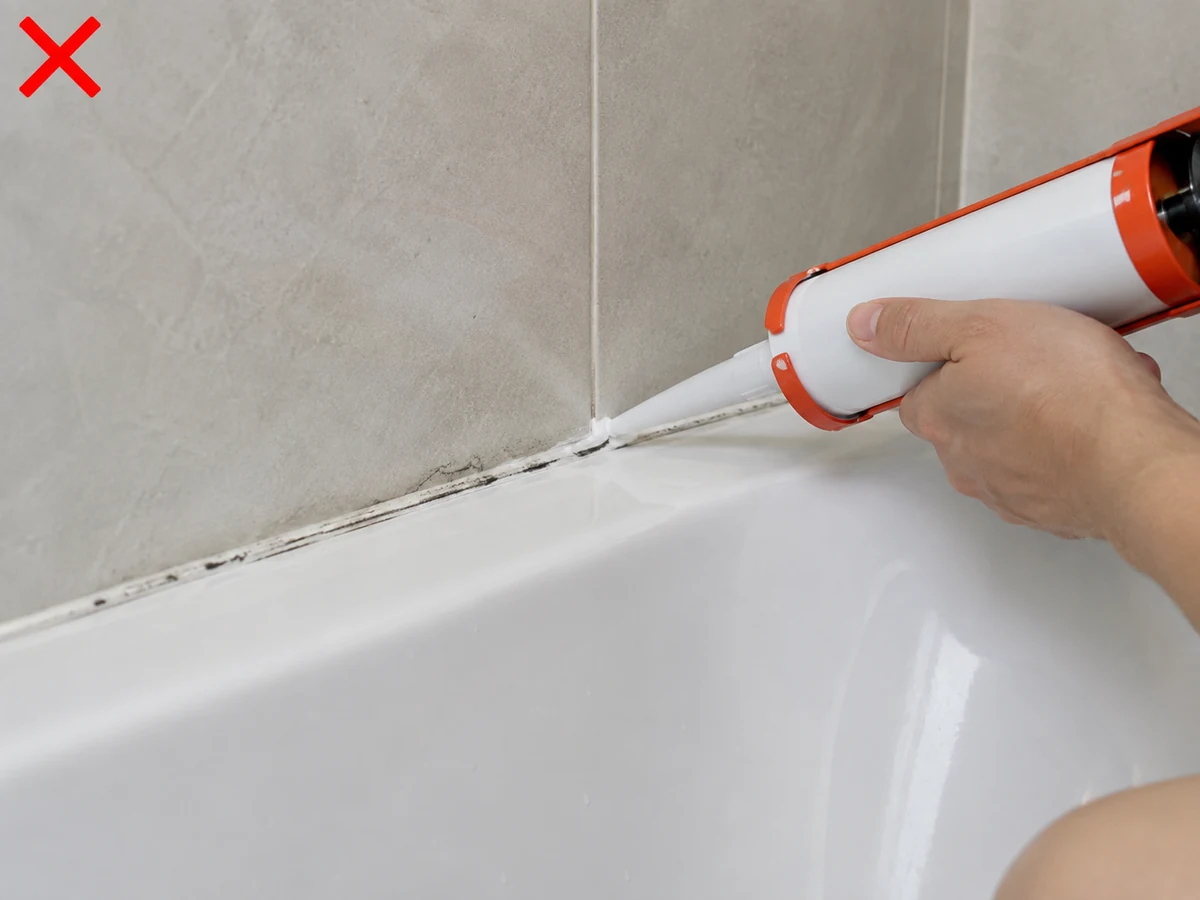
Treating a surface mark as permission to recaulk
✓ Correct actionDo not diagnose or repair; record persistent marks, gaps or leaks.
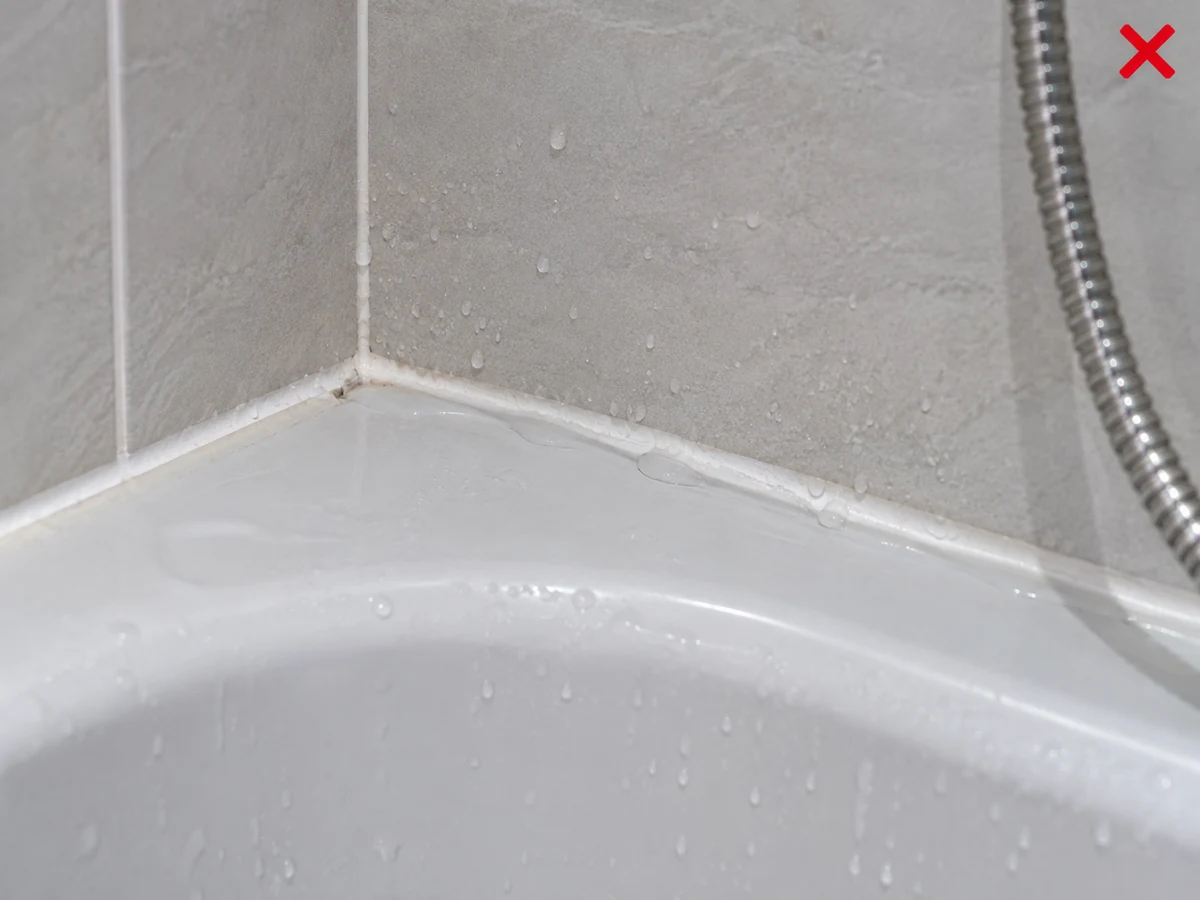
Leaving water along the joint
✓ Correct actionDry the joint and nearby surface and keep the room ventilated.
Practical tips
Tips for helpers
- Photograph cracks or gaps before cleaning.
- Use a bathroom-only cloth and wash and dry it after use.
Tips for employers
- Provide any installation or product information for a repair visit.
- Decide who arranges repair; do not ask a helper to reseal it.
Completion checklist
Checked 0 / 4