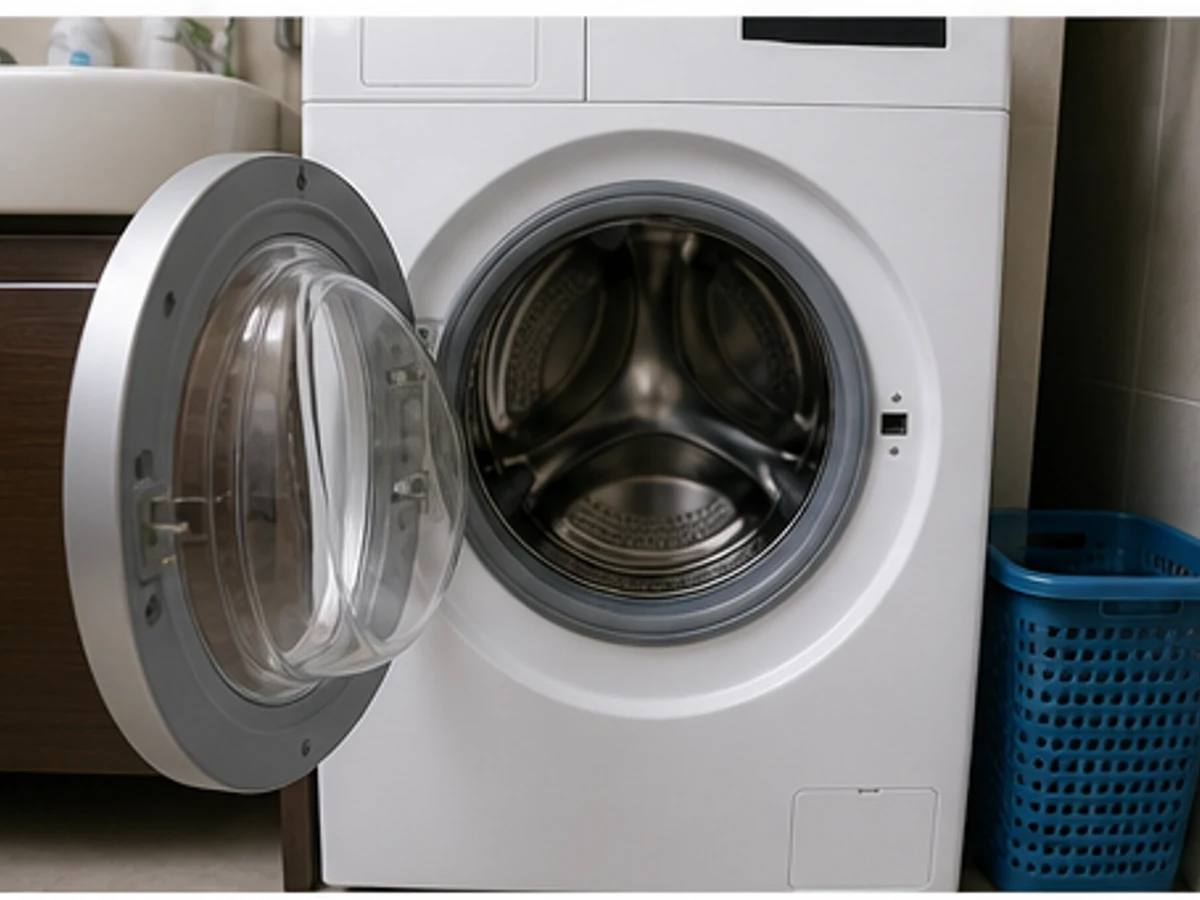
Laundry and garment care
How to Run a Manufacturer-Approved Washer Drum Clean Cycle
A practical sequence from “Check the exact model instructions” to “Run the approved cycle”
Overview
A washer drum-clean cycle is model-specific. Empty the drum, inspect the door seal and use only the cycle, product and dose permitted by the exact manual while someone remains home.
Tools needed
- Soft dry cloth
- Slightly damp microfibre cloth
- One compatible cleaning product
- Clean water
- Ventilated drying place
Cleaning steps
Check the exact model instructions
Confirm the approved drum-clean cycle, permitted product and exact amount.
Empty the drum and pockets
Remove every garment and object, then inspect the drum, door seal and dispenser.
Clean accessible areas
Wipe soil from the seal and dispenser as directed; never dismantle the machine or reach into unsafe areas.
Run the approved cycle
Add only one manual-approved product and select the specified cycle; remain at home and watch for faults. After the cycle has fully stopped, dry the seal and dispenser as directed. Leave the door ajar only as the manual permits and only if children and pets cannot enter the machine; report odour or malfunction.
Common mistakes
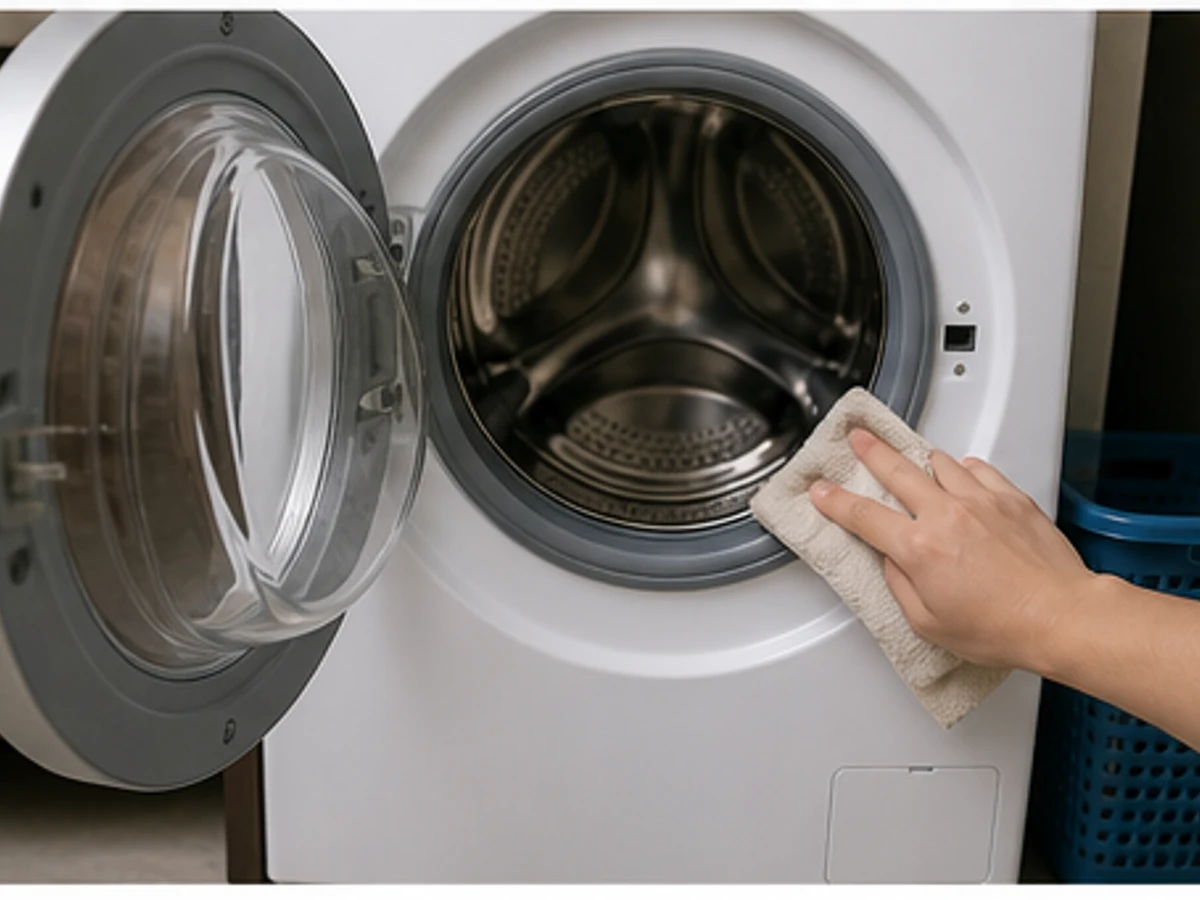
Starting without emptying the drum and checking the seal
✓ Correct actionRemove laundry and foreign items, then inspect the door seal.
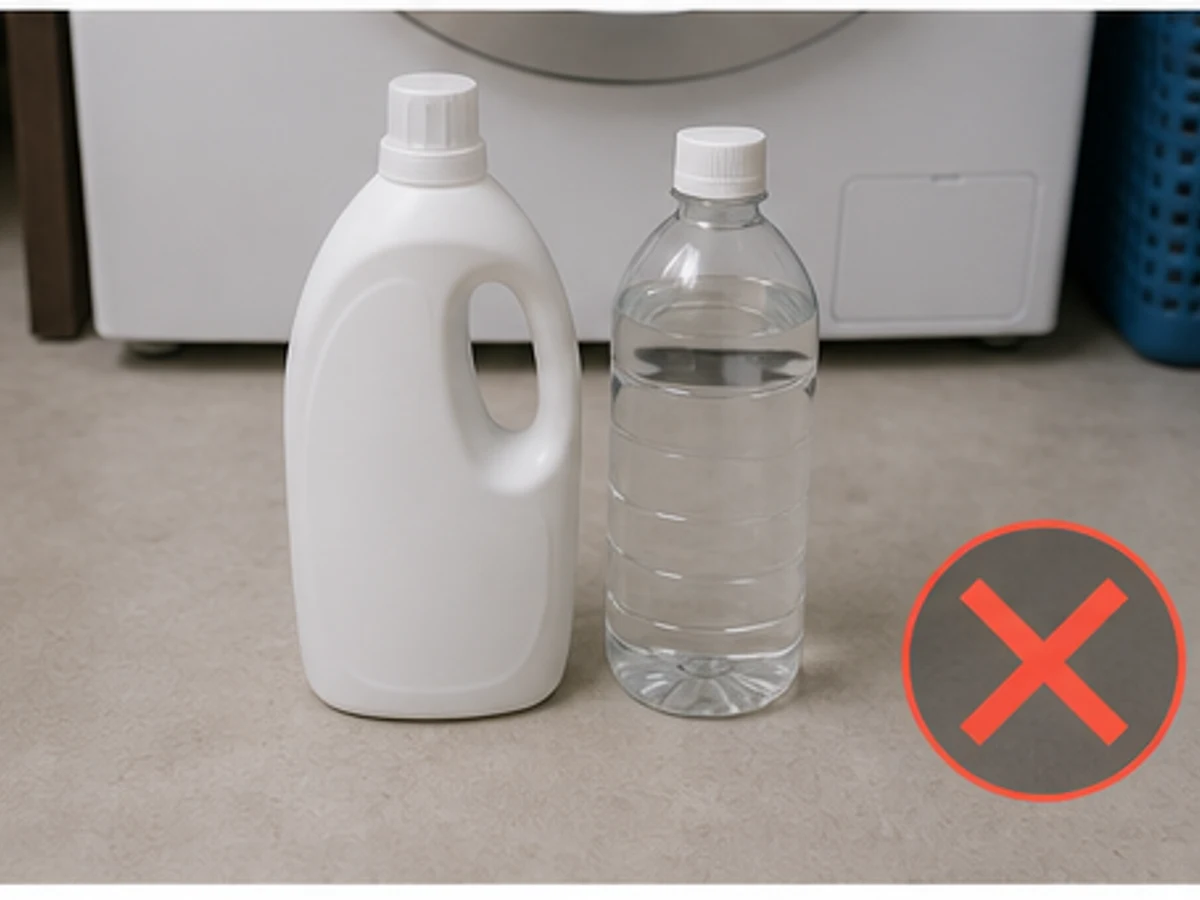
Mixing bleach, descaler or another product
✓ Correct actionUse only one product and dose permitted for the model.
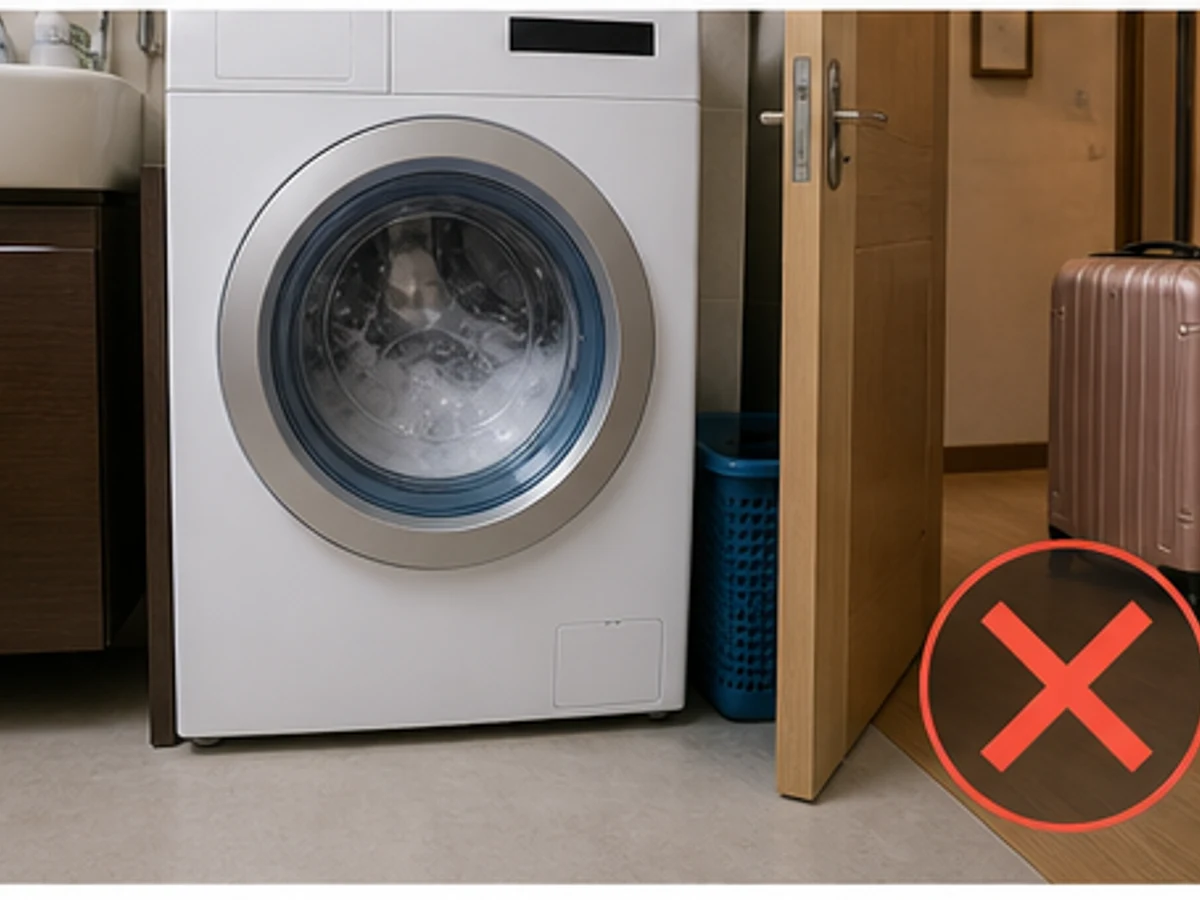
Leaving home while the cycle runs
✓ Correct actionStay home and watch for leaks or error messages.
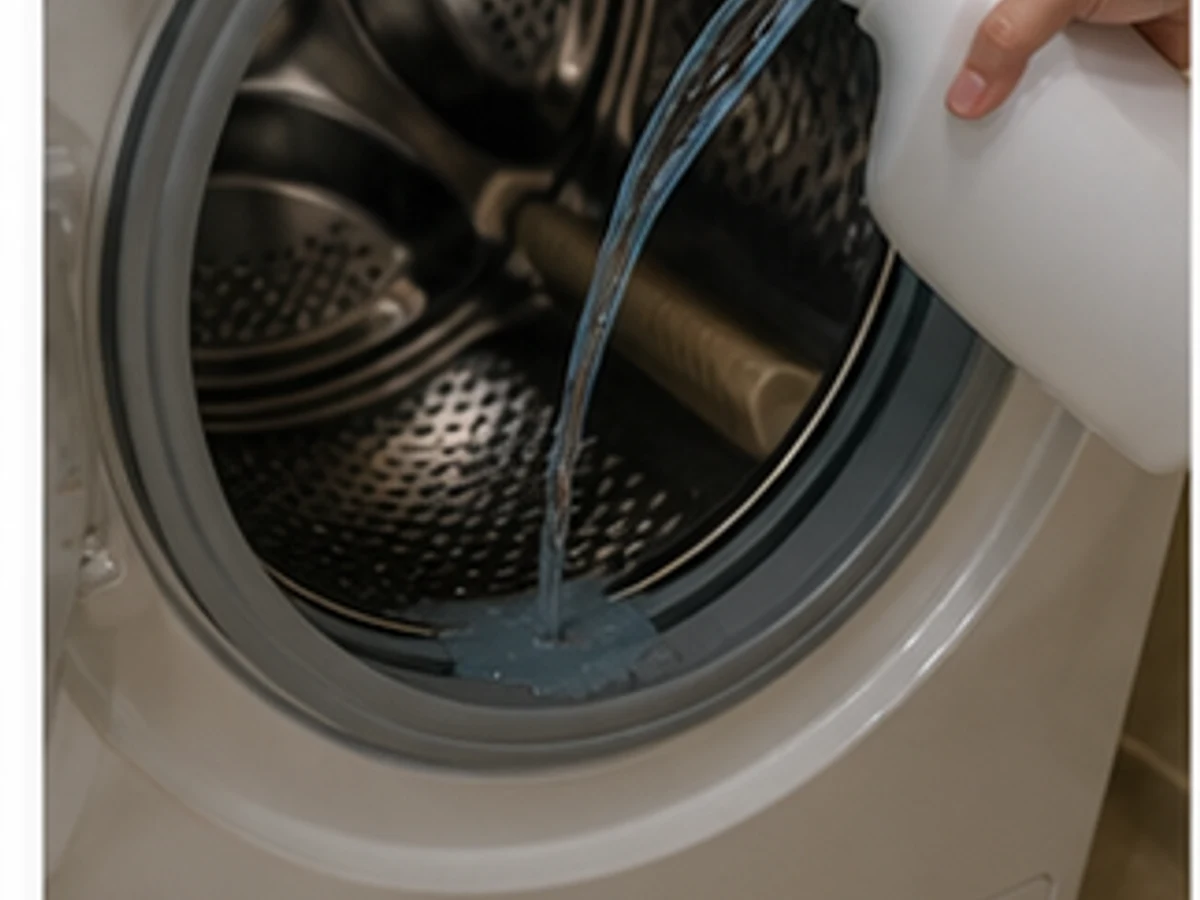
Adding an unconfirmed cleaner
✓ Correct actionCheck the exact manual and approved compartment first.
Practical tips
Tips for helpers
- Record the model, cycle name, product and dose before starting.
- Afterwards check for faults, seal residue and leaks.
Tips for employers
- Provide the exact drum-clean page and permitted product.
- Ensure someone stays home; service error codes, leaks or abnormal noise.
Completion checklist
Checked 0 / 4