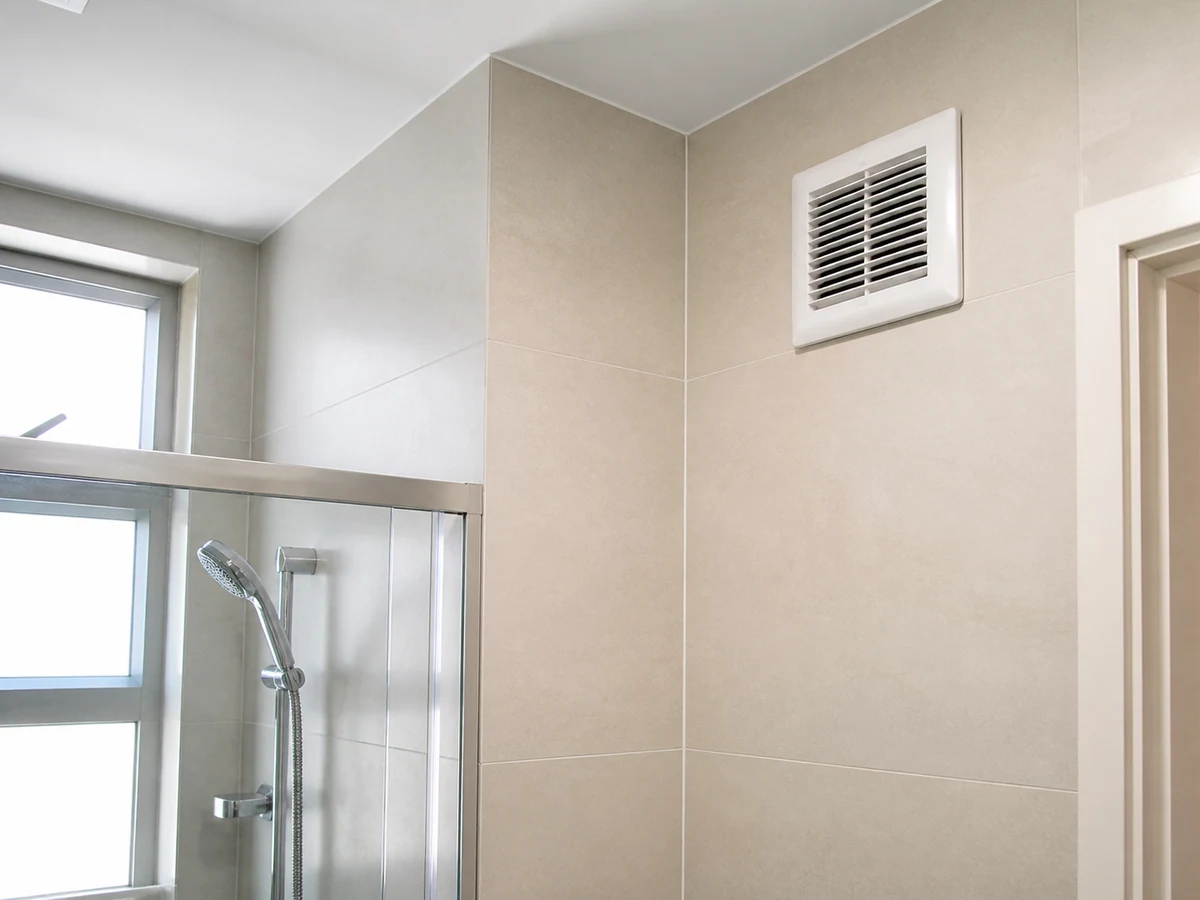
Bathroom cleaning
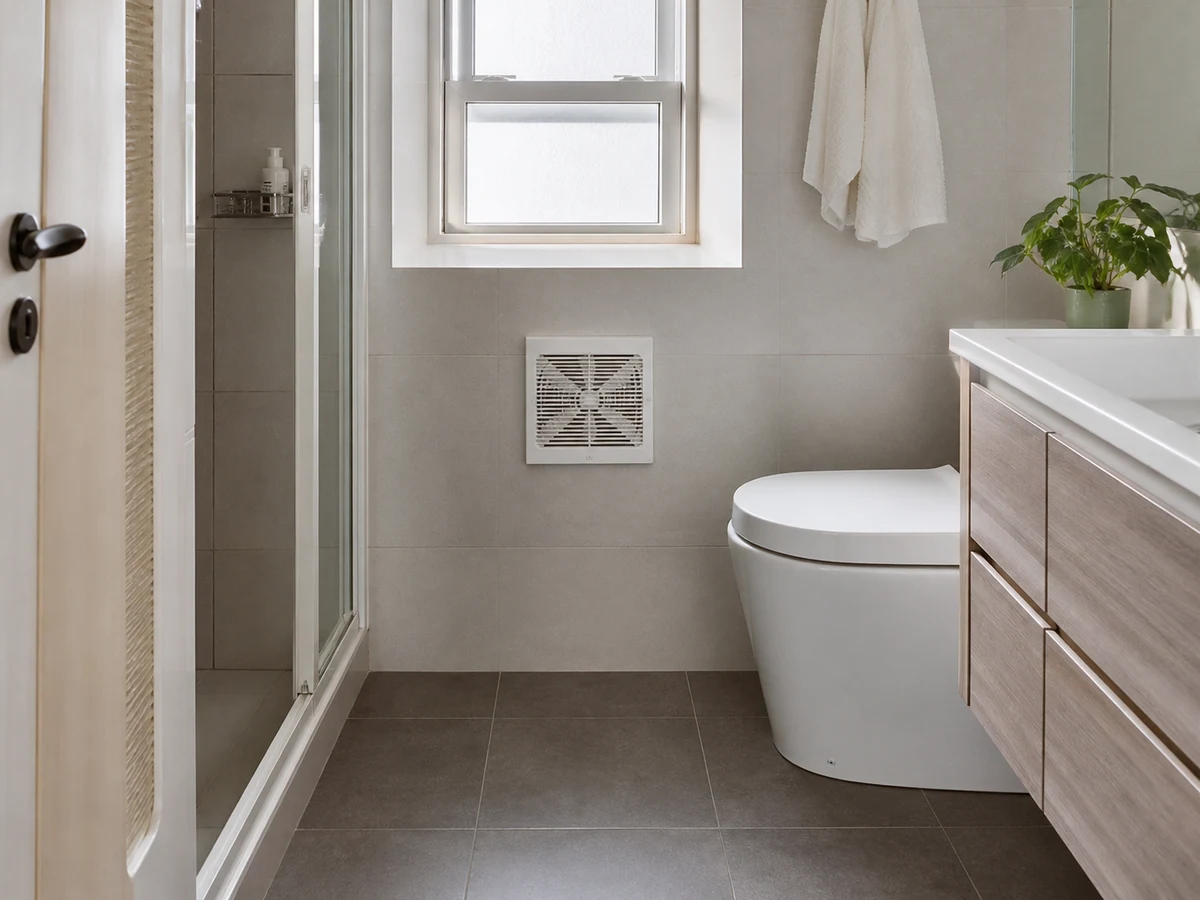
How to Clean a Bathroom Extractor Fan Exterior and Removable Cover
Isolate power and handle only the exterior and maker-approved removable cover
Overview
A bathroom extractor fan is a fixed electrical appliance. Only clean the exterior or a cover explicitly identified as user-removable after power is clearly isolated. Never dismantle the motor, fan assembly, wiring or wall components.
Tools needed
- Exact-model operation and maintenance guide
- Dry dusting cloth or soft brush
- Slightly damp lint-free cloth
- Dry absorbent cloth
- Stable floor-level working position
- A verifiable power-isolation control
Cleaning steps
Confirm the user-serviceable scope
Check whether and how the cover is removable. Stop if screws, tools, motor access or wiring contact would be required.
Isolate power clearly
Switch the fan off and use a verifiable isolator or applicable circuit control. Do not remove or clean anything if isolation is uncertain.
Wait for stop and dry-dust
Confirm the fan is completely still. Remove loose exterior dust with a dry cloth or soft brush; never spray the grille.
Remove only the approved cover
Support and remove only the maker-designated user-serviceable cover. Do not reach inside or touch blades, motor or wiring.
Clean separately and dry fully
Clean the cover as instructed and use only a slightly damp cloth on the exterior housing. Dry parts and hands fully before refitting.
Refit before restoring power
Secure the cover, remove tools and moisture, then restore power. Switch off and report noise, vibration, looseness or failure.
Common mistakes
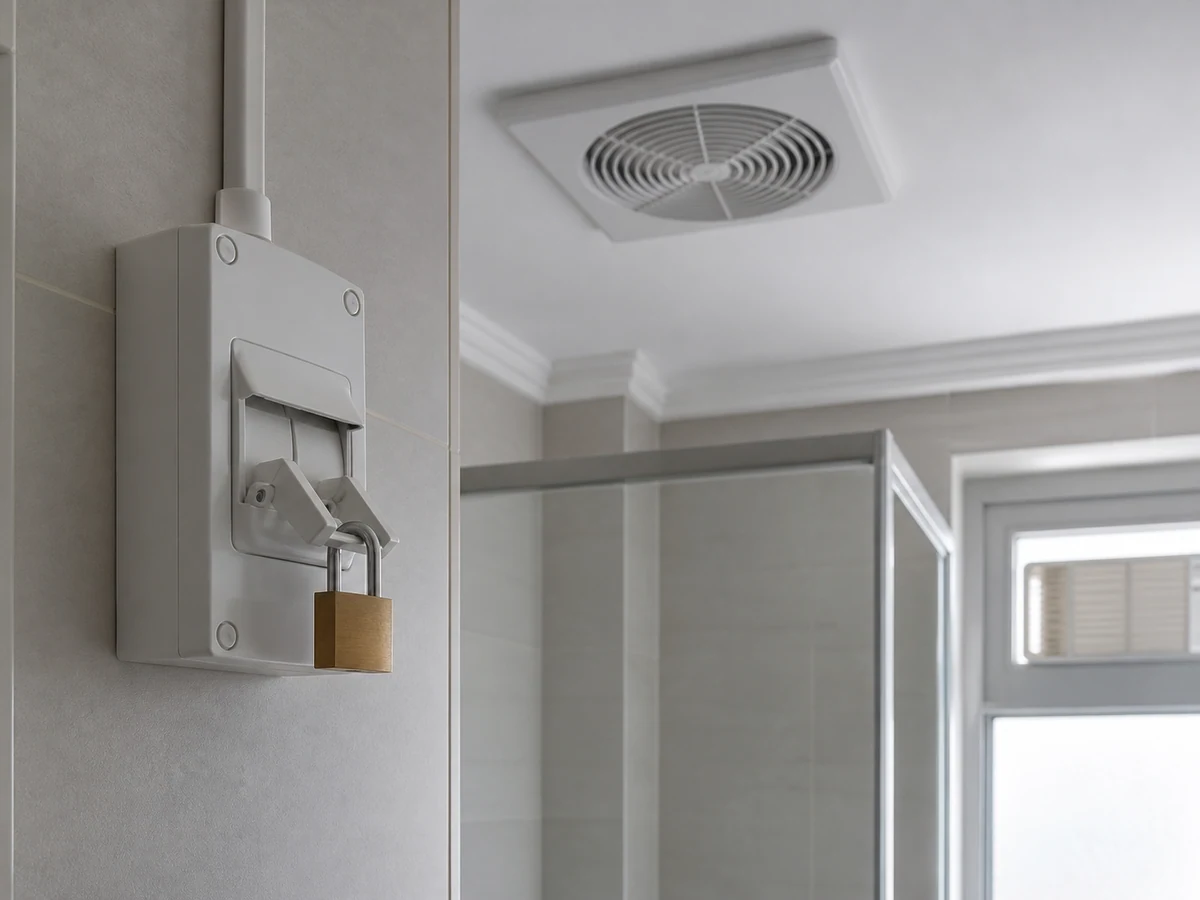
Turning off only a wall switch without verified isolation
✓ Correct actionUse a verifiable isolation method and stop if it cannot be confirmed.
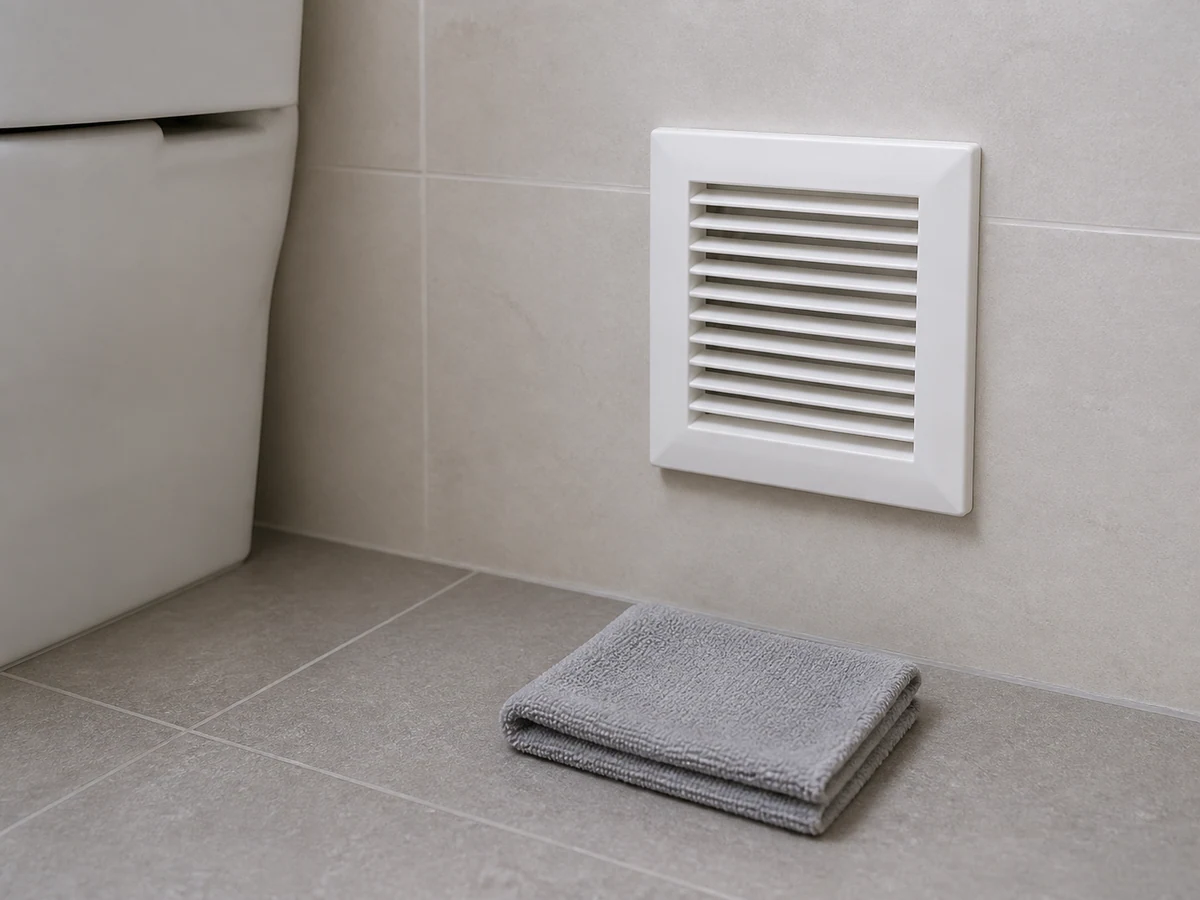
Spraying water at the grille or housing
✓ Correct actionUse a dry or slightly damp cloth and keep all liquid outside the unit.
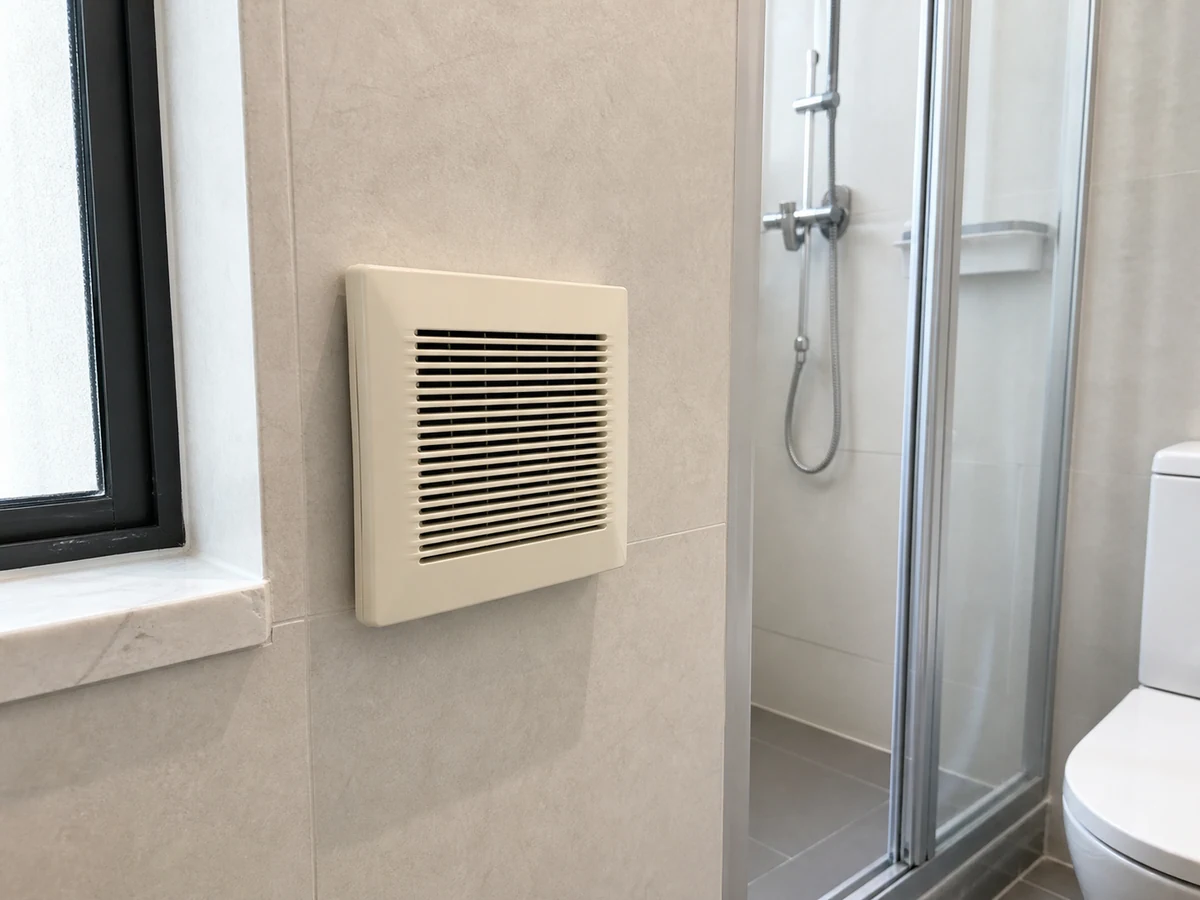
Opening the motor, blades or wiring
✓ Correct actionRemove only the cover explicitly identified as user-serviceable.
Powering on before the cover is dry and secured
✓ Correct actionDry hands and parts fully and secure the cover before restoring power.
Practical tips
Tips for helpers
- Work when the bathroom is dry rather than immediately after a steamy shower.
- Place a removed cover on a dry towel so it cannot roll away or pick up water.
Tips for employers
- Provide the exact-model manual and a clearly identified isolation method.
- Arrange professional inspection for noise, vibration, burning smell, looseness or reduced performance.
Completion checklist
Checked 0 / 7