Kitchen cleaning
How to Clean a Dish Drying Rack
Remove detachable parts, empty standing water, wash and air-dry fully
Overview
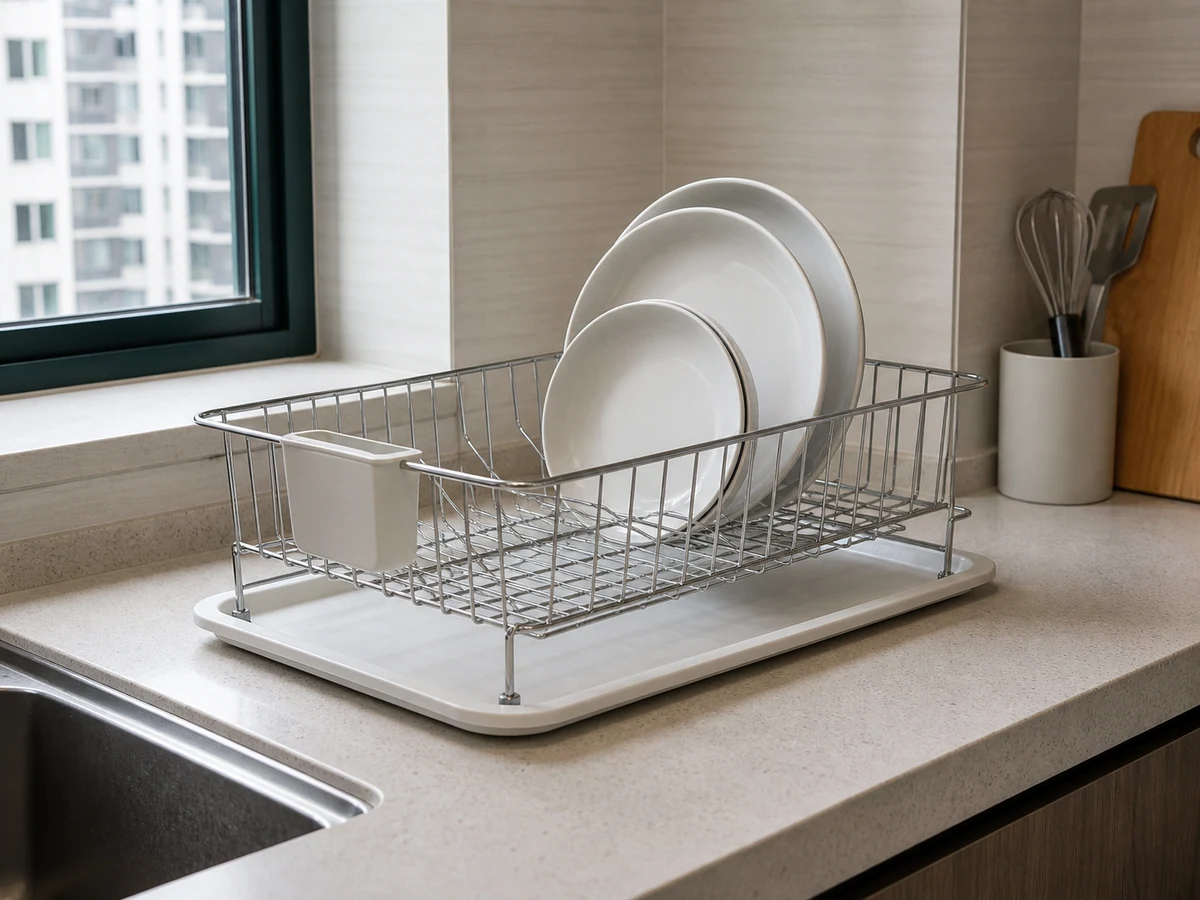
A dish drying rack holds freshly washed tableware, so the rack, cutlery cup and drip tray must stay clean and dry. Remove dry dishes, detach only the designed parts, wash, rinse and air-dry completely before reassembly.
Tools needed
- Soft sponge or brush
- Mild dish-cleaning product
- Clean water
- Clean drying place
- Dry cloth
- Small soft brush
Cleaning steps
Remove clean dishes
With clean hands, store dry dishes in a clean cupboard. Do not clean around tableware still stacked on the rack.
Detach designed parts
Remove the drip tray, cutlery cup and other detachable parts according to the design. Do not force fixed joints.
Empty water and debris
Pour away standing water from the tray and remove visible debris. Keep the sink and floor dry.
Wash each part
Use a soft sponge, mild dish product and clean water on the rack, tray, cup, joints and drainage area.
Rinse and inspect
Rinse away suds and loose soil. Check seams, feet and drainage openings for remaining residue.
Air-dry before reassembly
Separate the parts on a clean drying surface. Reassemble and return clean dishes only when every part is dry.
Common mistakes
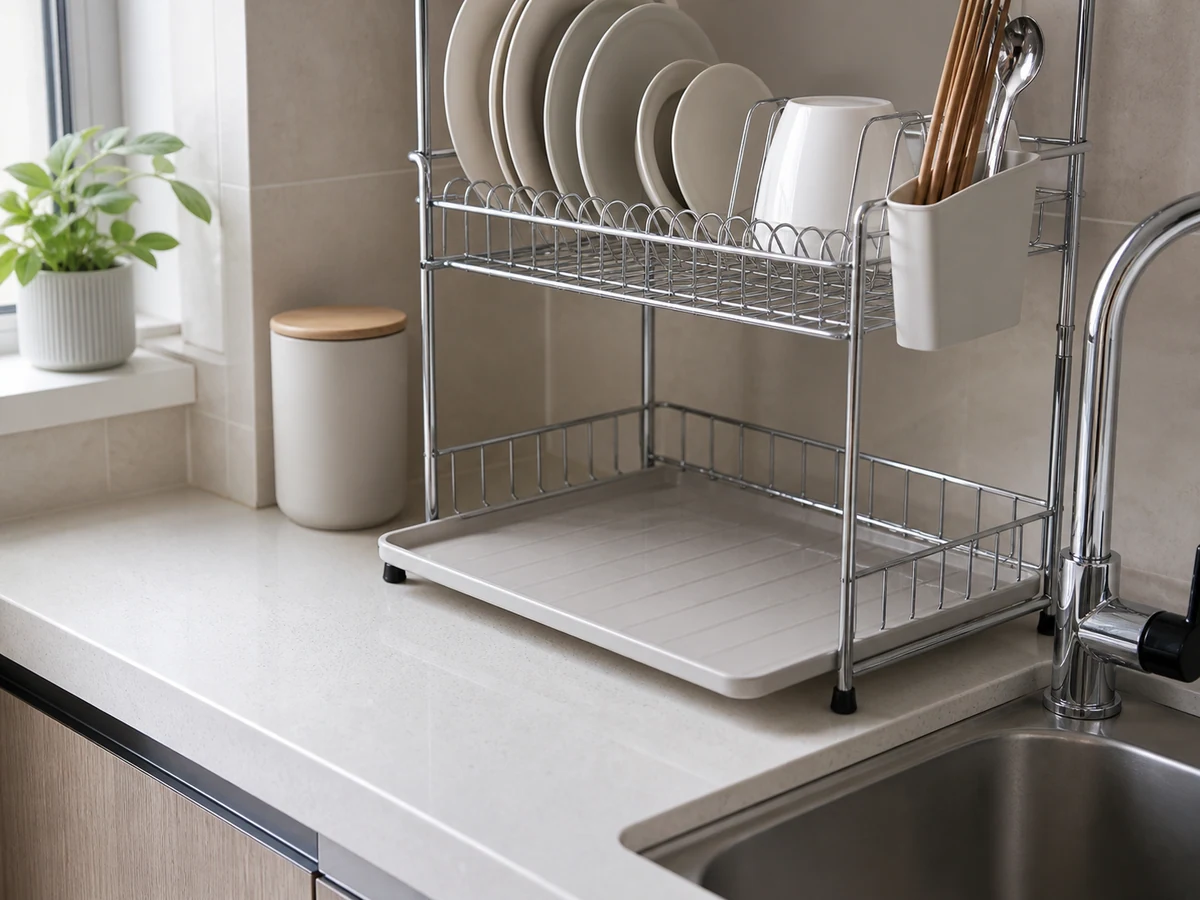
Leaving water in the tray
✓ Correct actionEmpty collected water promptly and keep the tray dry after cleaning.
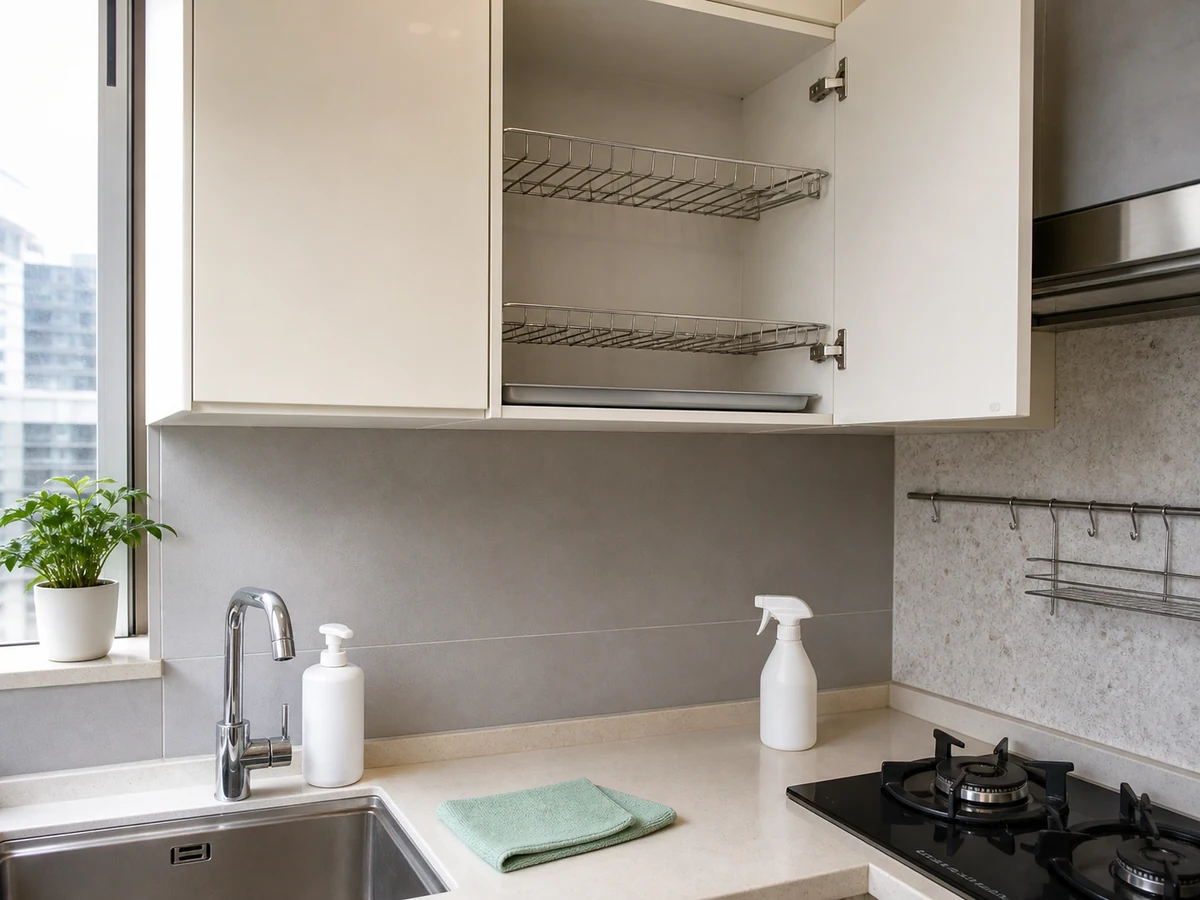
Cleaning around stacked dishes
✓ Correct actionMove dry tableware into a clean cupboard first.
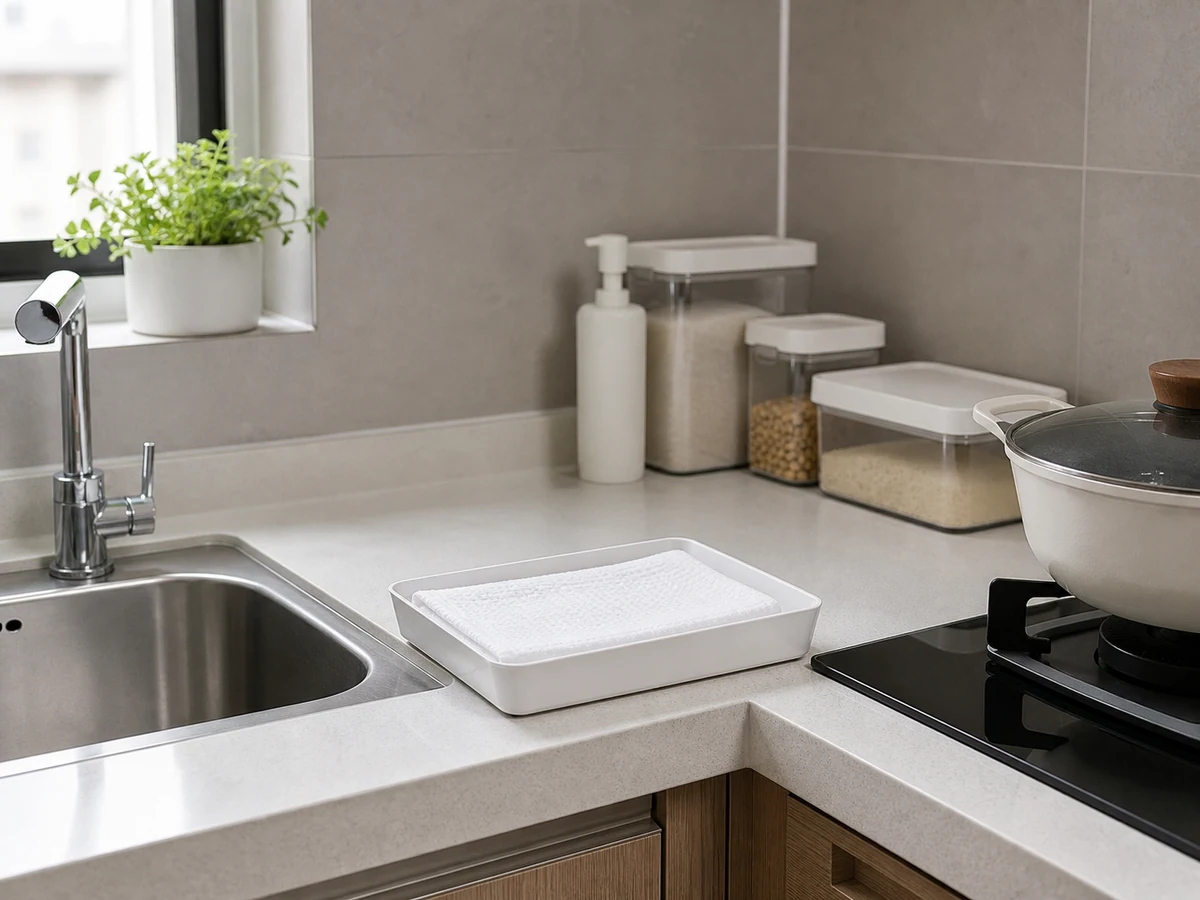
Drying with a used counter cloth
✓ Correct actionAir-dry, or use only a clean dedicated drying cloth.
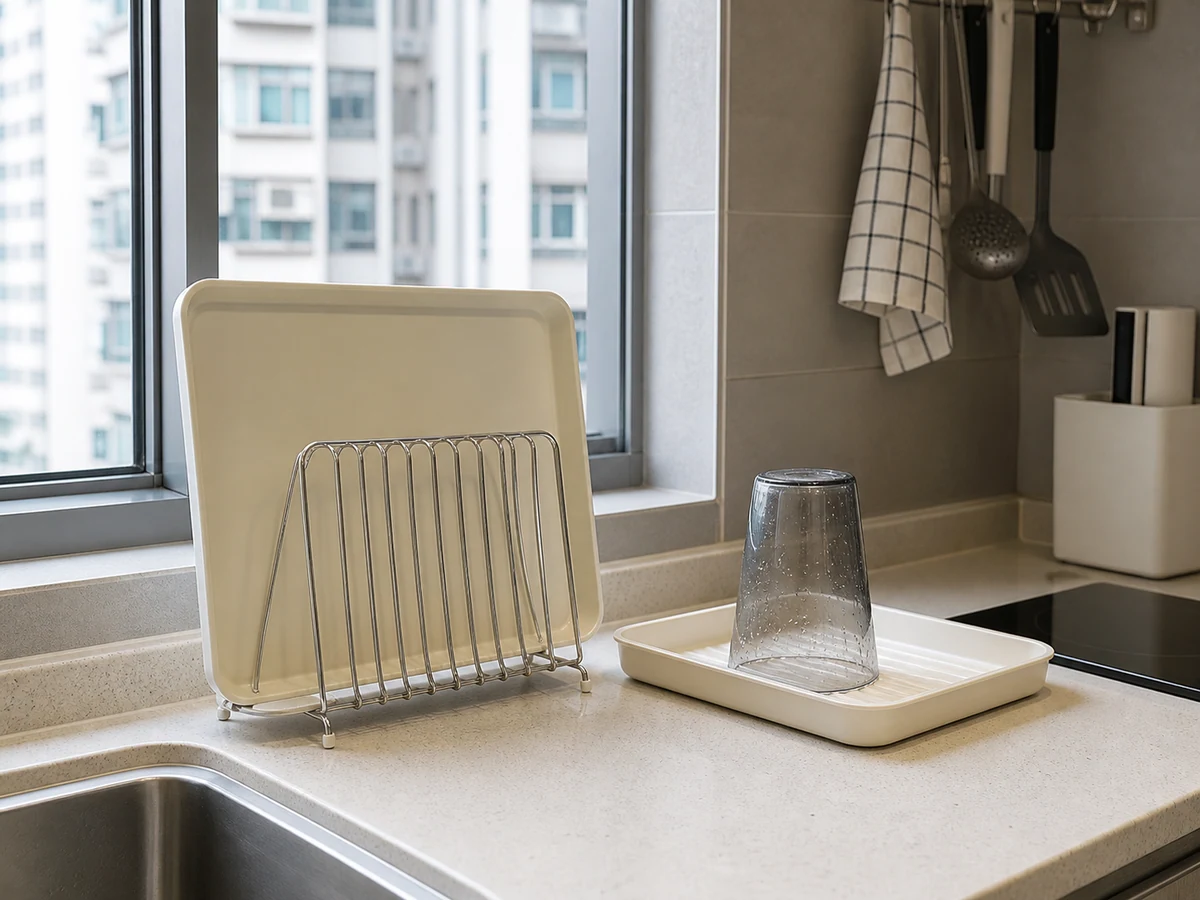
Reassembling damp parts
✓ Correct actionAir-dry the rack, tray and cup separately until fully dry.
Practical tips
Tips for helpers
- A small soft brush reaches rack joints and cutlery-cup holes.
- Lay parts out in removal order for correct reassembly after drying.
Tips for employers
- Provide food-area tools that are not shared with the bin or floor.
- Replace a rack that is rusty, flaking, cracked or cannot be cleaned.
Completion checklist
Checked 0 / 7