Kitchen cleaning
How to Clean an Air Fryer Correctly
Wash approved removable parts separately and treat the body and heater area only as the manual allows
Overview
Unplug the air fryer and let it cool fully. The model manual decides whether the basket, pan, or insert may be soaked or placed in a dishwasher. Never immerse the body, cord, or plug, and use only manufacturer-approved soft tools near the heating element.
Tools needed
- Exact model manual
- Soft non-abrasive sponge
- Soft-to-medium non-metal brush
- Mild dish soap used as labelled
- Wrung soft cloth
- Dry towel
Cleaning steps
Unplug and cool fully
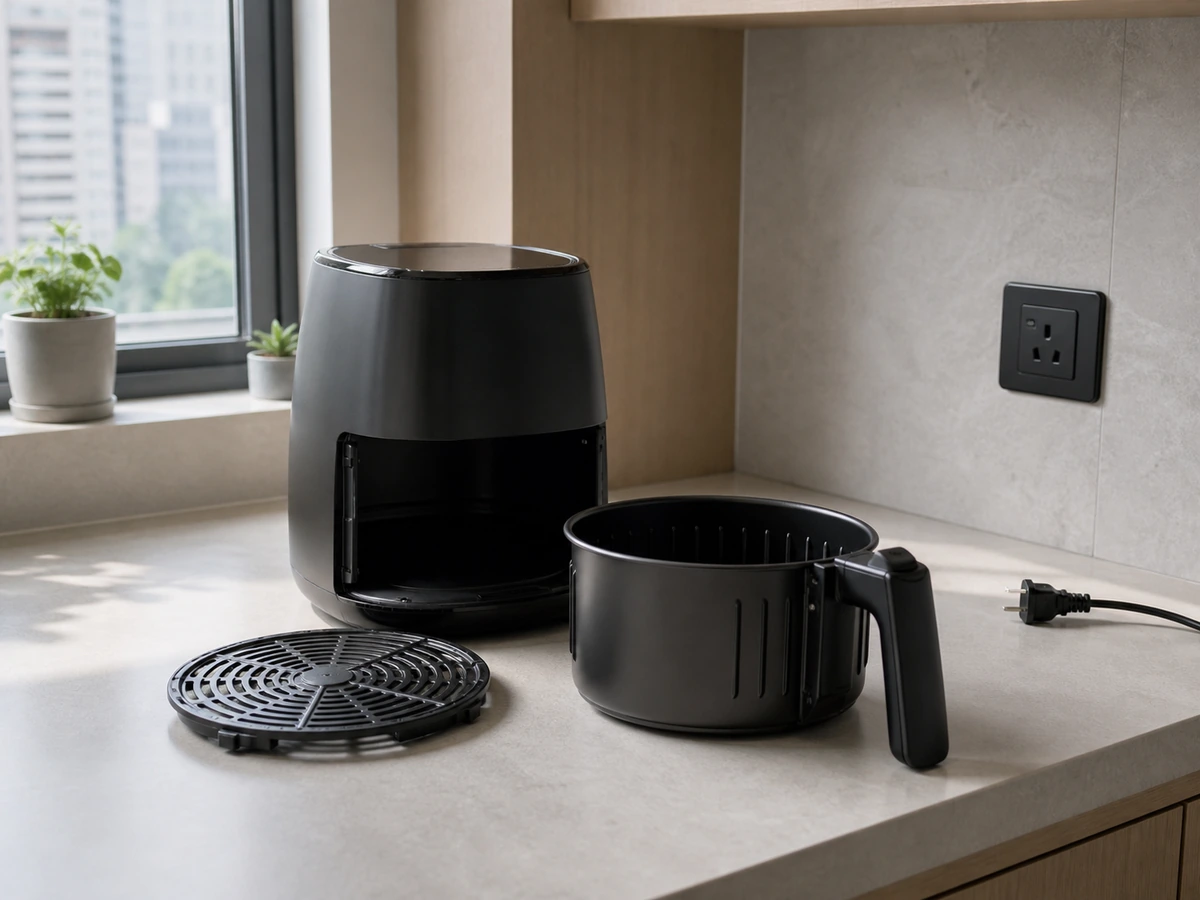
Switch off, unplug, and let the basket, pan, cavity, and heating element become completely cool.
Identify washable parts
Use the model manual to identify the basket, pan, insert, and any other user-removable washable parts.
Remove food residue
Lift out approved parts and discard crumbs and grease without pushing debris into body seams.
Wash basket and pan
Use warm water, mild dish soap, and a soft sponge on approved parts; avoid metal and abrasive tools.
Clean the cavity and heater area
Keep the body dry and use only a wrung sponge or suitable soft brush where the cooled appliance manual permits.
Wipe the exterior
Use a wrung soft cloth on the body and controls; never spray water or cleaner directly onto the appliance.
Rinse, dry, and refit
Rinse washable parts and dry fully. Refit and reconnect only when the cavity and every contact are dry.
Common mistakes
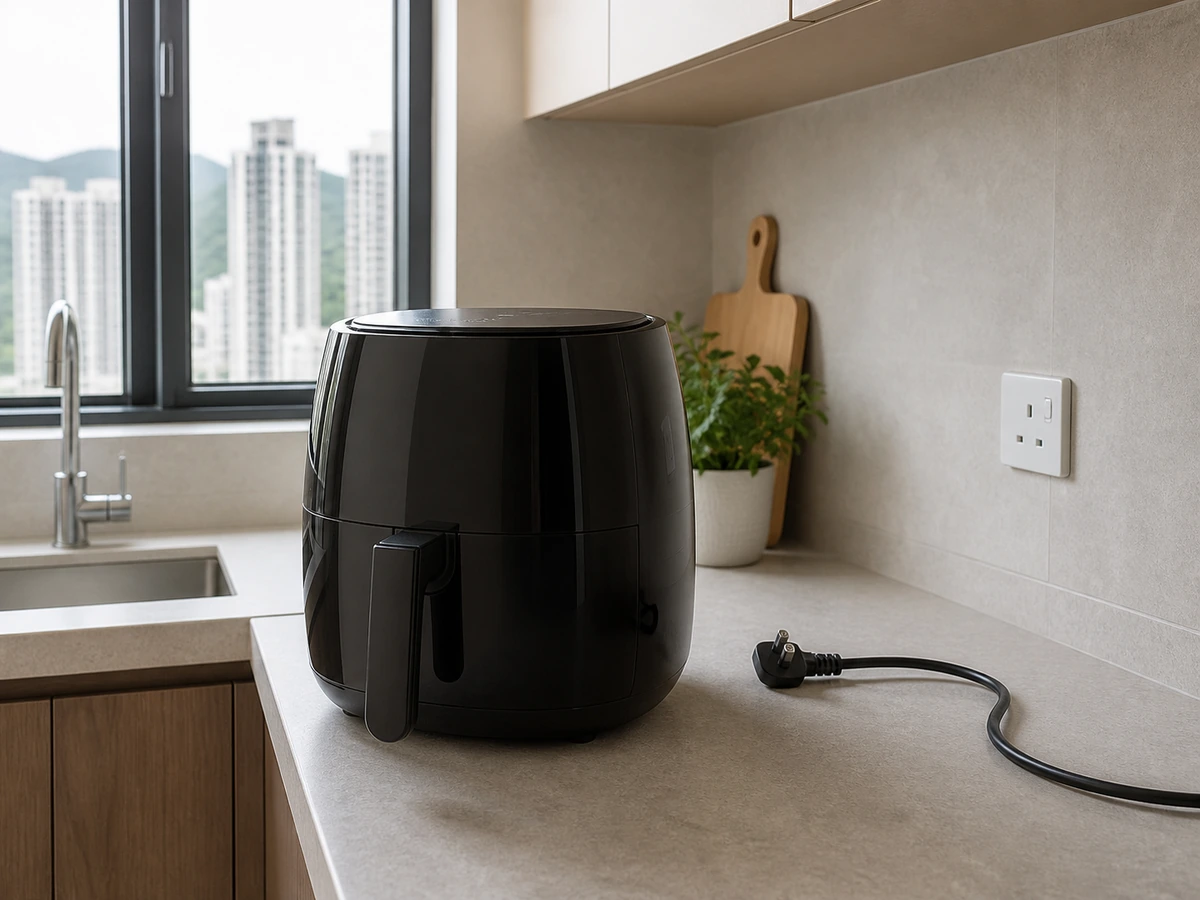
Cleaning while the appliance is hot
✓ Correct actionUnplug and let every part cool completely.
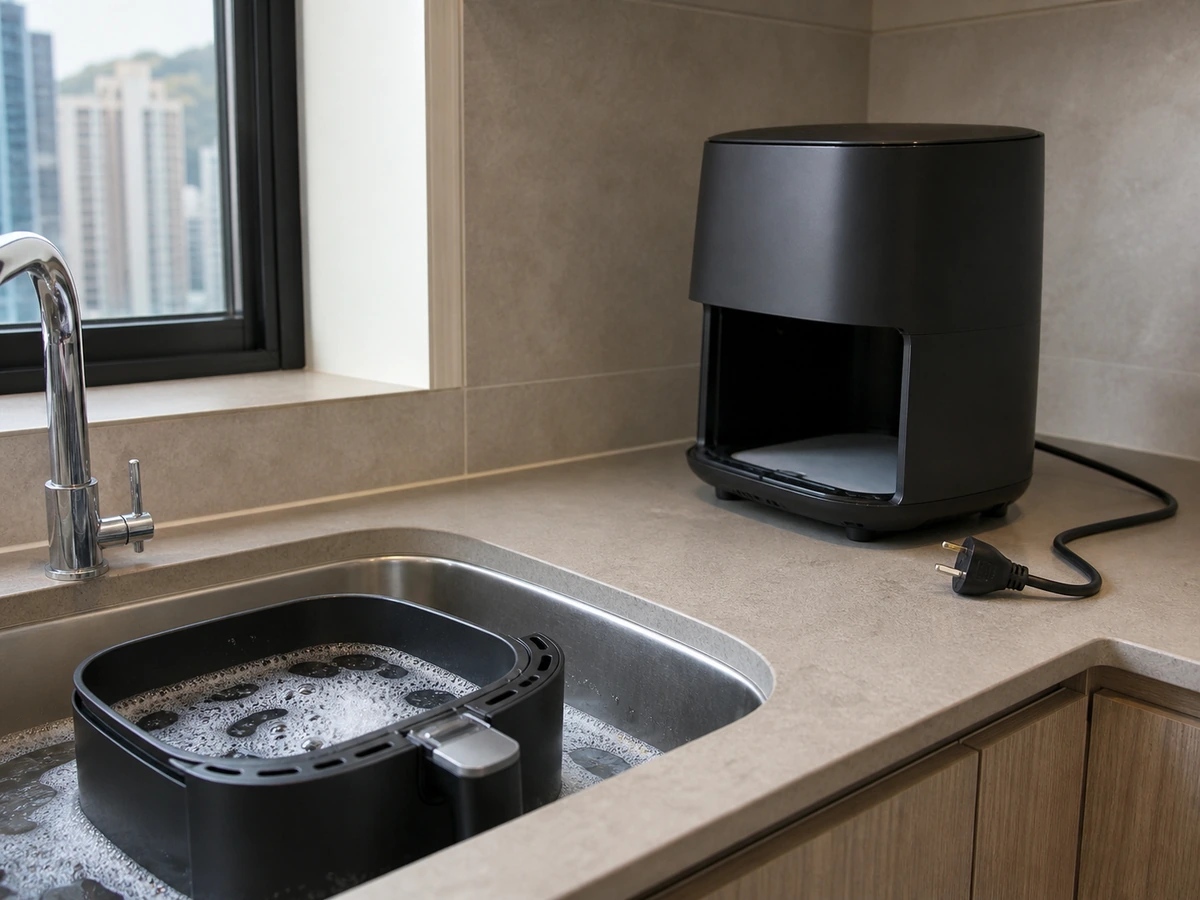
Immersing the whole appliance
✓ Correct actionWash approved removable parts only and wipe the body.
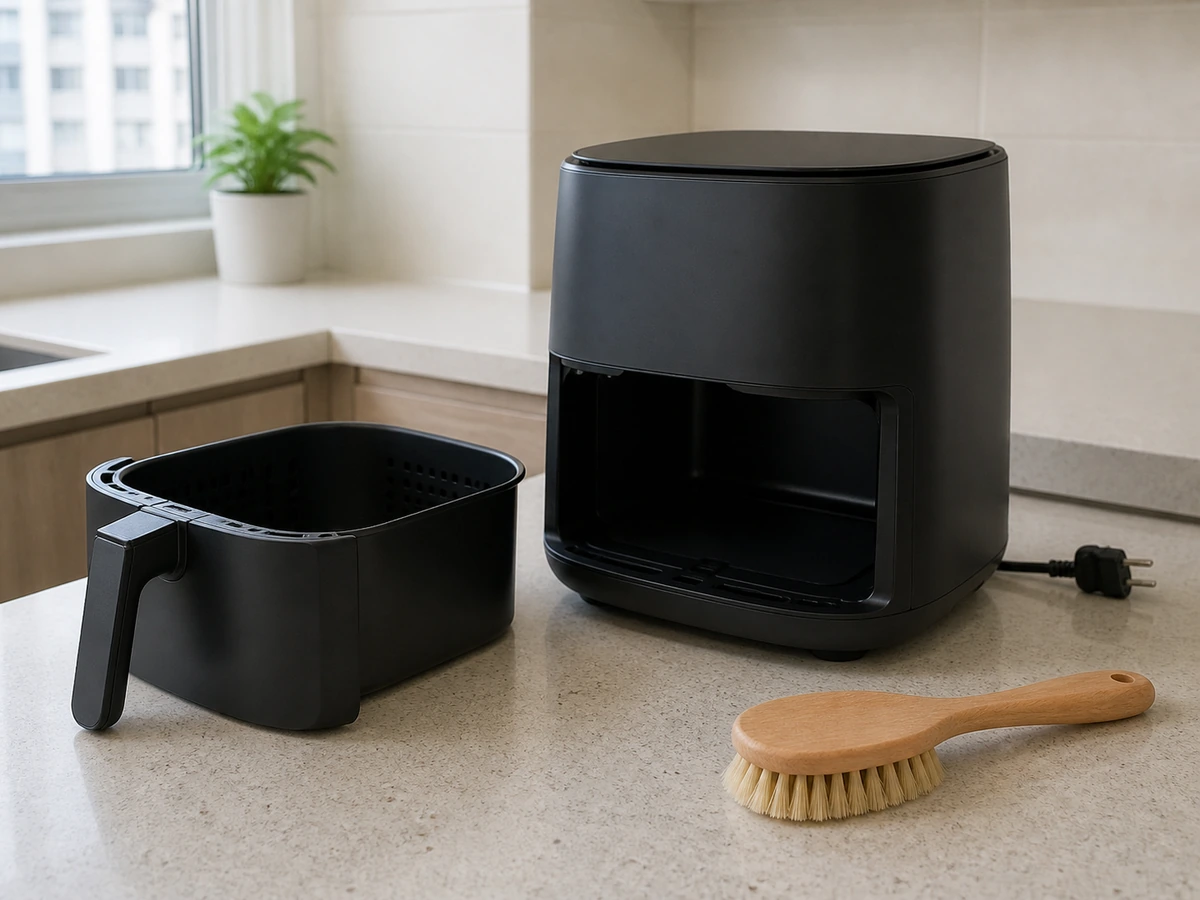
Using a wire brush on the heater
✓ Correct actionUse only the soft non-metal brush permitted by the manufacturer.
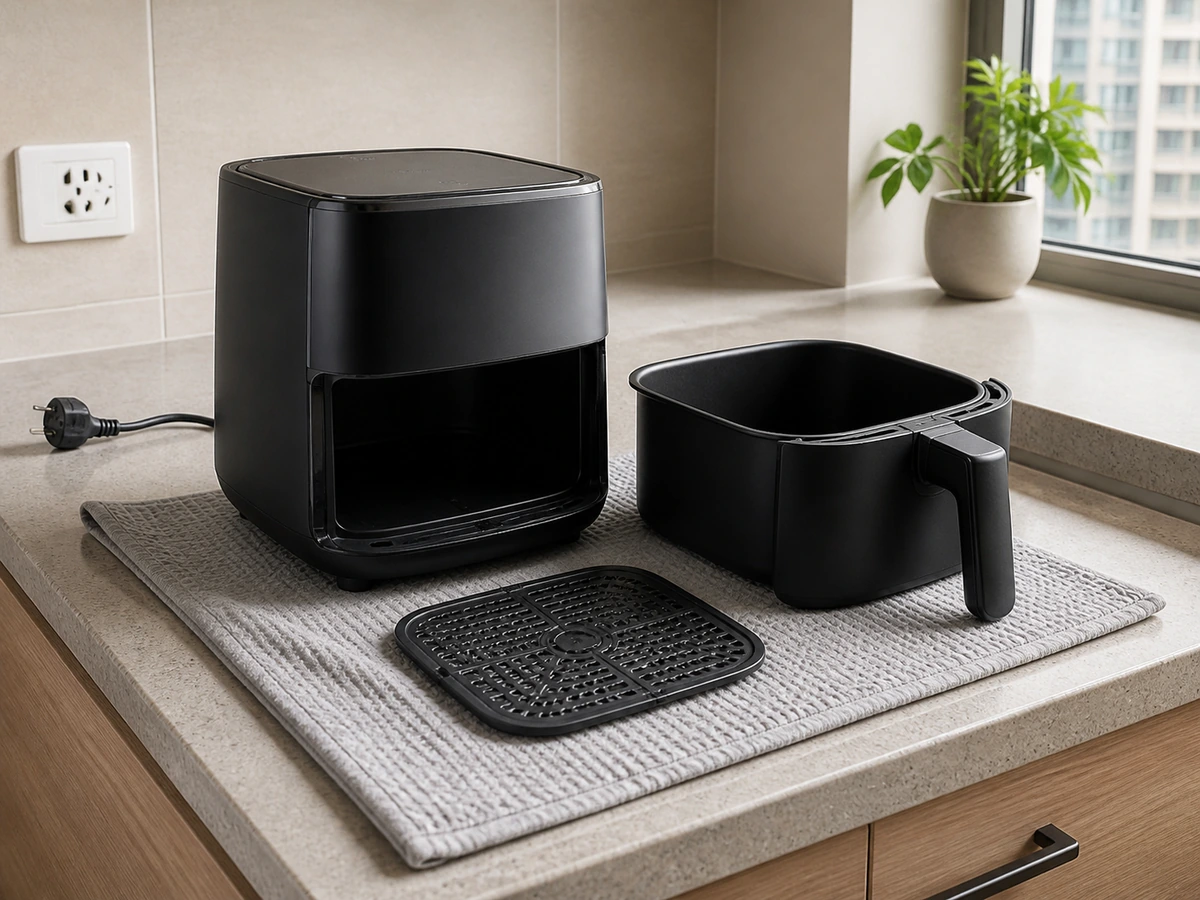
Refitting damp parts
✓ Correct actionDry every part, contact, and cavity before assembly.
Practical tips
Tips for helpers
- Blot excess oil before washing with a soft sponge.
- Soak only washable removable parts when the manual allows; never soak the body.
Tips for employers
- Provide the model manual and confirm dishwasher-safe parts.
- Arrange manufacturer inspection for damaged coating or heating parts.
Completion checklist
Checked 0 / 7