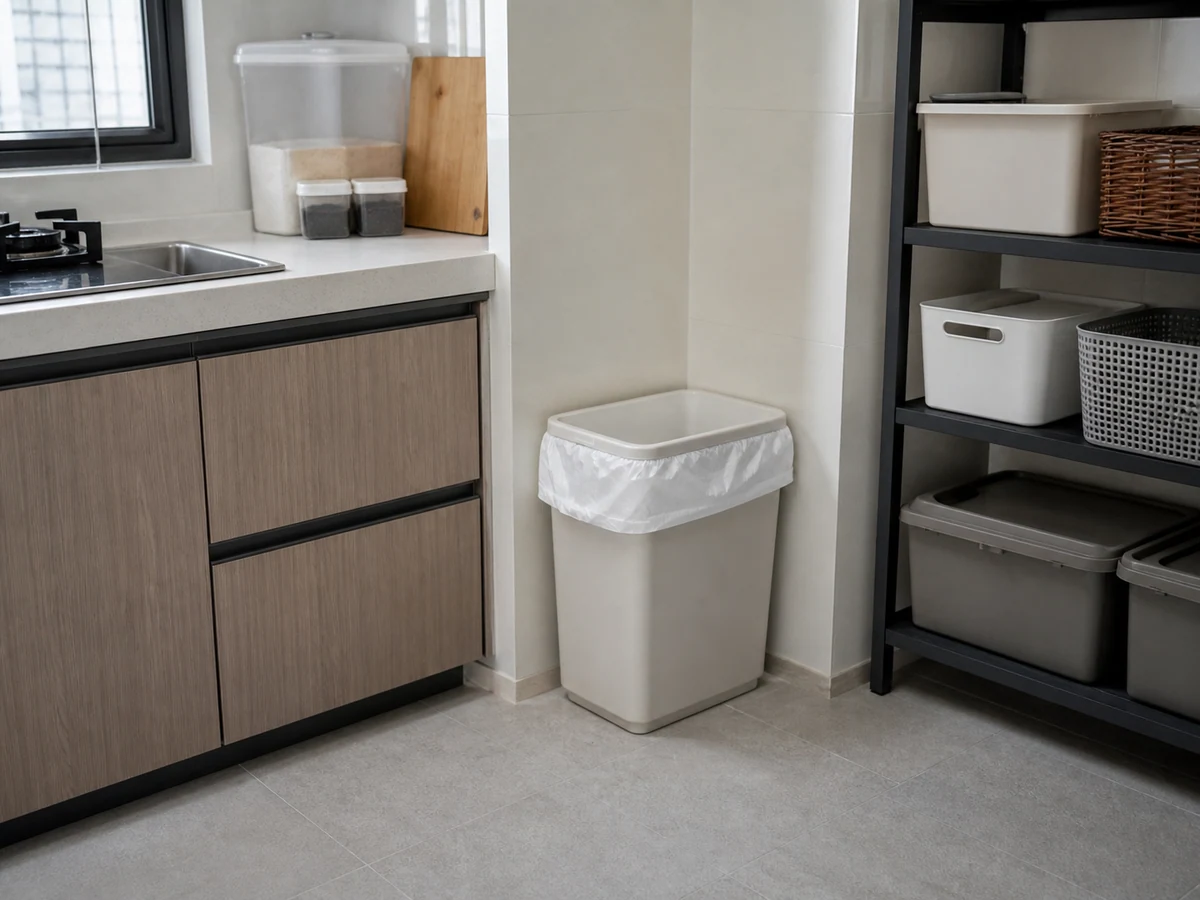
Kitchen cleaning
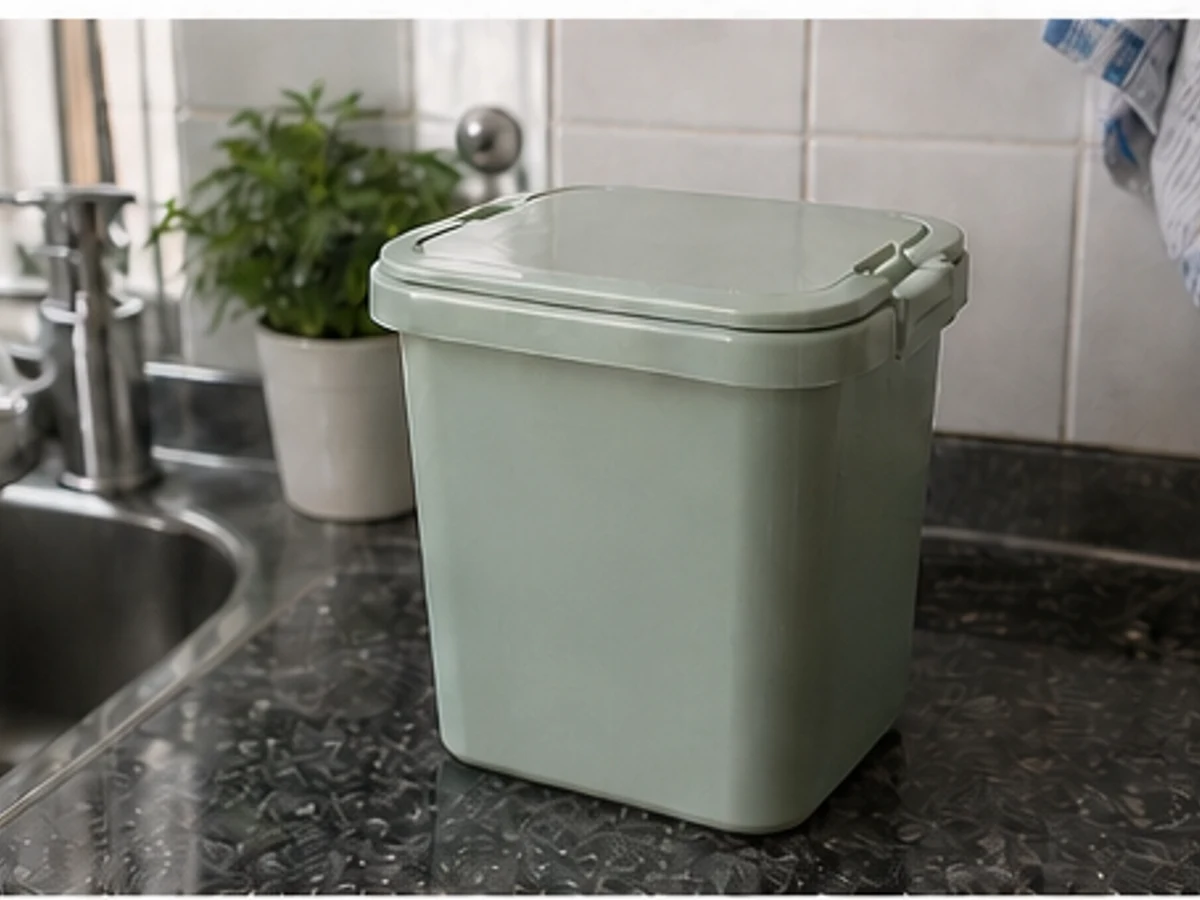
How to Clean a Kitchen Rubbish Bin
Remove waste safely, clean in a separate zone, dry fully and wash hands
Overview
Keep the kitchen bin covered, leak-free and separated from food handling, and remove household waste regularly. Move food and dishes away, seal the liner without hand-compressing it, then wash or wipe for the bin material and dry completely before fitting a new liner.
Tools needed
- Bin-only protective gloves
- Seal-able waste bags
- Bin-only soft brush or cloth
- One compatible cleaning product
- Clean water
- Dry cloth or ventilated drying place
Cleaning steps
Separate the food area
Move food, dishes and pets away, provide ventilation and put on bin-only gloves.
Remove and seal the liner
Hold the bag opening rather than pushing down inside. Seal and dispose according to the household plan; never hand-compress sharps or leaks.
Remove loose debris
Tip visible debris into the waste bag and use a bin-only cloth or brush, never food-contact tools.
Wash or wipe the bin
For the material, use one compatible product on the inside, outside, lid, rim and pedal. Never mix products.
Remove residue and dry
As directed, rinse or wipe away product residue, remove surrounding water and let the bin and lid dry completely.
Fit a new liner and wash hands
Install a suitable liner and close the dry lid. Clean the dedicated tools, remove gloves and wash hands with soap and water.
Common mistakes
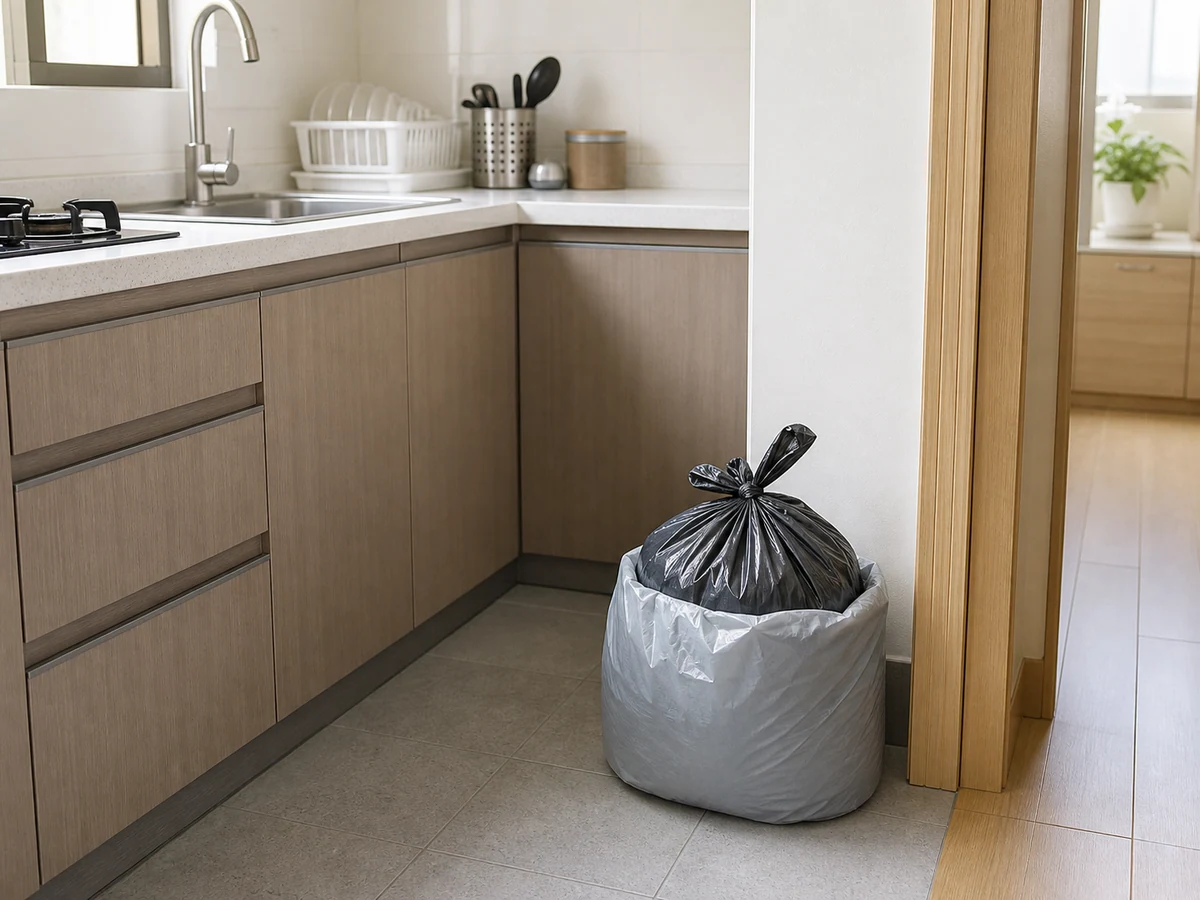
Hand-compressing a full liner
✓ Correct actionHold and seal the opening; never compress a leaking bag or possible sharps.
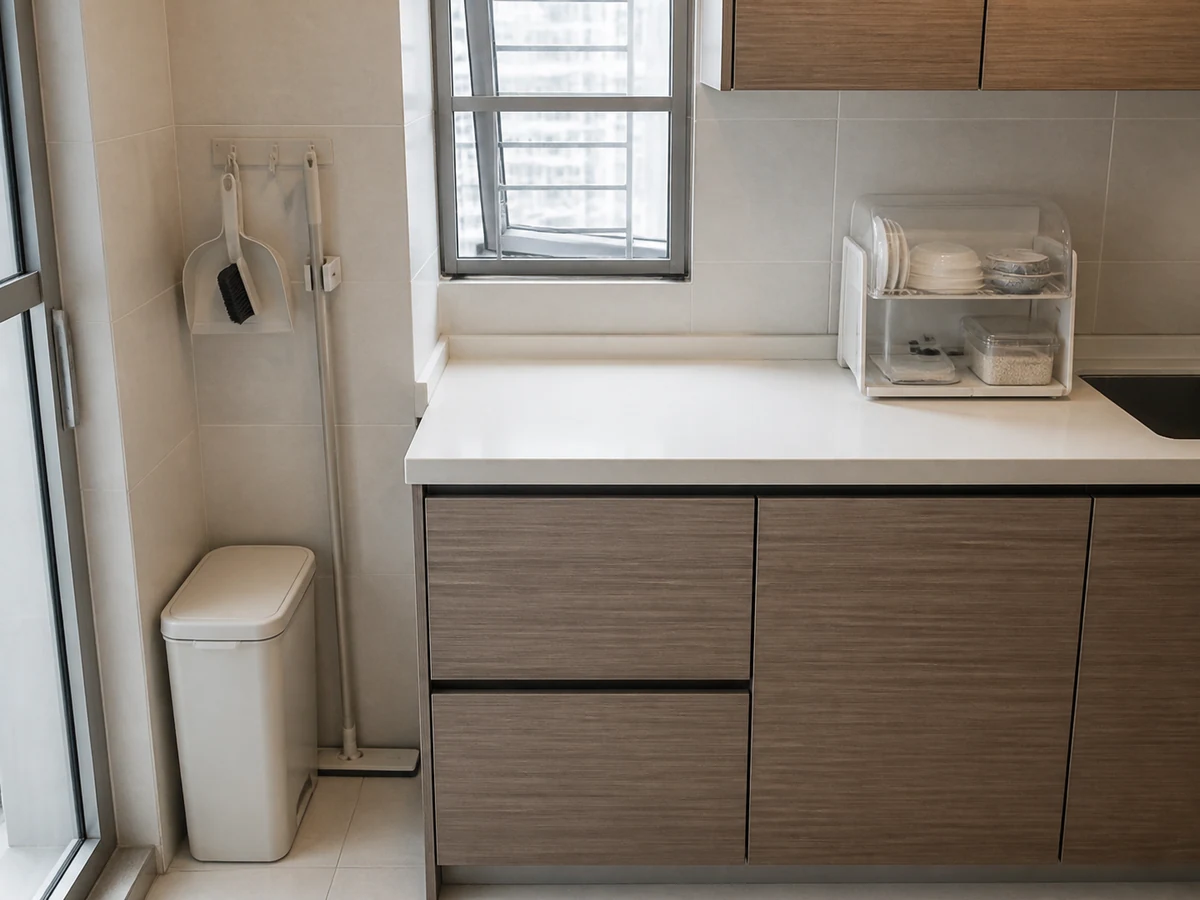
Cleaning beside uncovered food
✓ Correct actionClear and separate the food-handling area first.
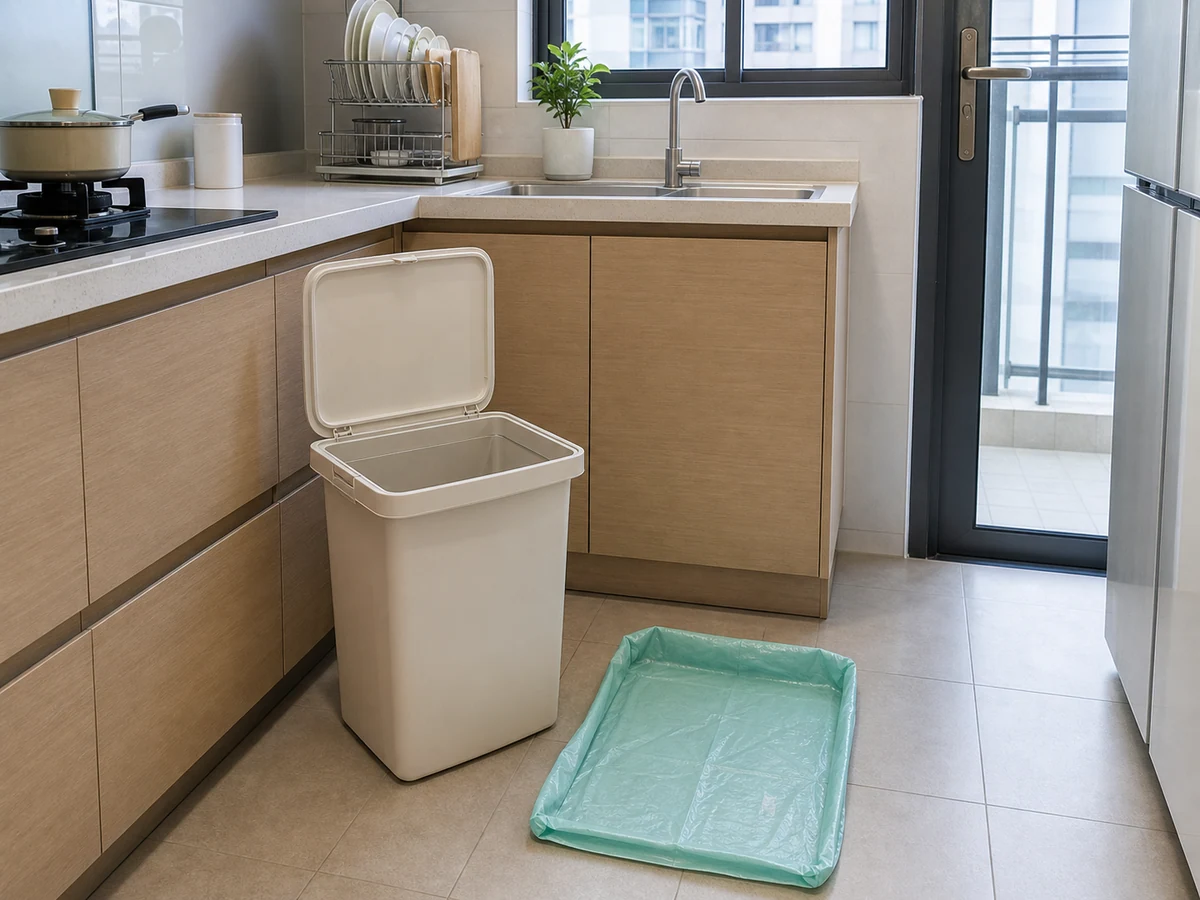
Fitting a liner into a damp bin
✓ Correct actionDry the bin body and lid completely.
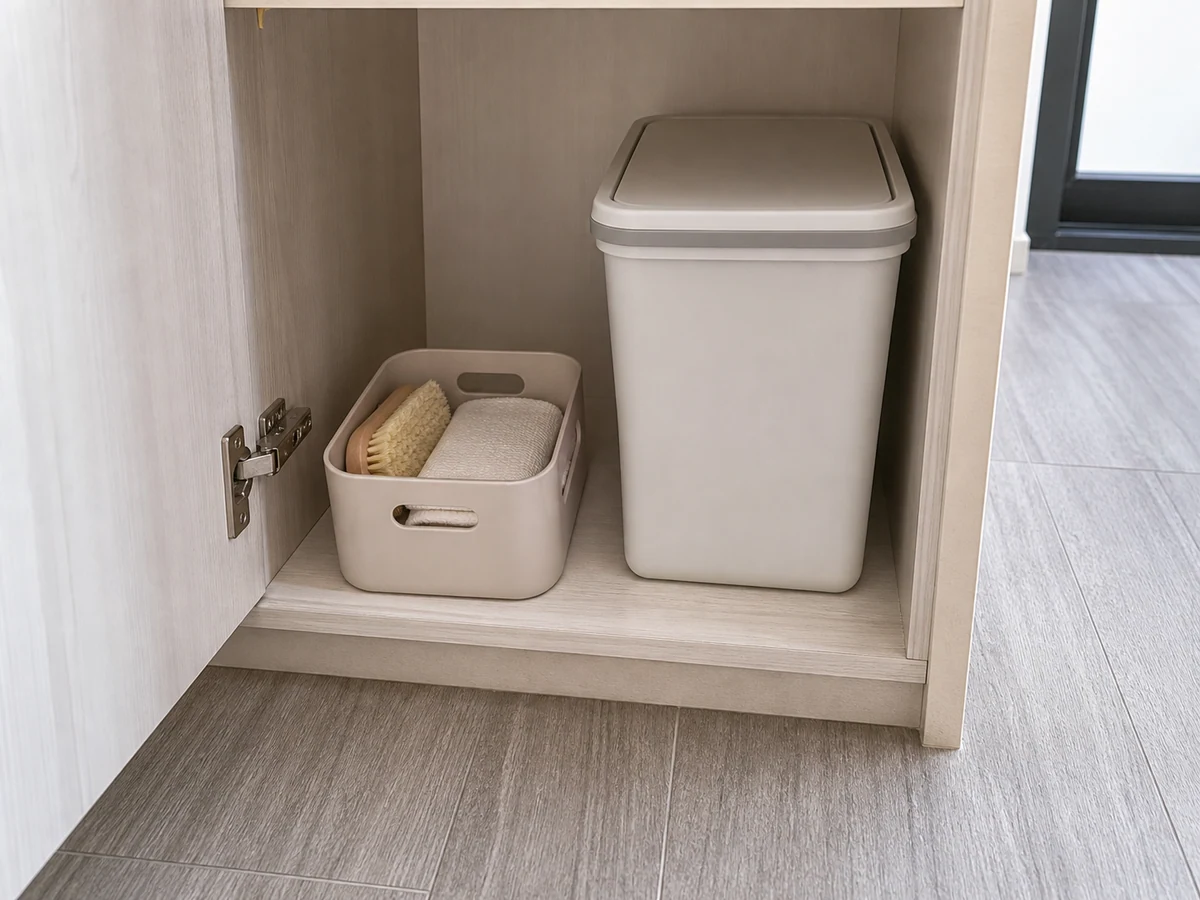
Using a dish cloth or floor mop
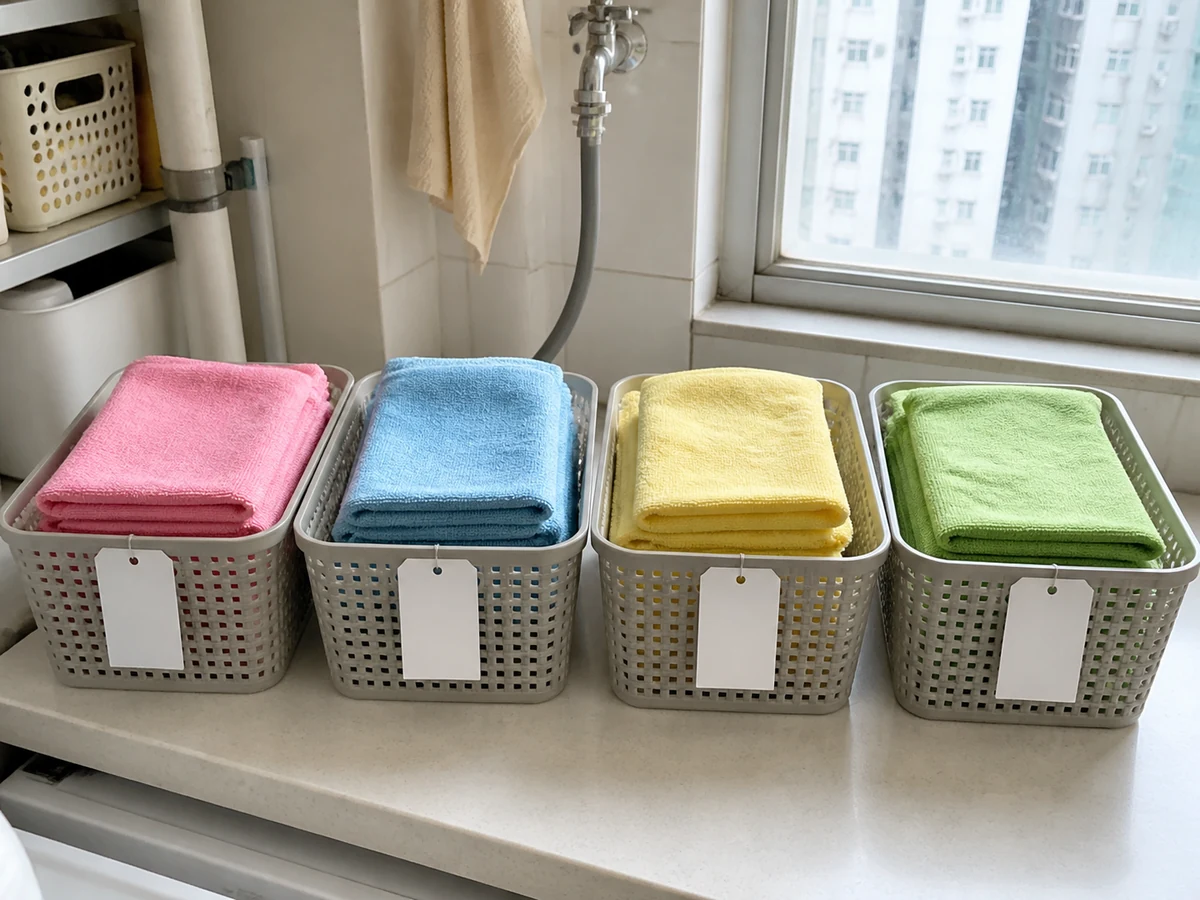
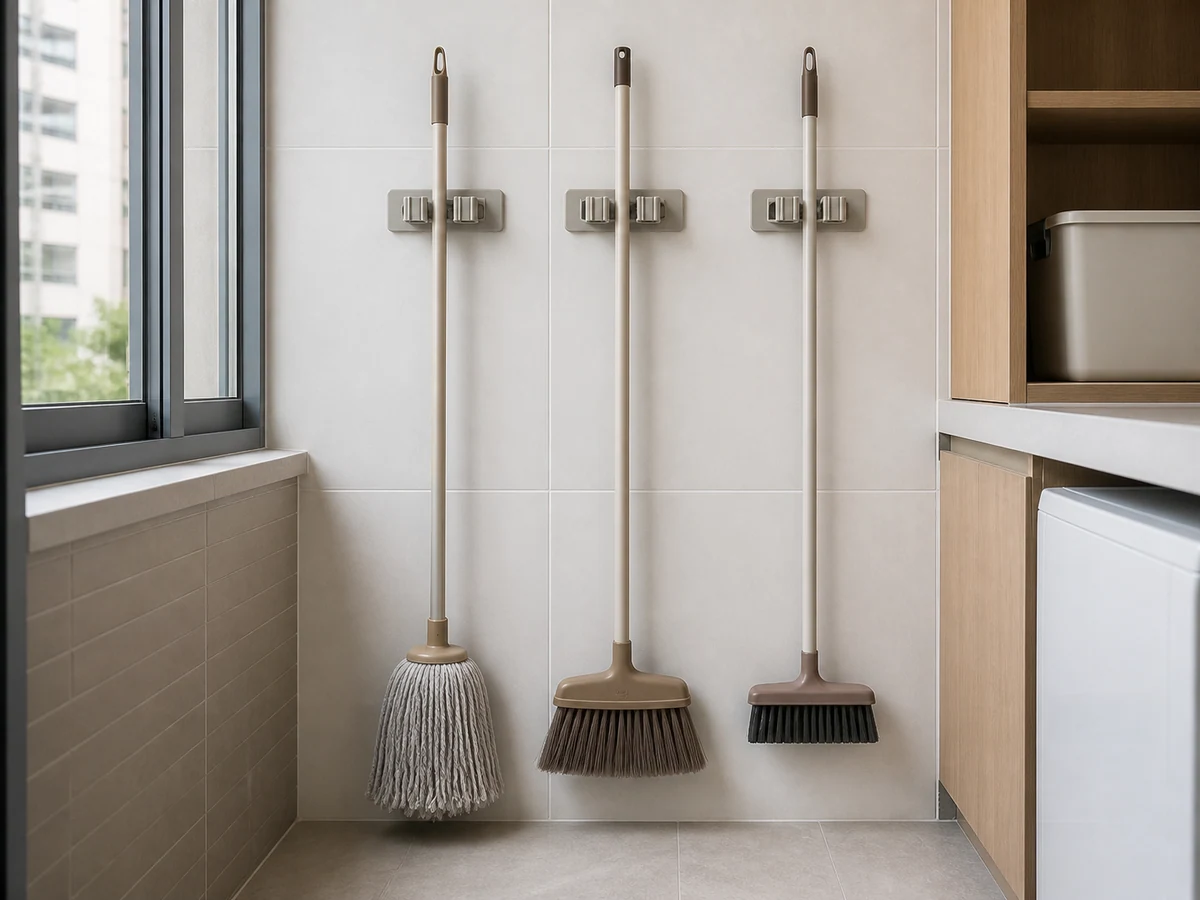
✓ Correct actionUse bin-only tools and wash and store them separately.
Practical tips
Tips for helpers
- Open the replacement liner before starting so it is ready after drying.
- A bin-only small brush reaches lid hinges and pedal edges.
Tips for employers
- Site the bin away from food preparation and dish-drying areas.
- Provide a covered intact bin and bin-only cleaning tools.
Completion checklist
Checked 0 / 9